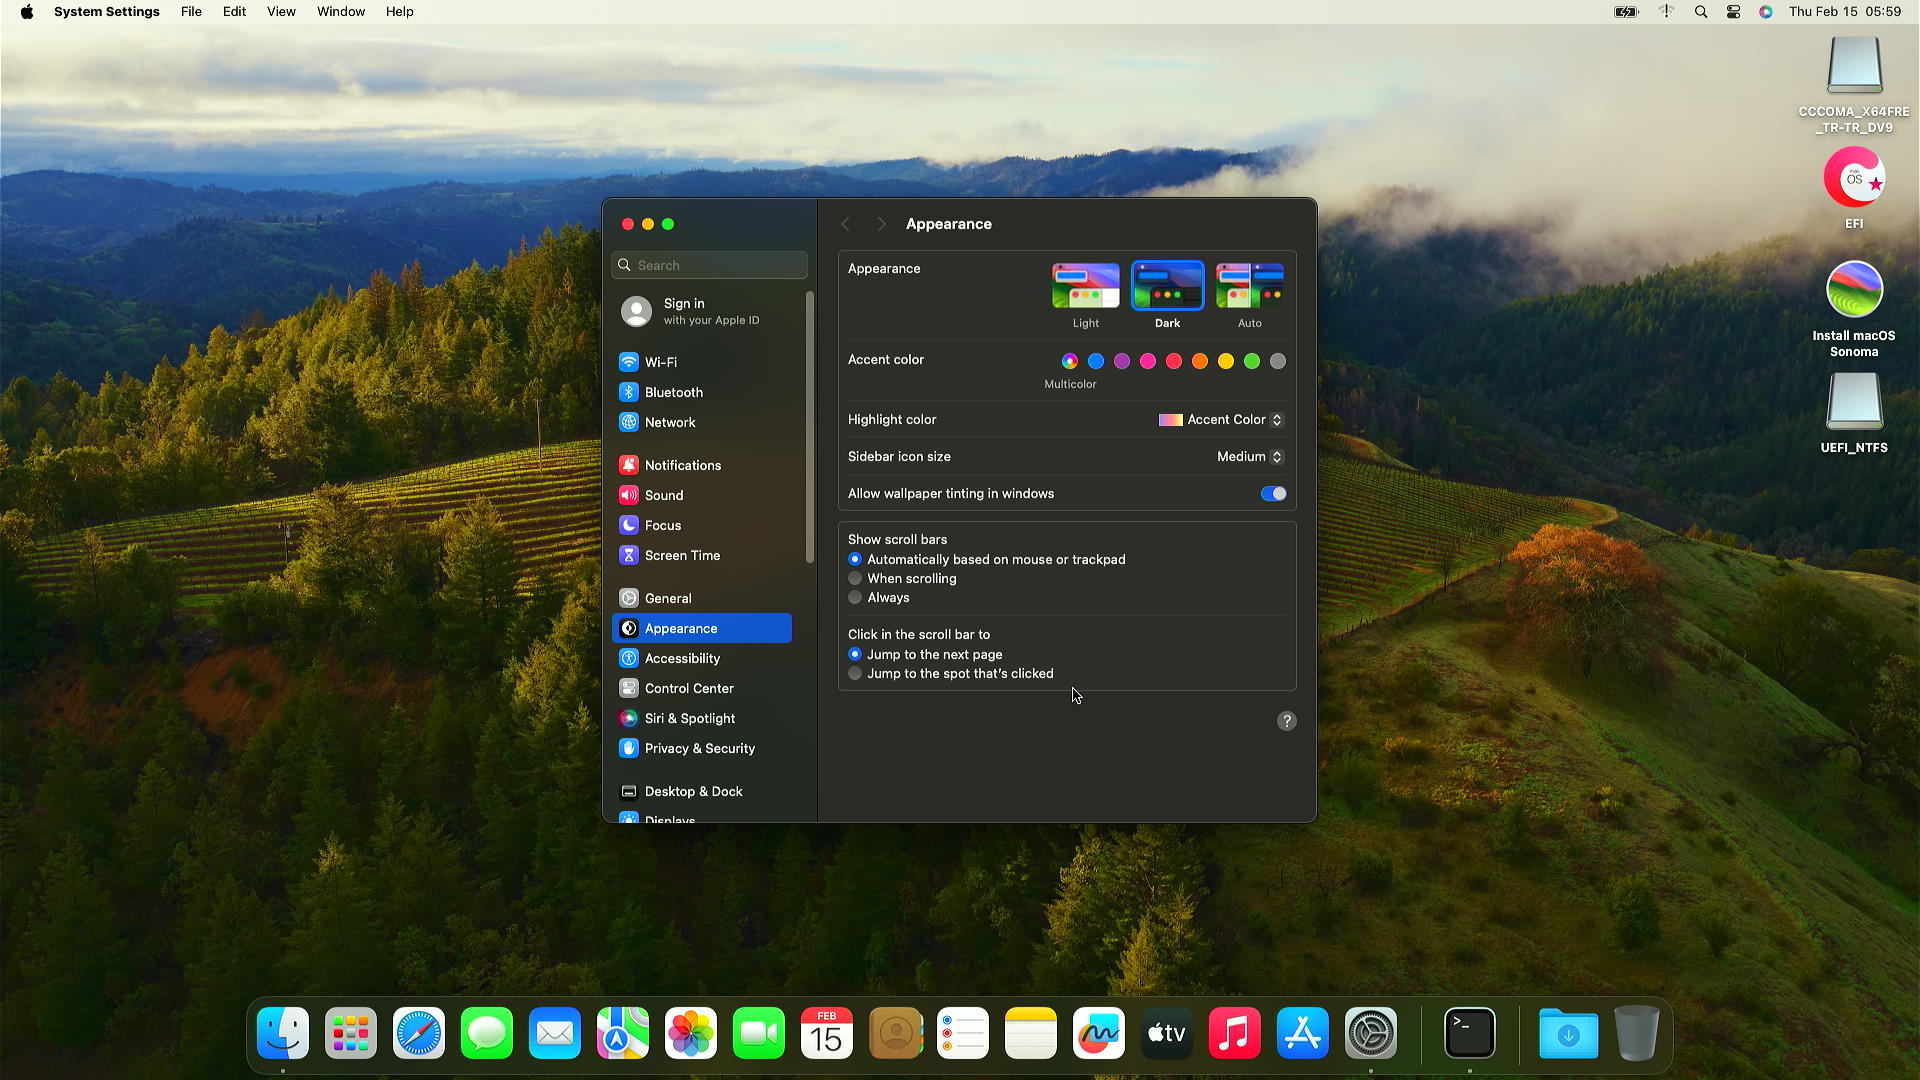
macOS installation steps
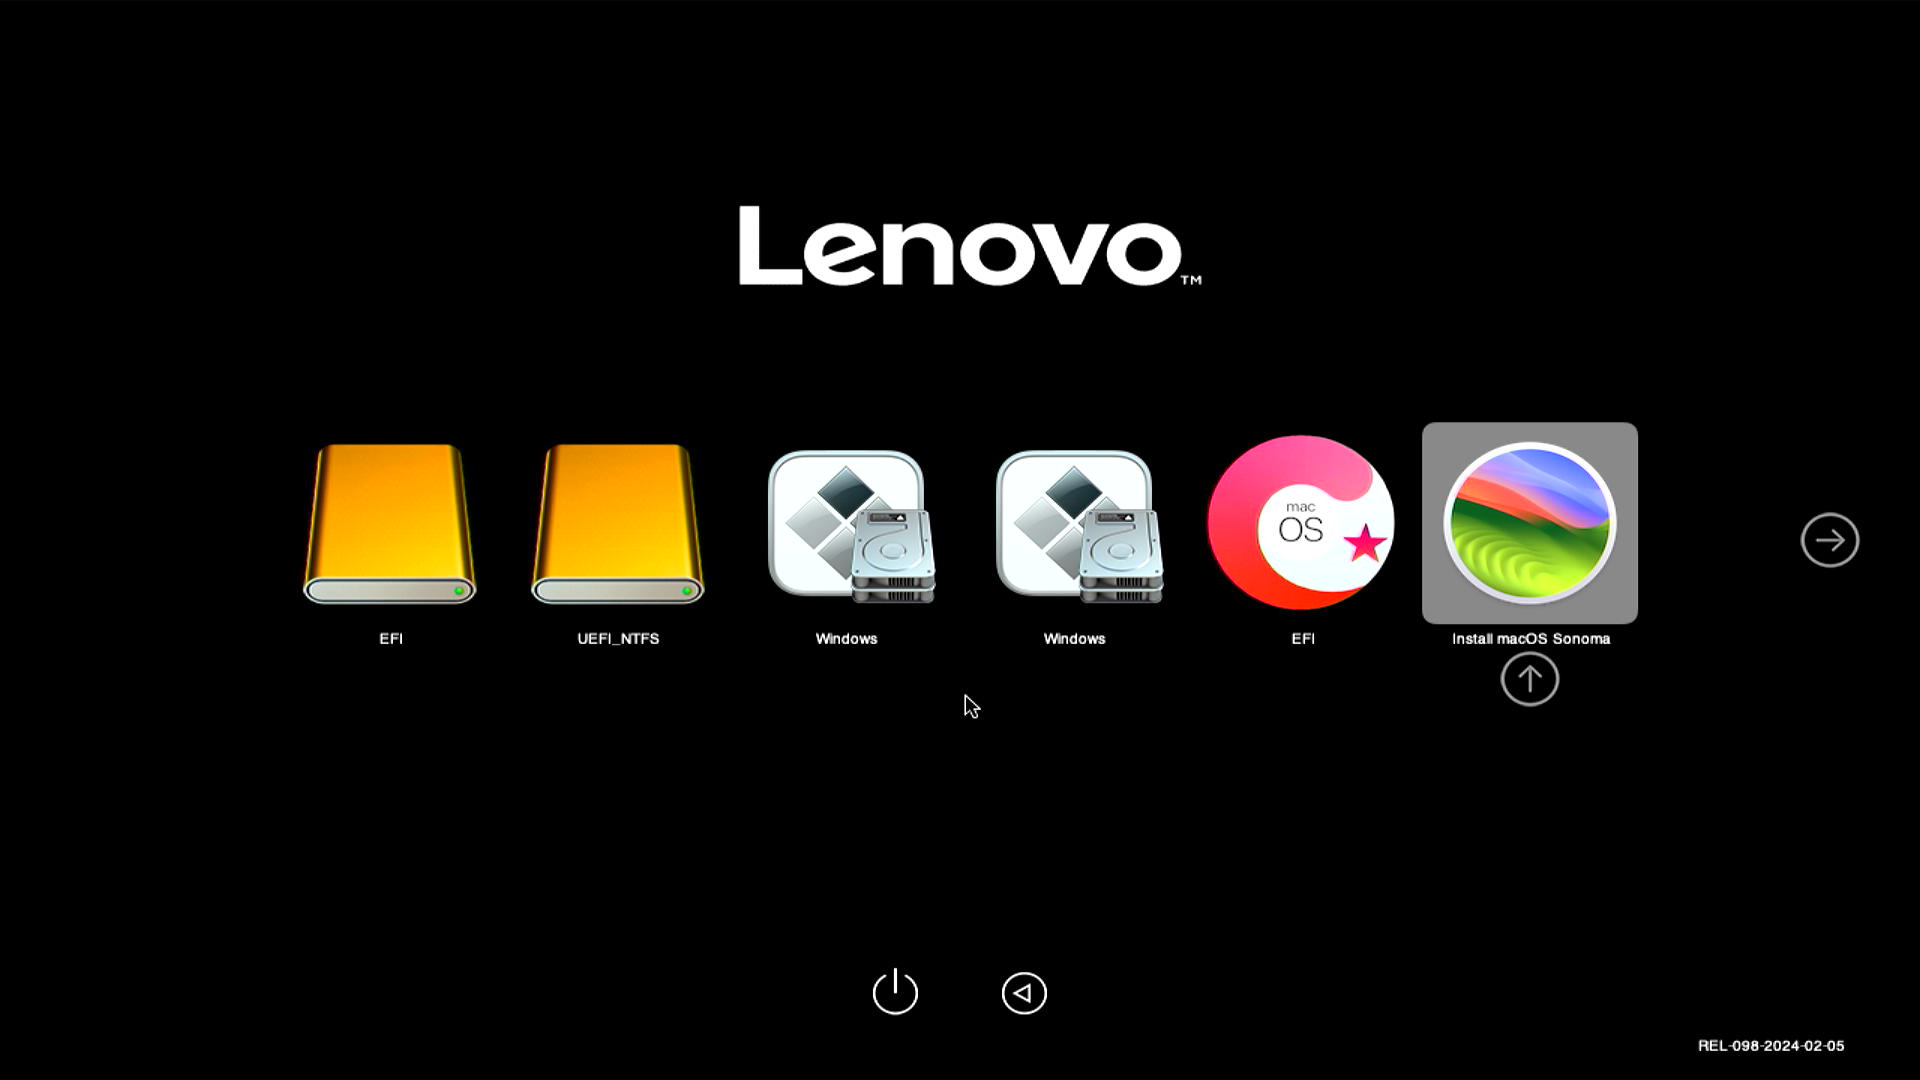
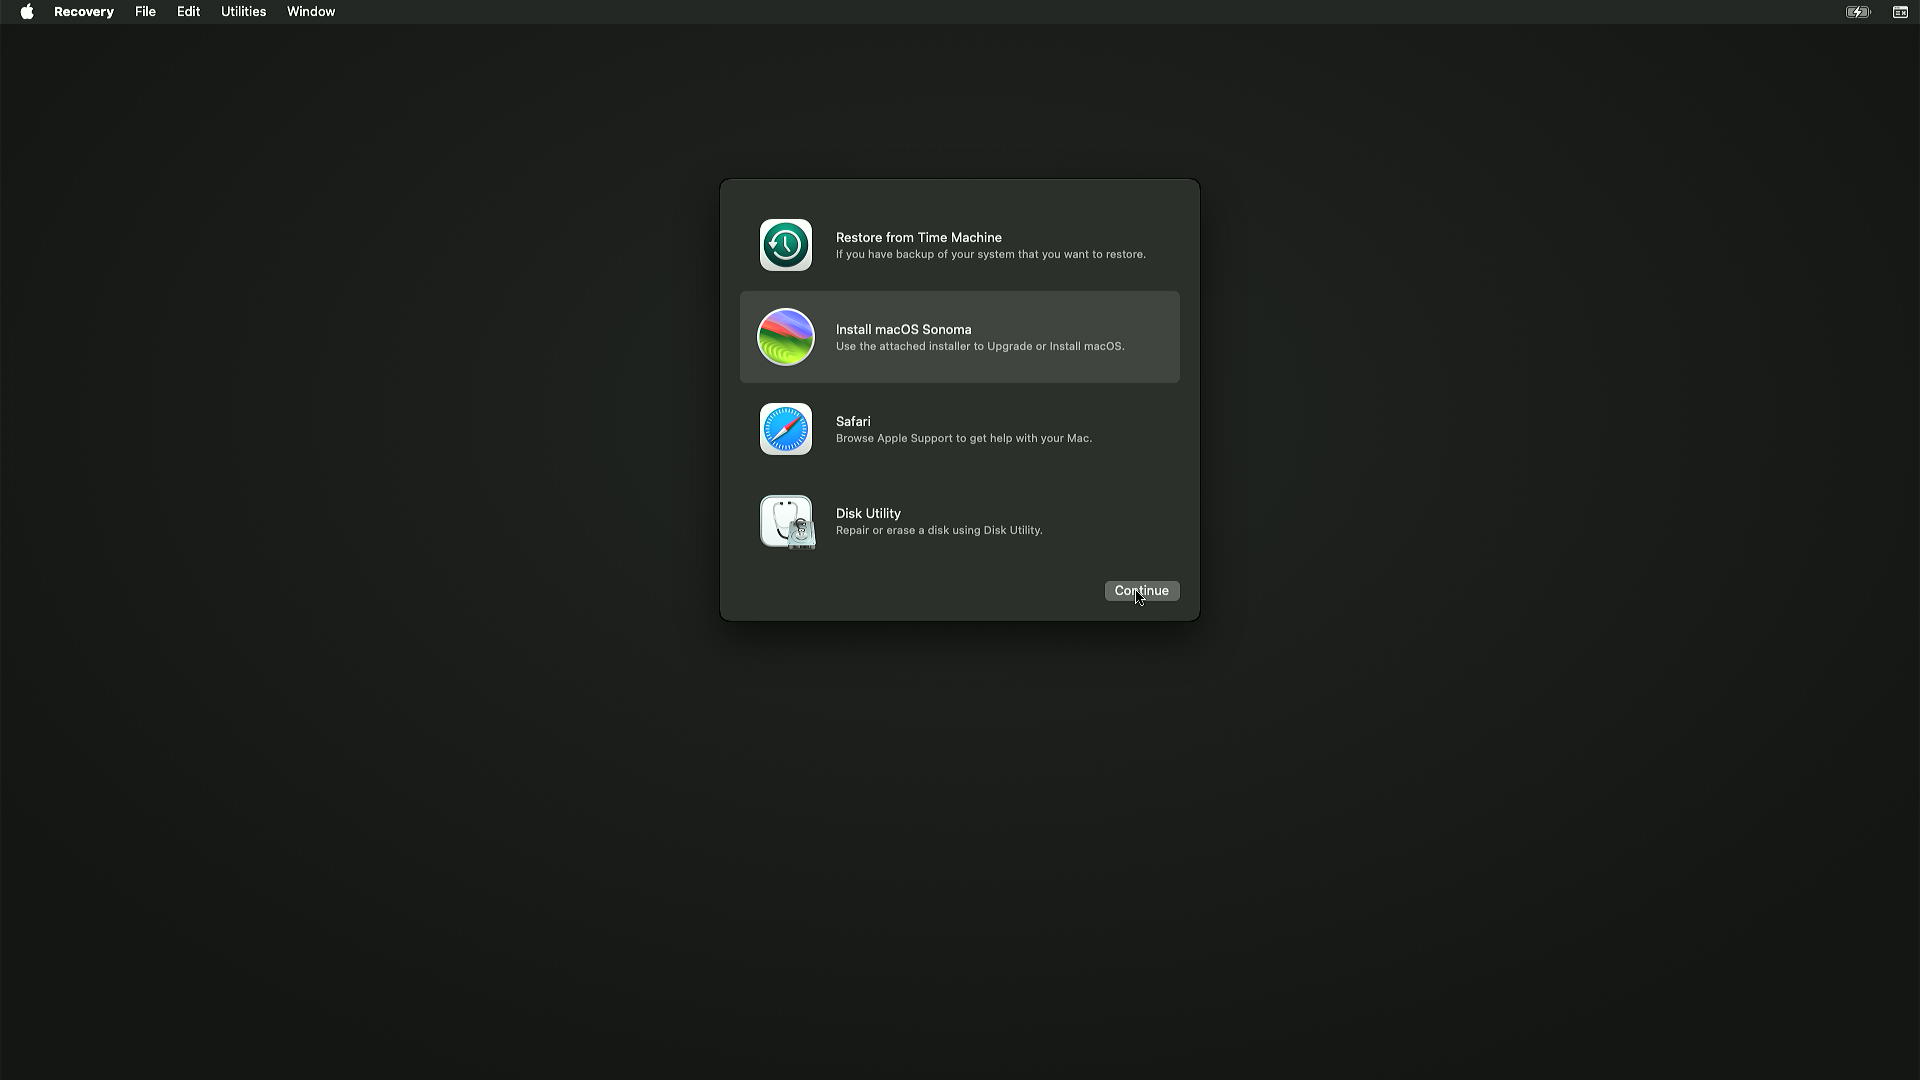
Boot from the USB and choose Install macOS "Sonoma" - or whichever release you are installing.

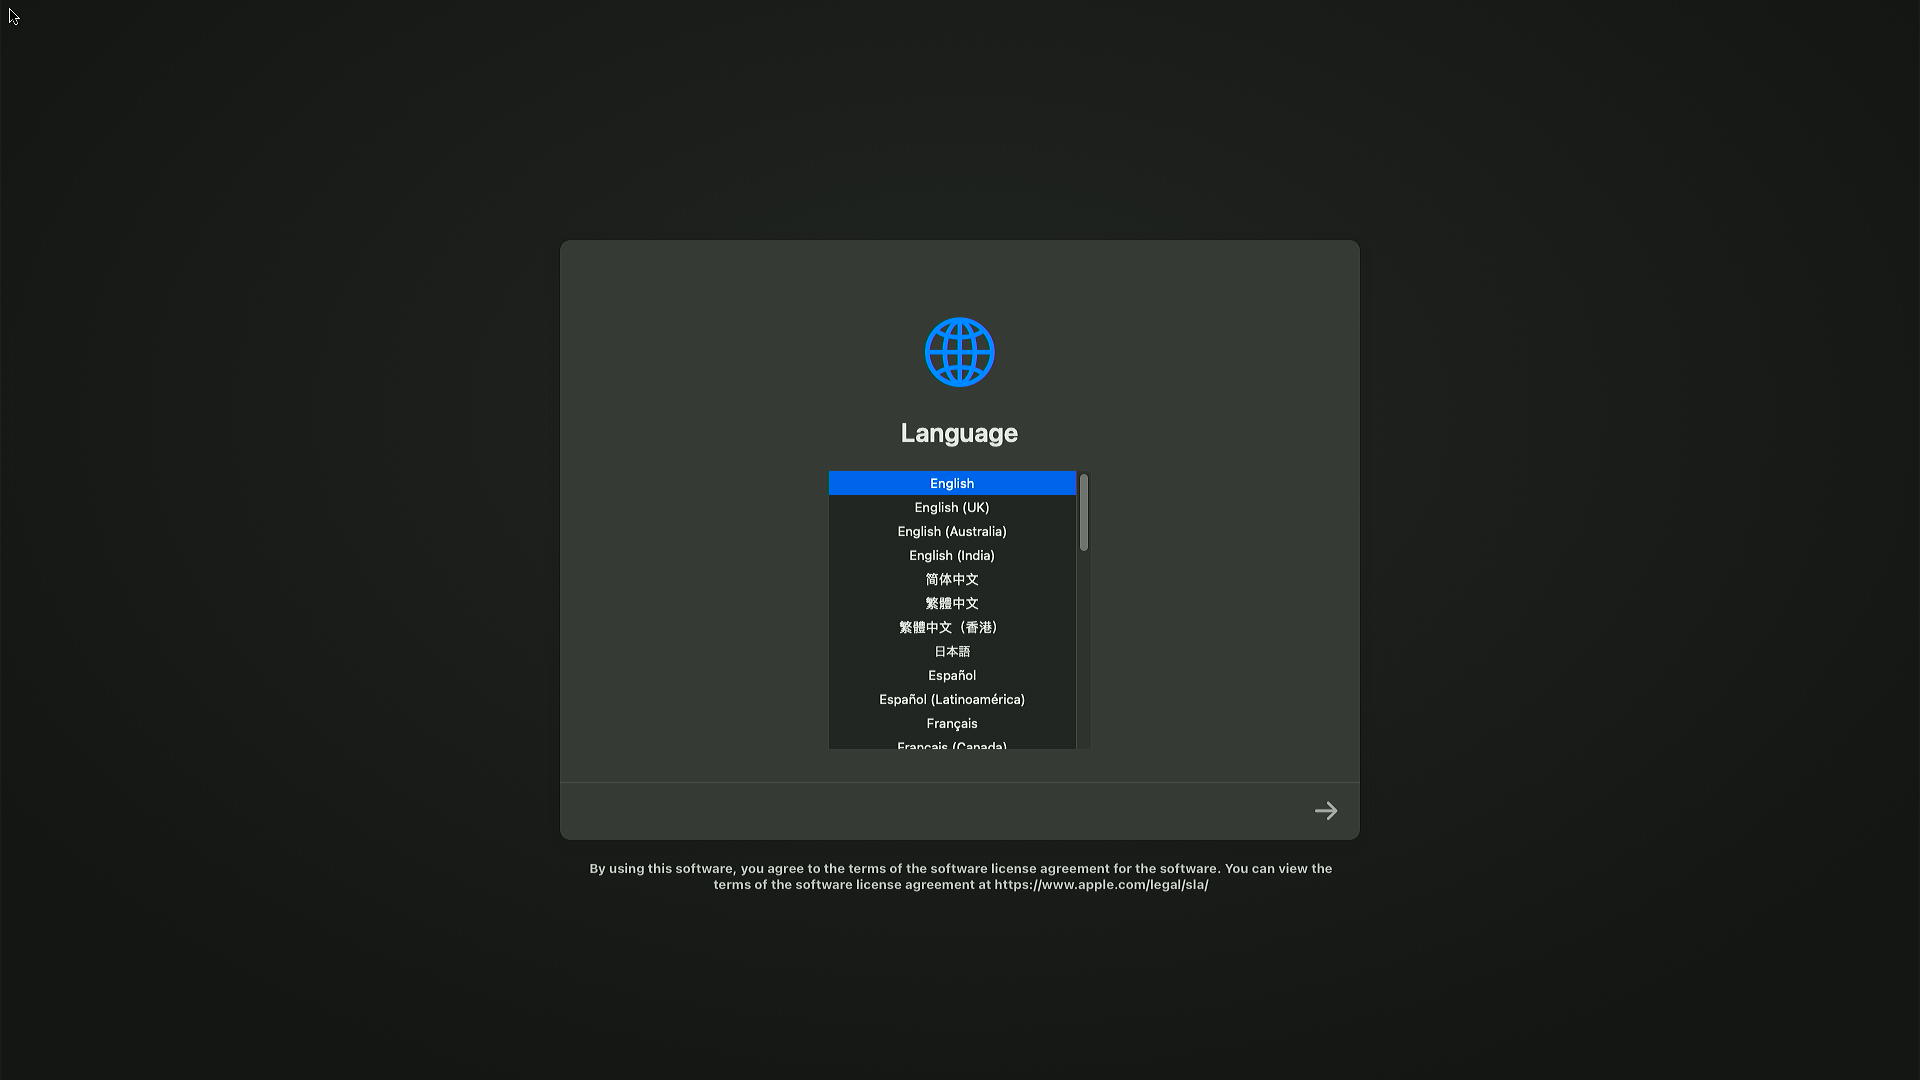
Select your language.
Check the network before you go further
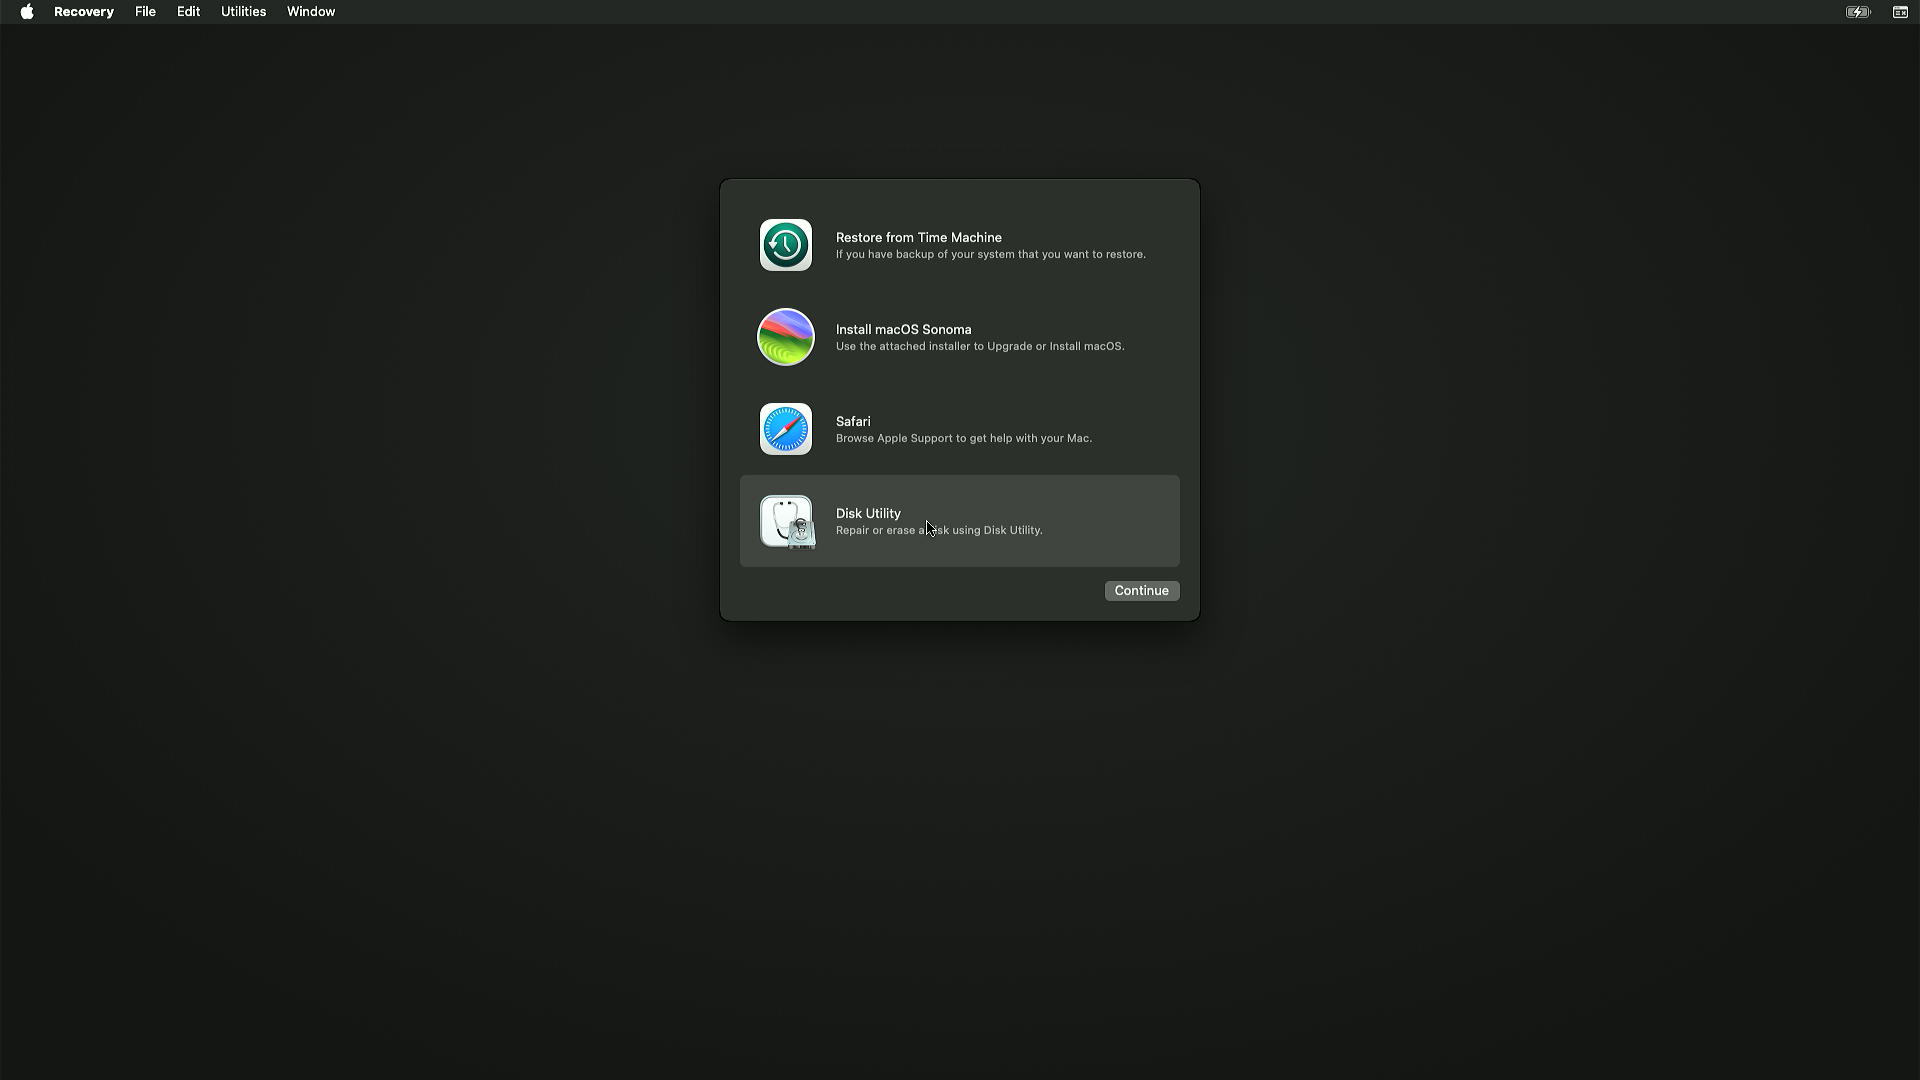
On Ethernet, double-click Safari and see whether a page loads. On Wi-Fi, click the Wi-Fi icon top right, join your network, then test it in Safari.
On the recovery route this is not optional: the installer downloads macOS from here.
Prepare the disk
Open Disk Utility.
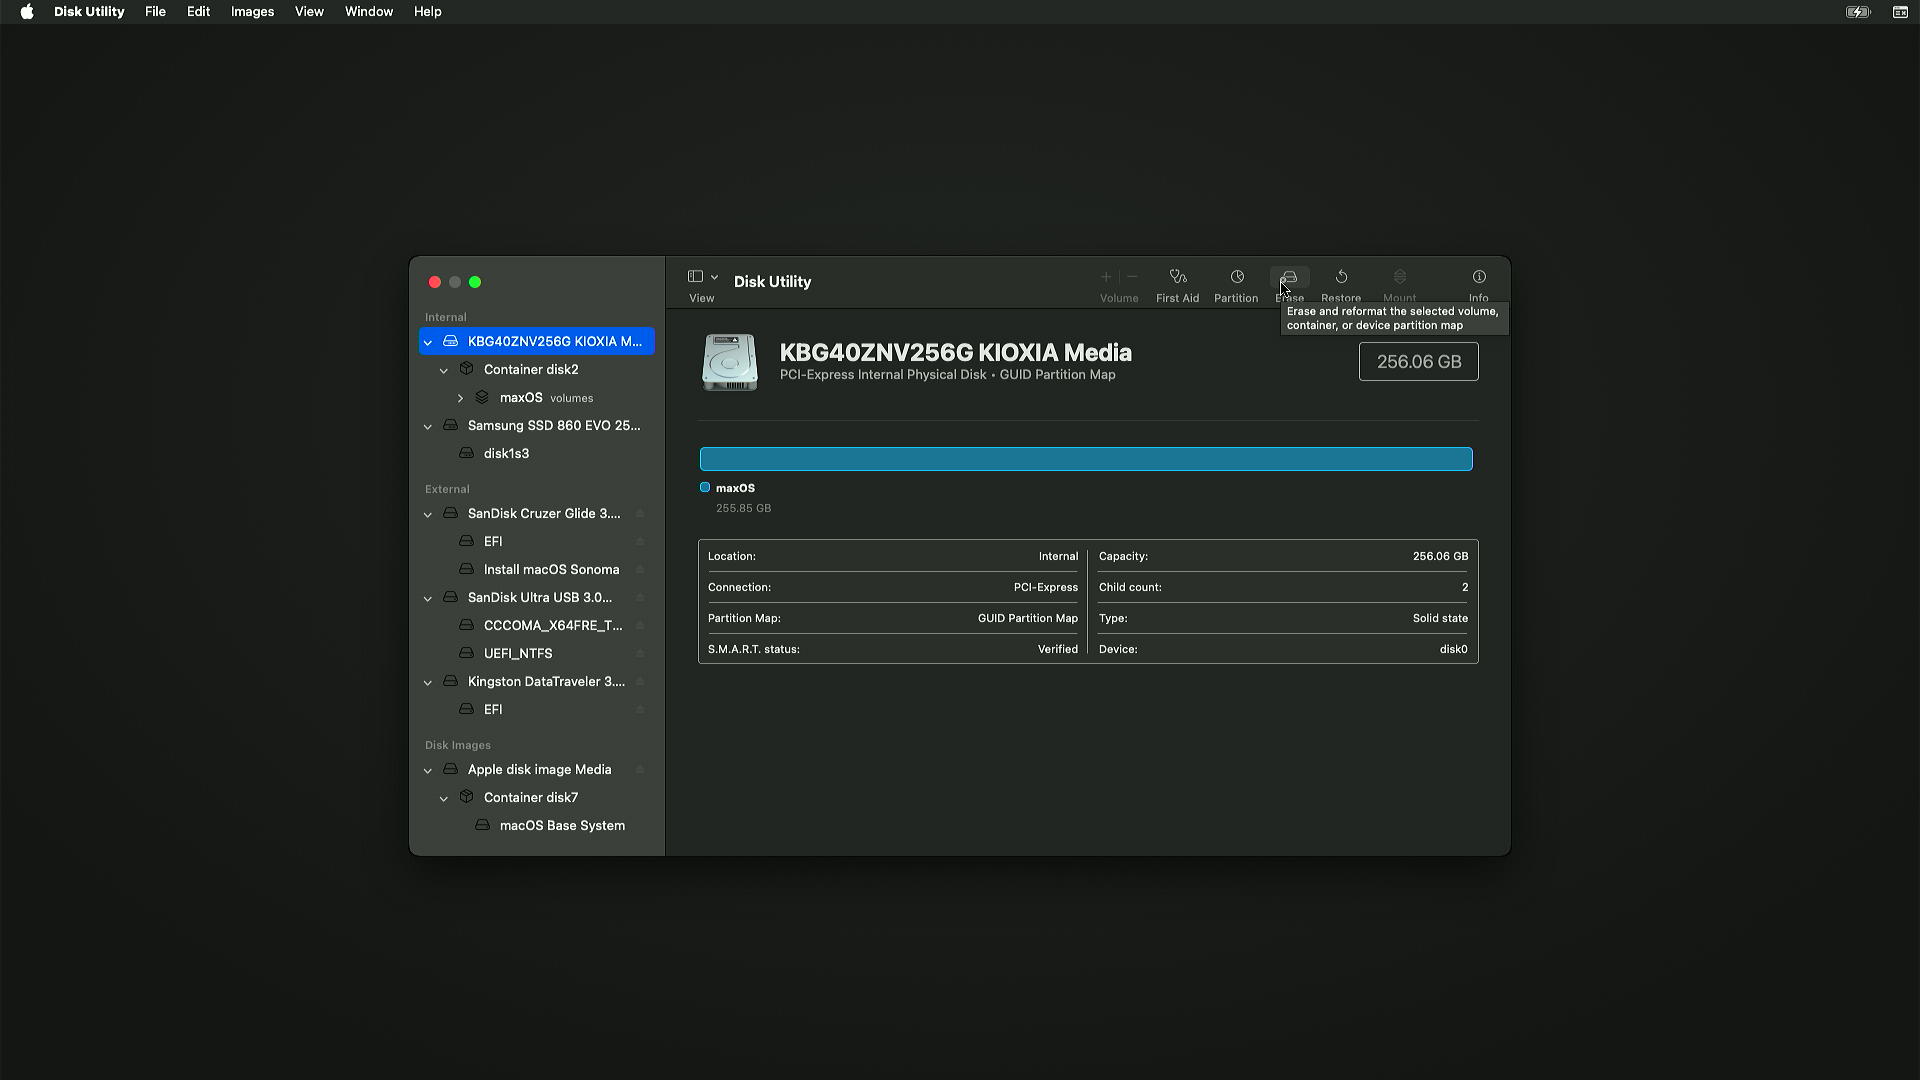
Choose Show All Devices from the View button.

Select the disk you are installing to from the left, and click Erase.
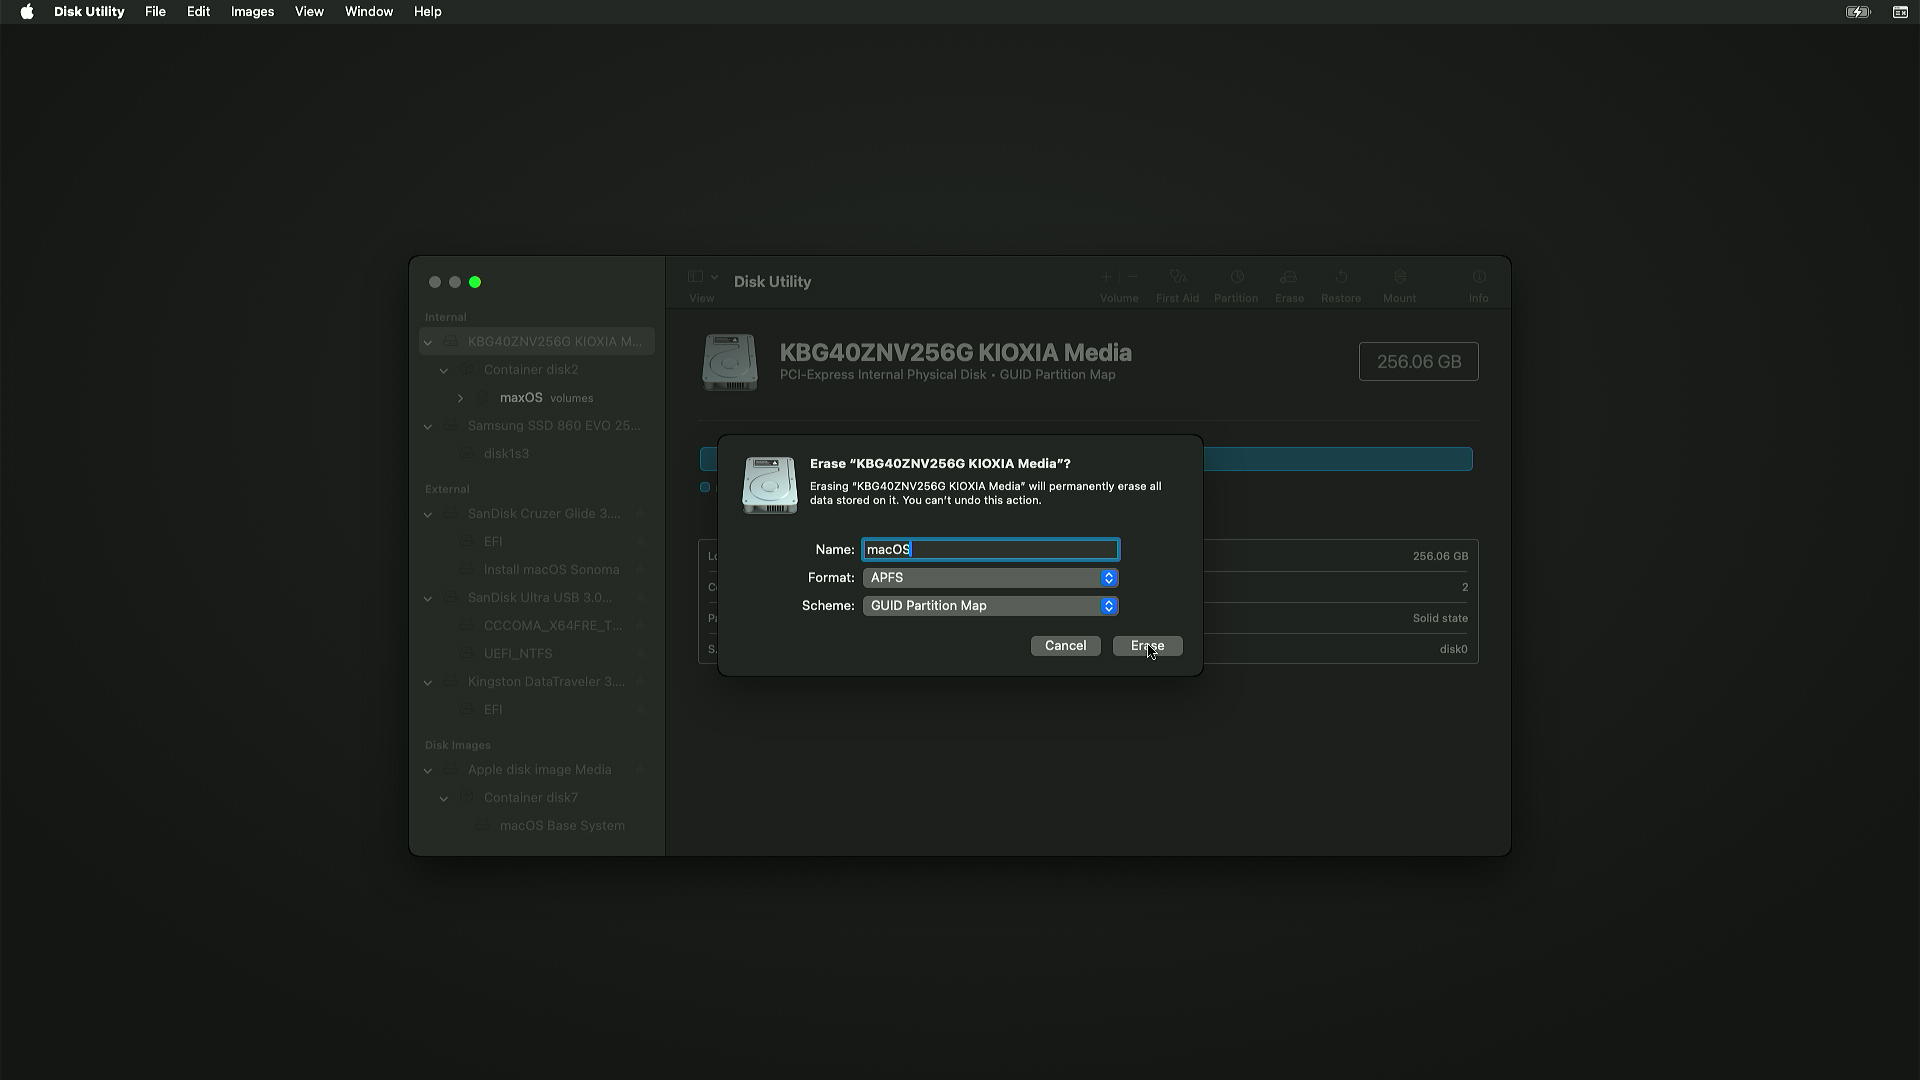
Give the disk a name, set Format to APFS and Scheme to GUID Partition Map. Click Erase.
Create a partition in HFS+ first — video guide.
Then right-click the volume you created in Disk Utility's sidebar and choose Convert to APFS. You can select it on the installer screen and go on.
Select the Container, then click the + button top right.
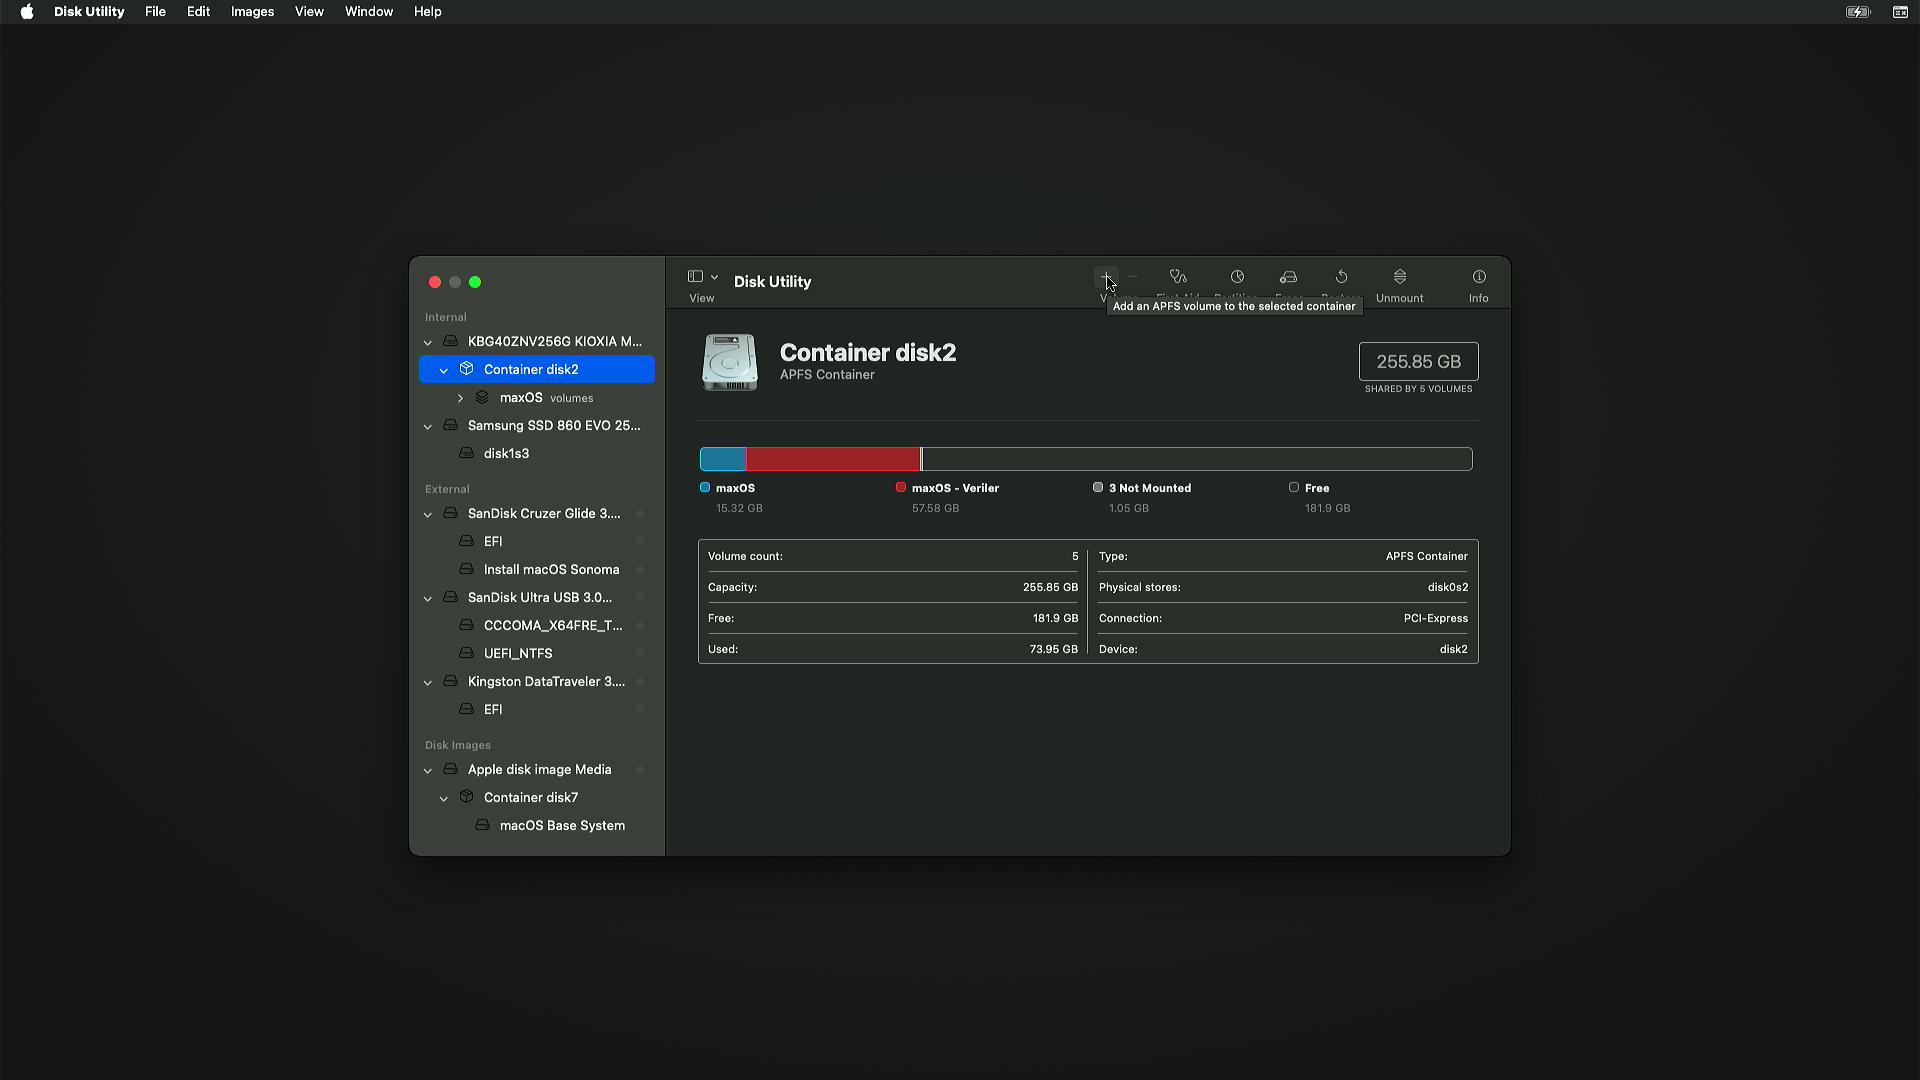
Give the volume a name, set Format to APFS, and click Erase.
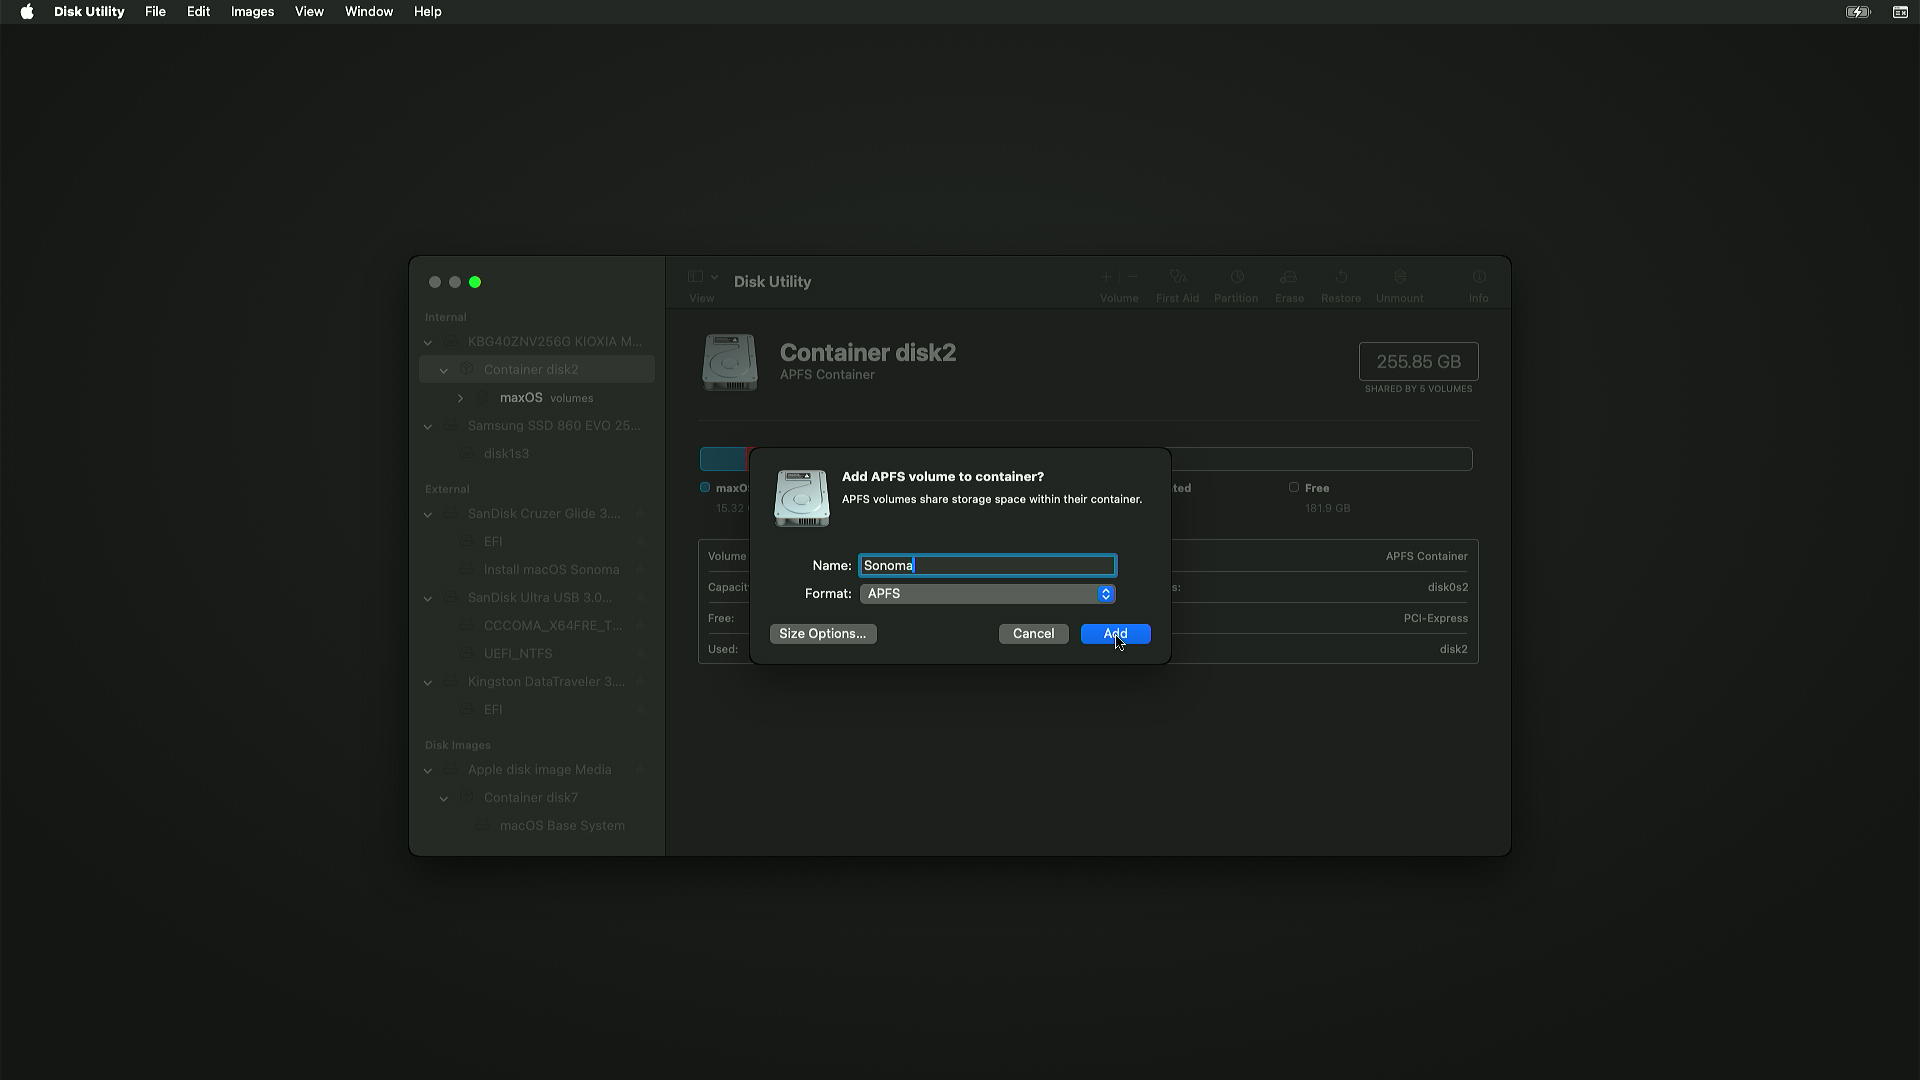
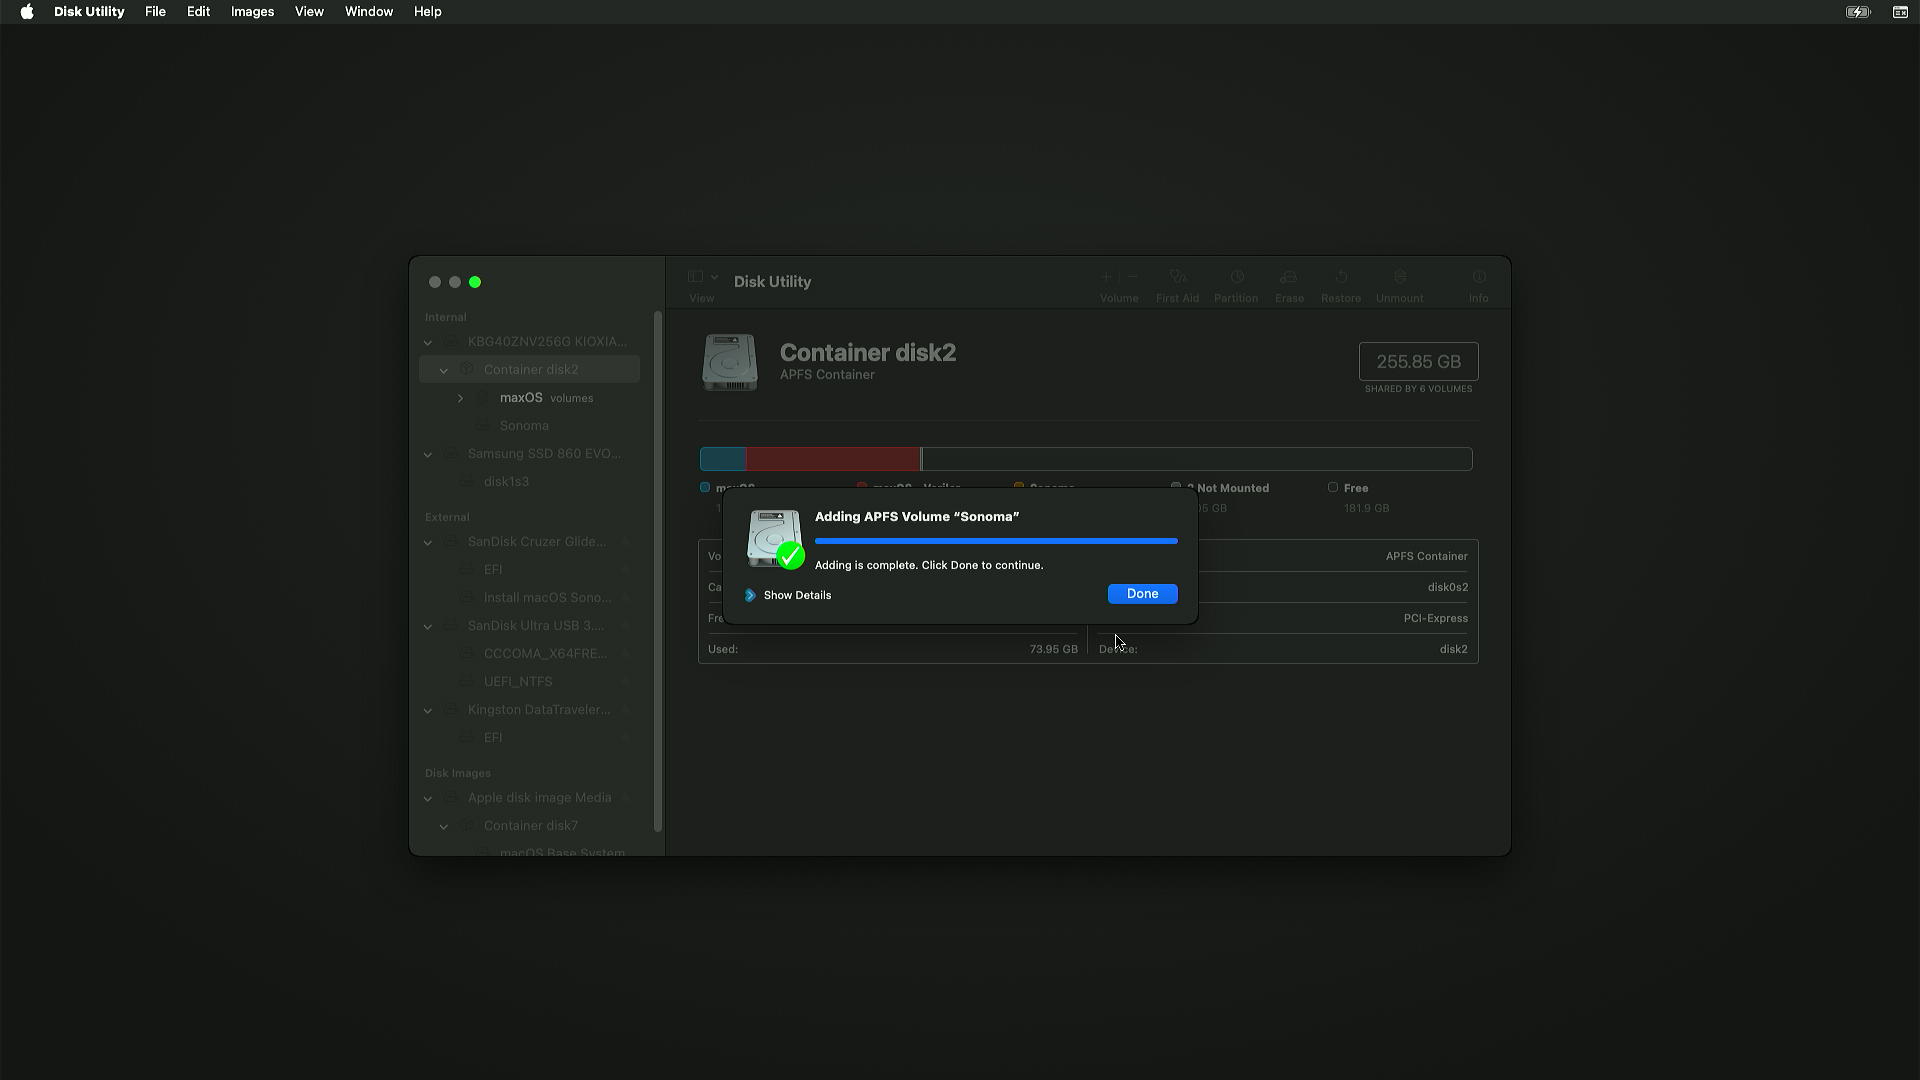
When the erase finishes, click Done.
Run the installer
Close Disk Utility and open Install macOS "Sonoma".
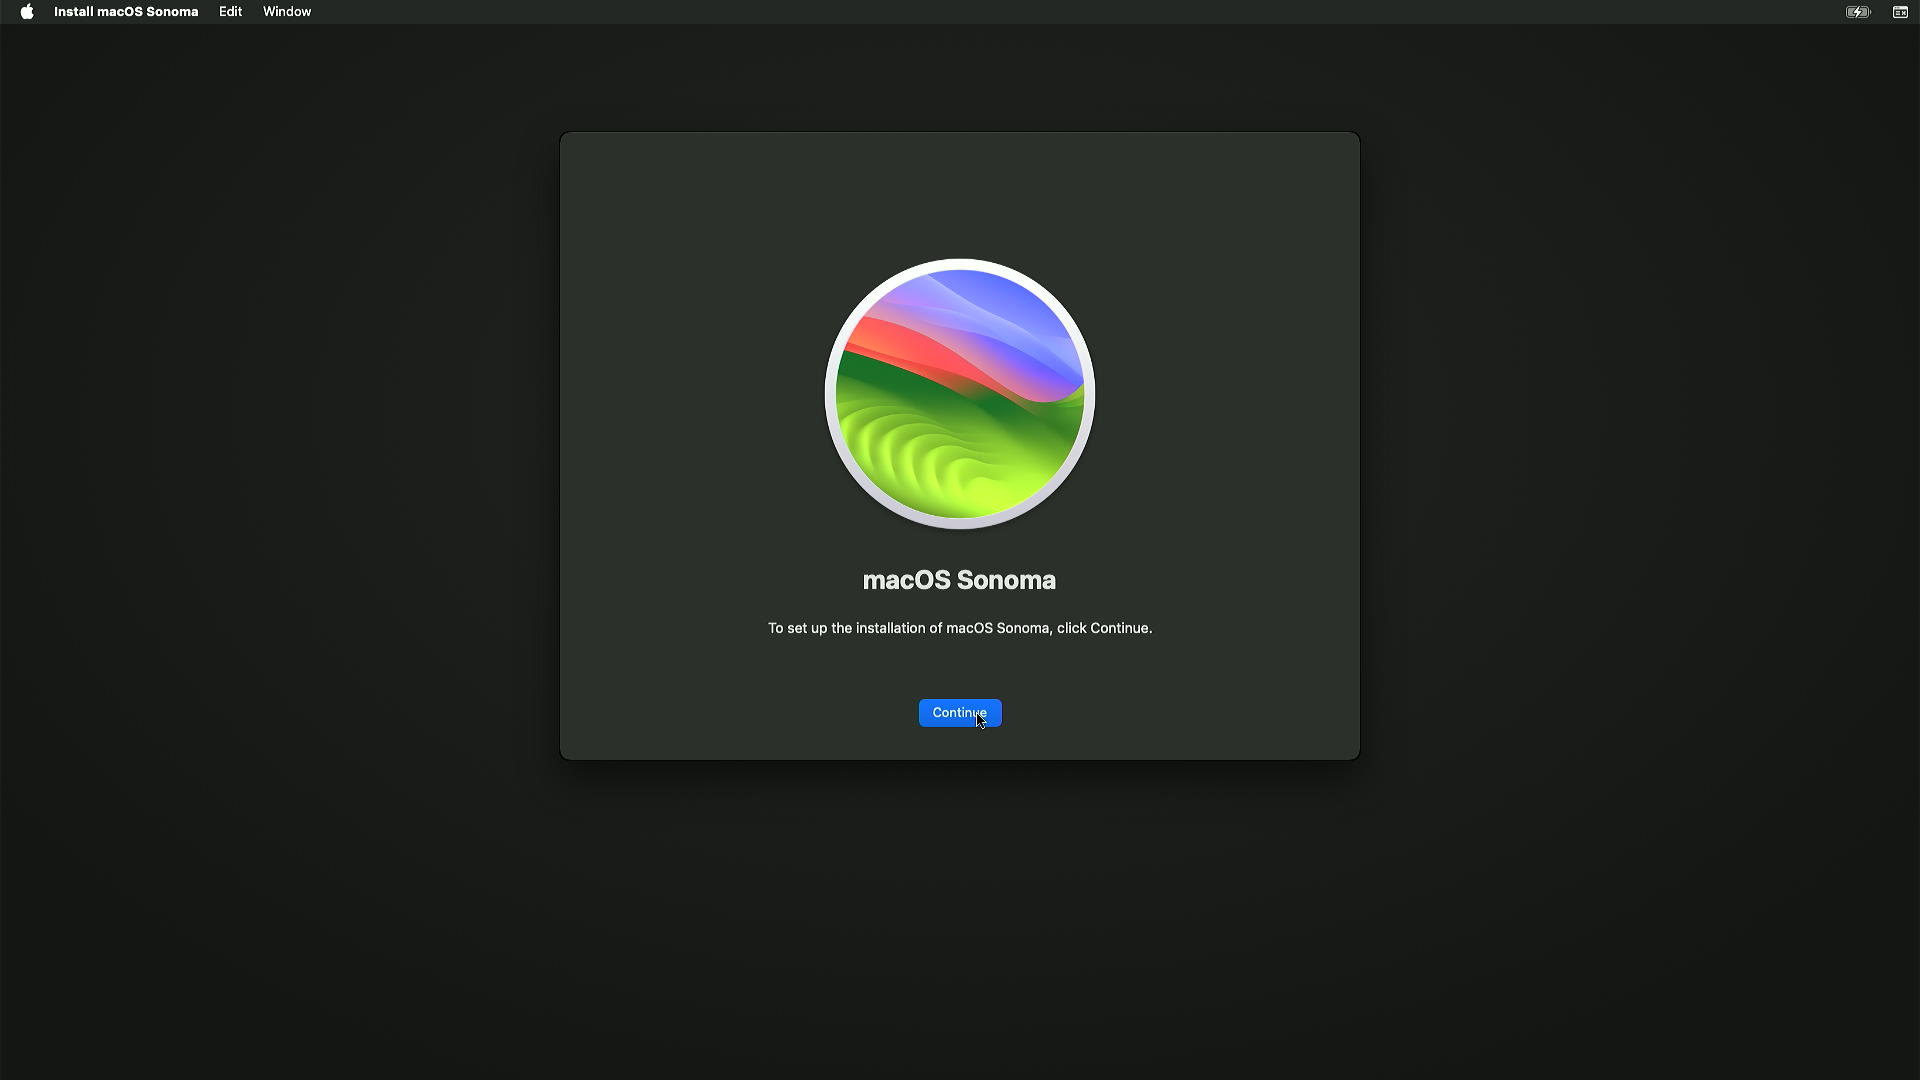
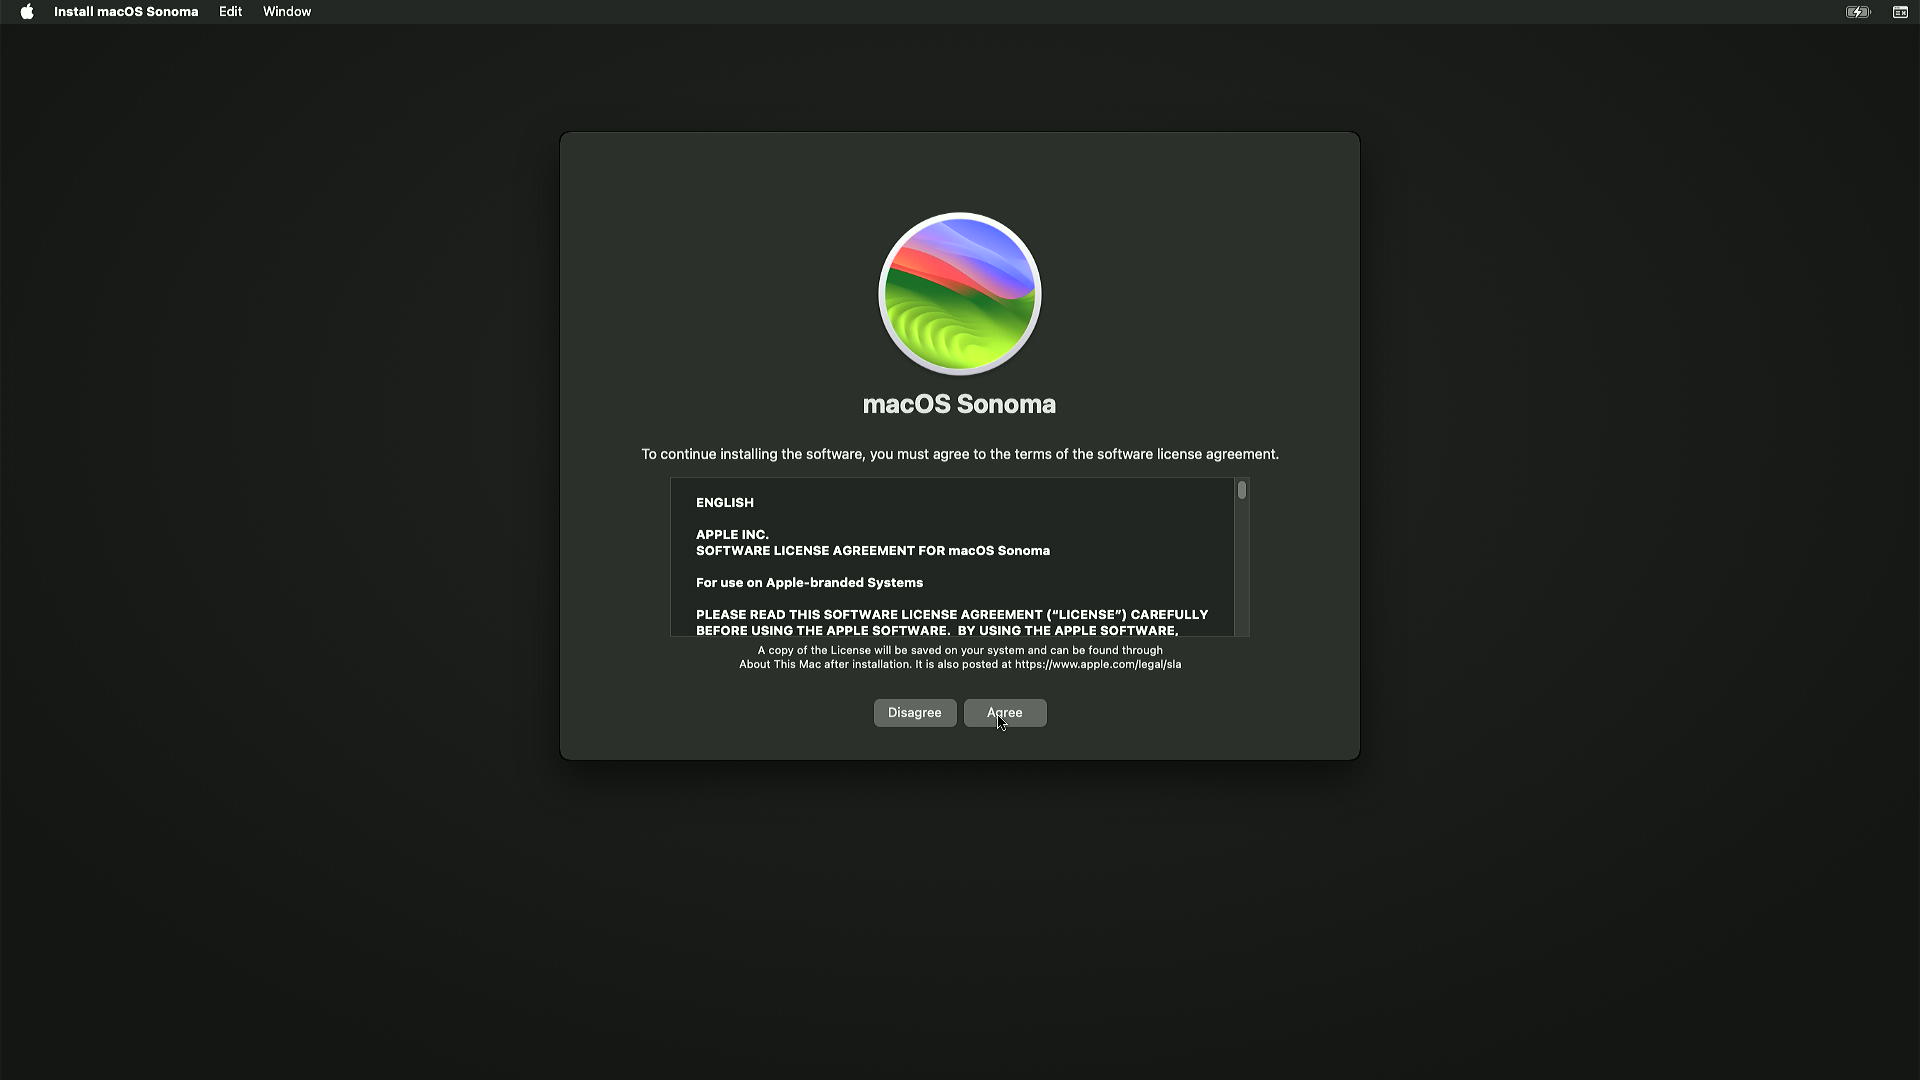
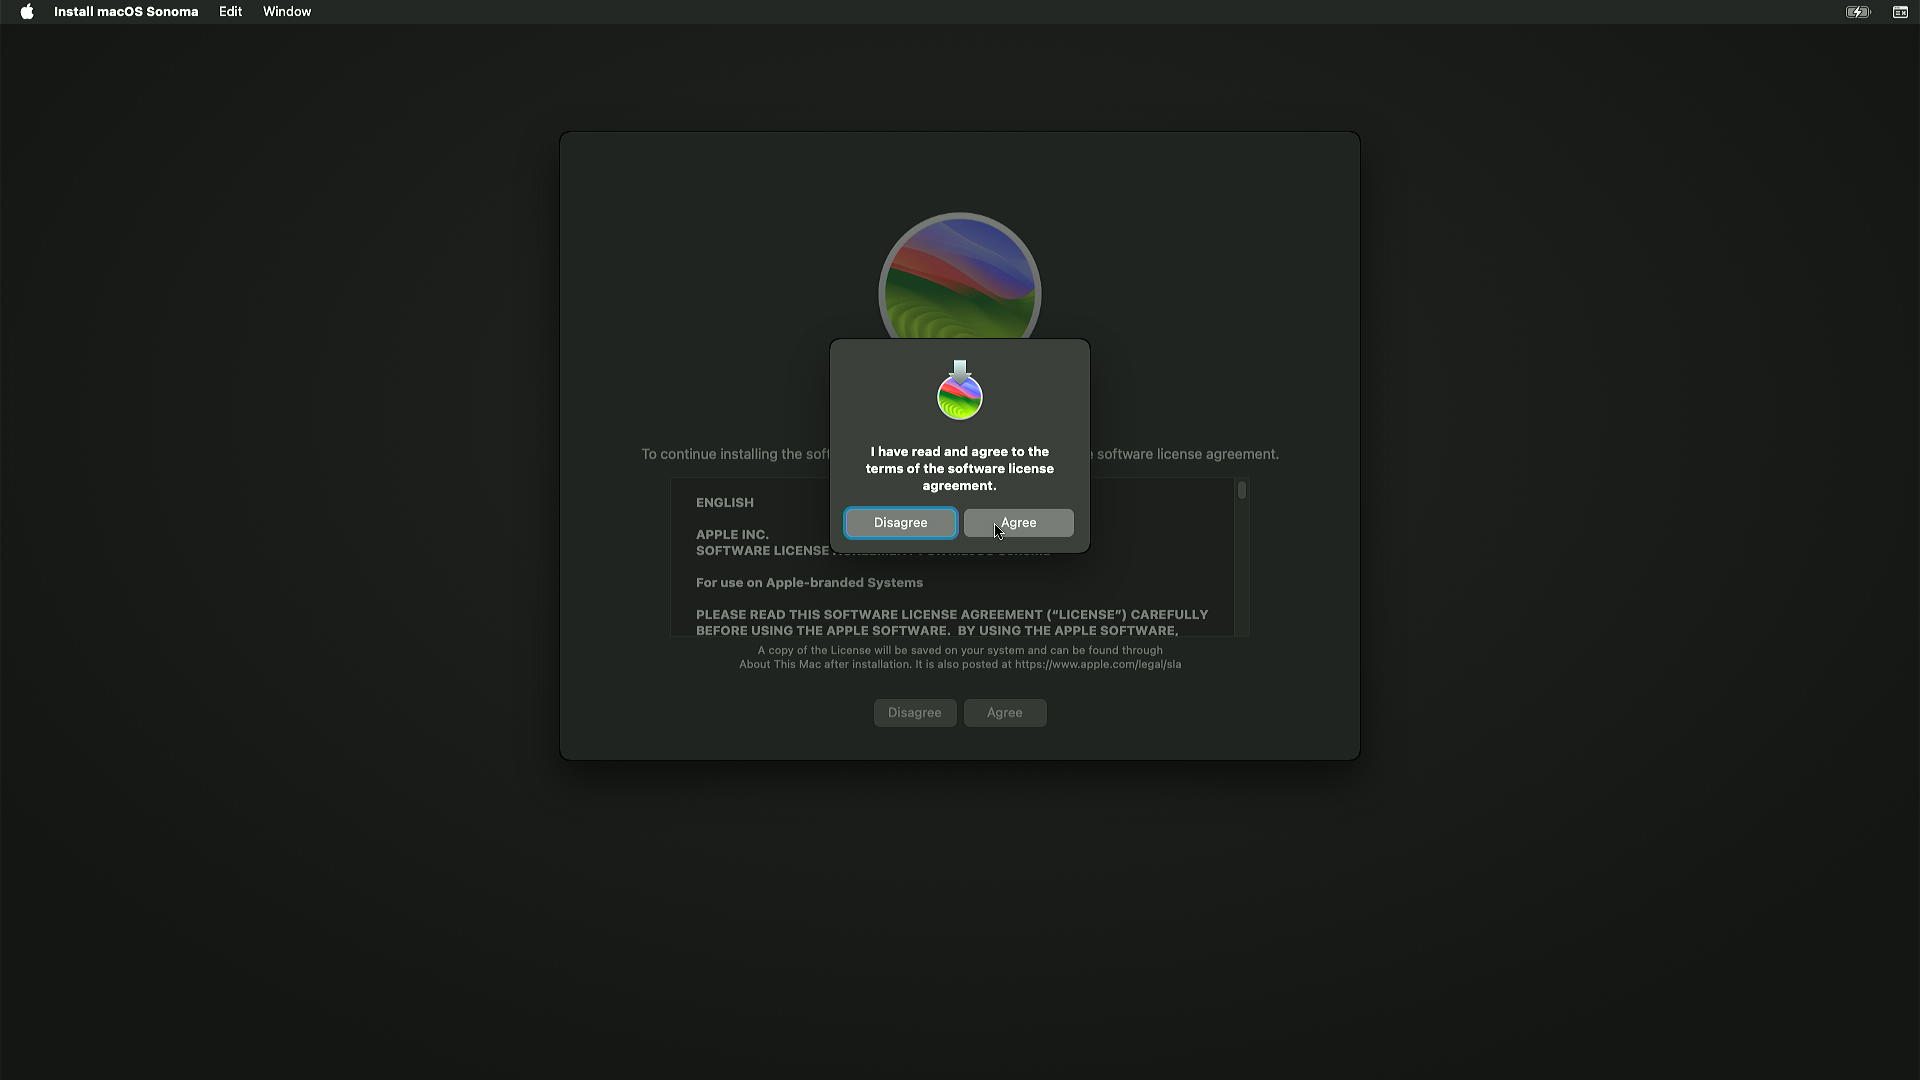
Click Continue, then Agree, then Agree.
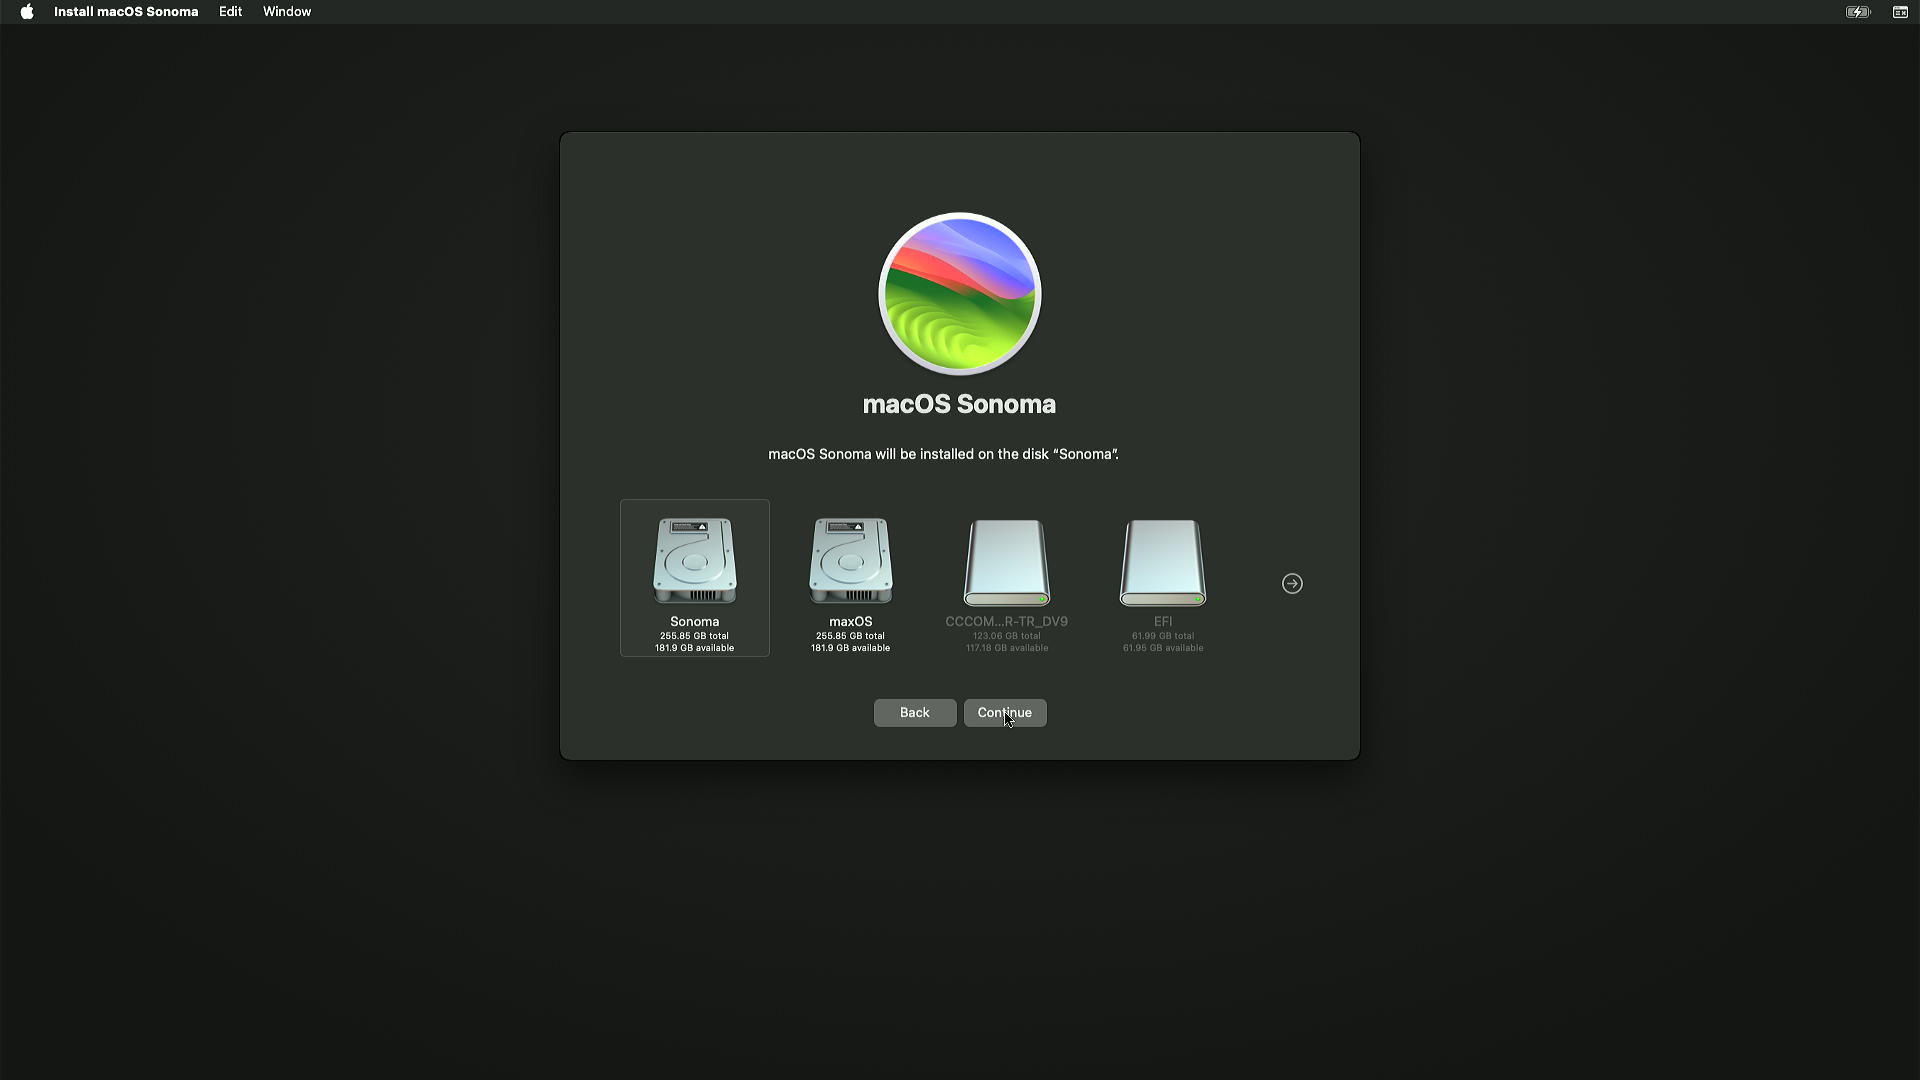
Select the disk you erased, and click Continue.

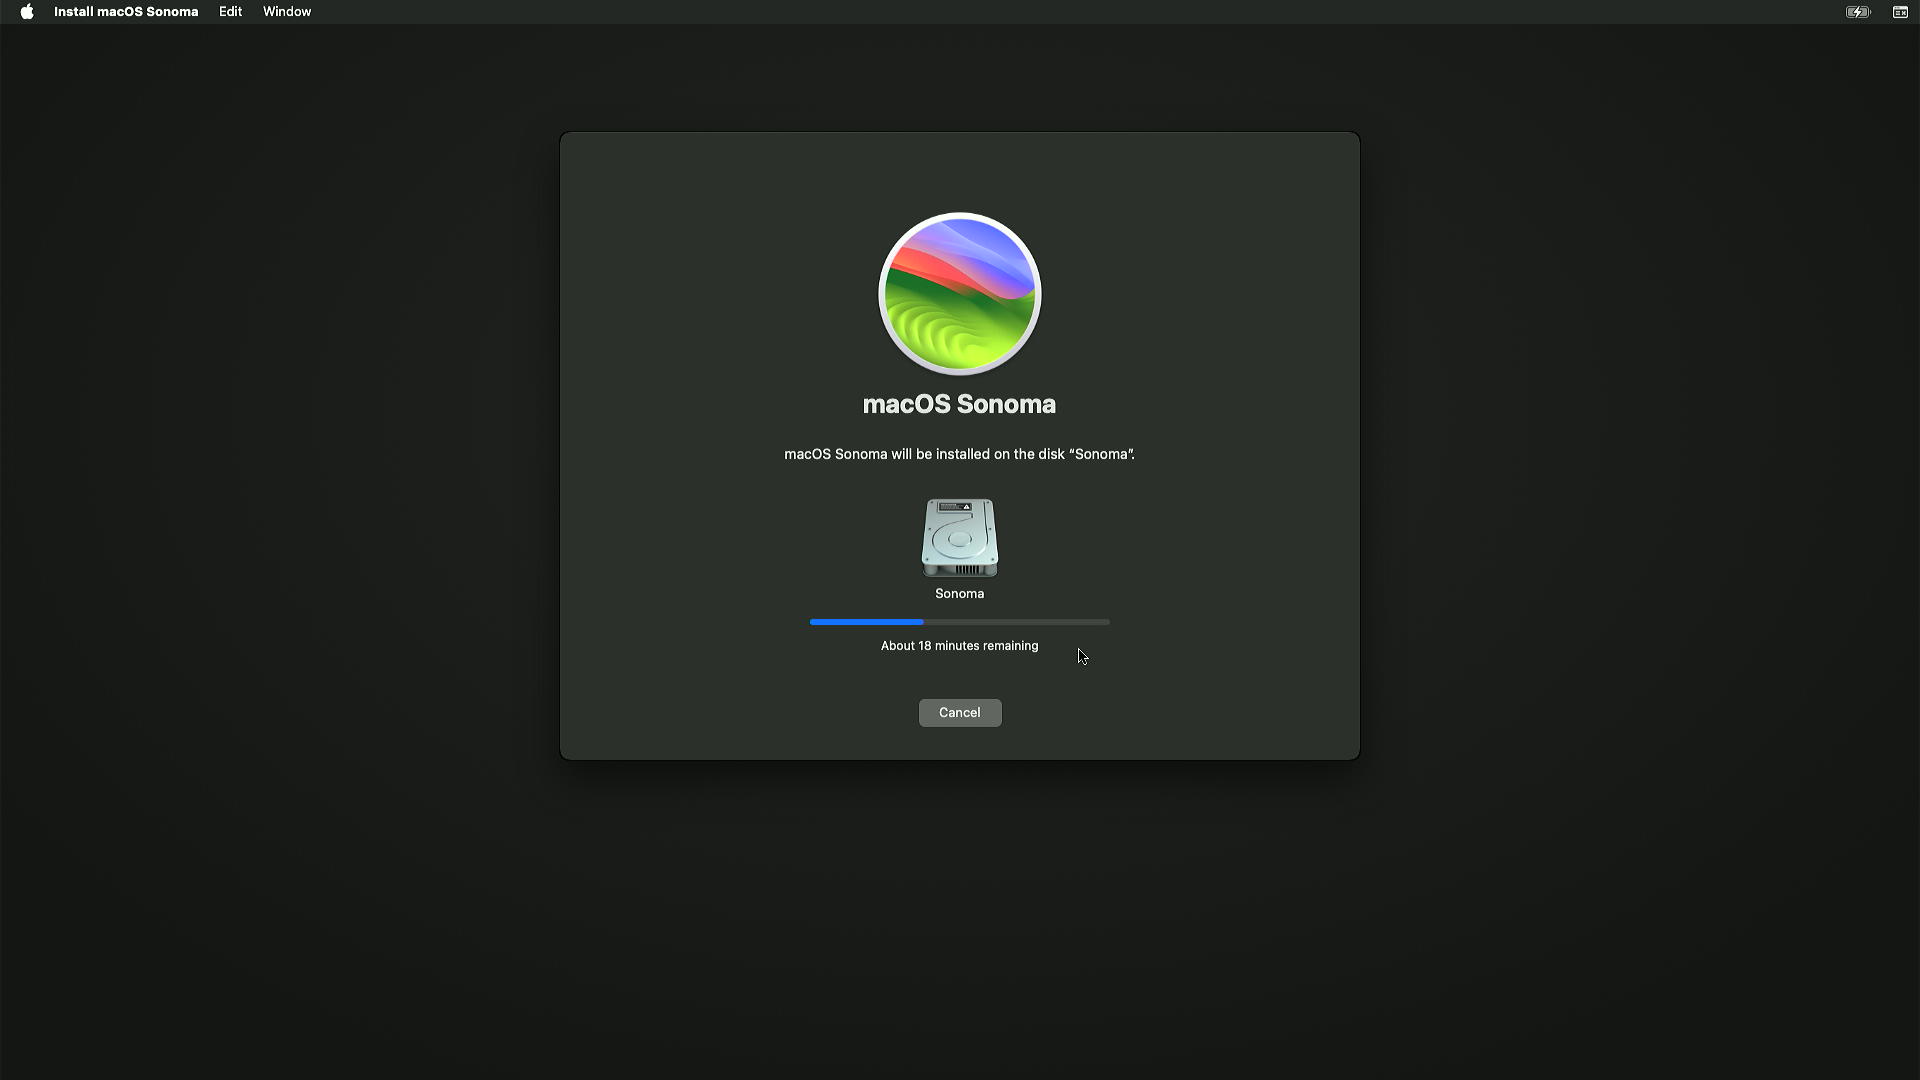
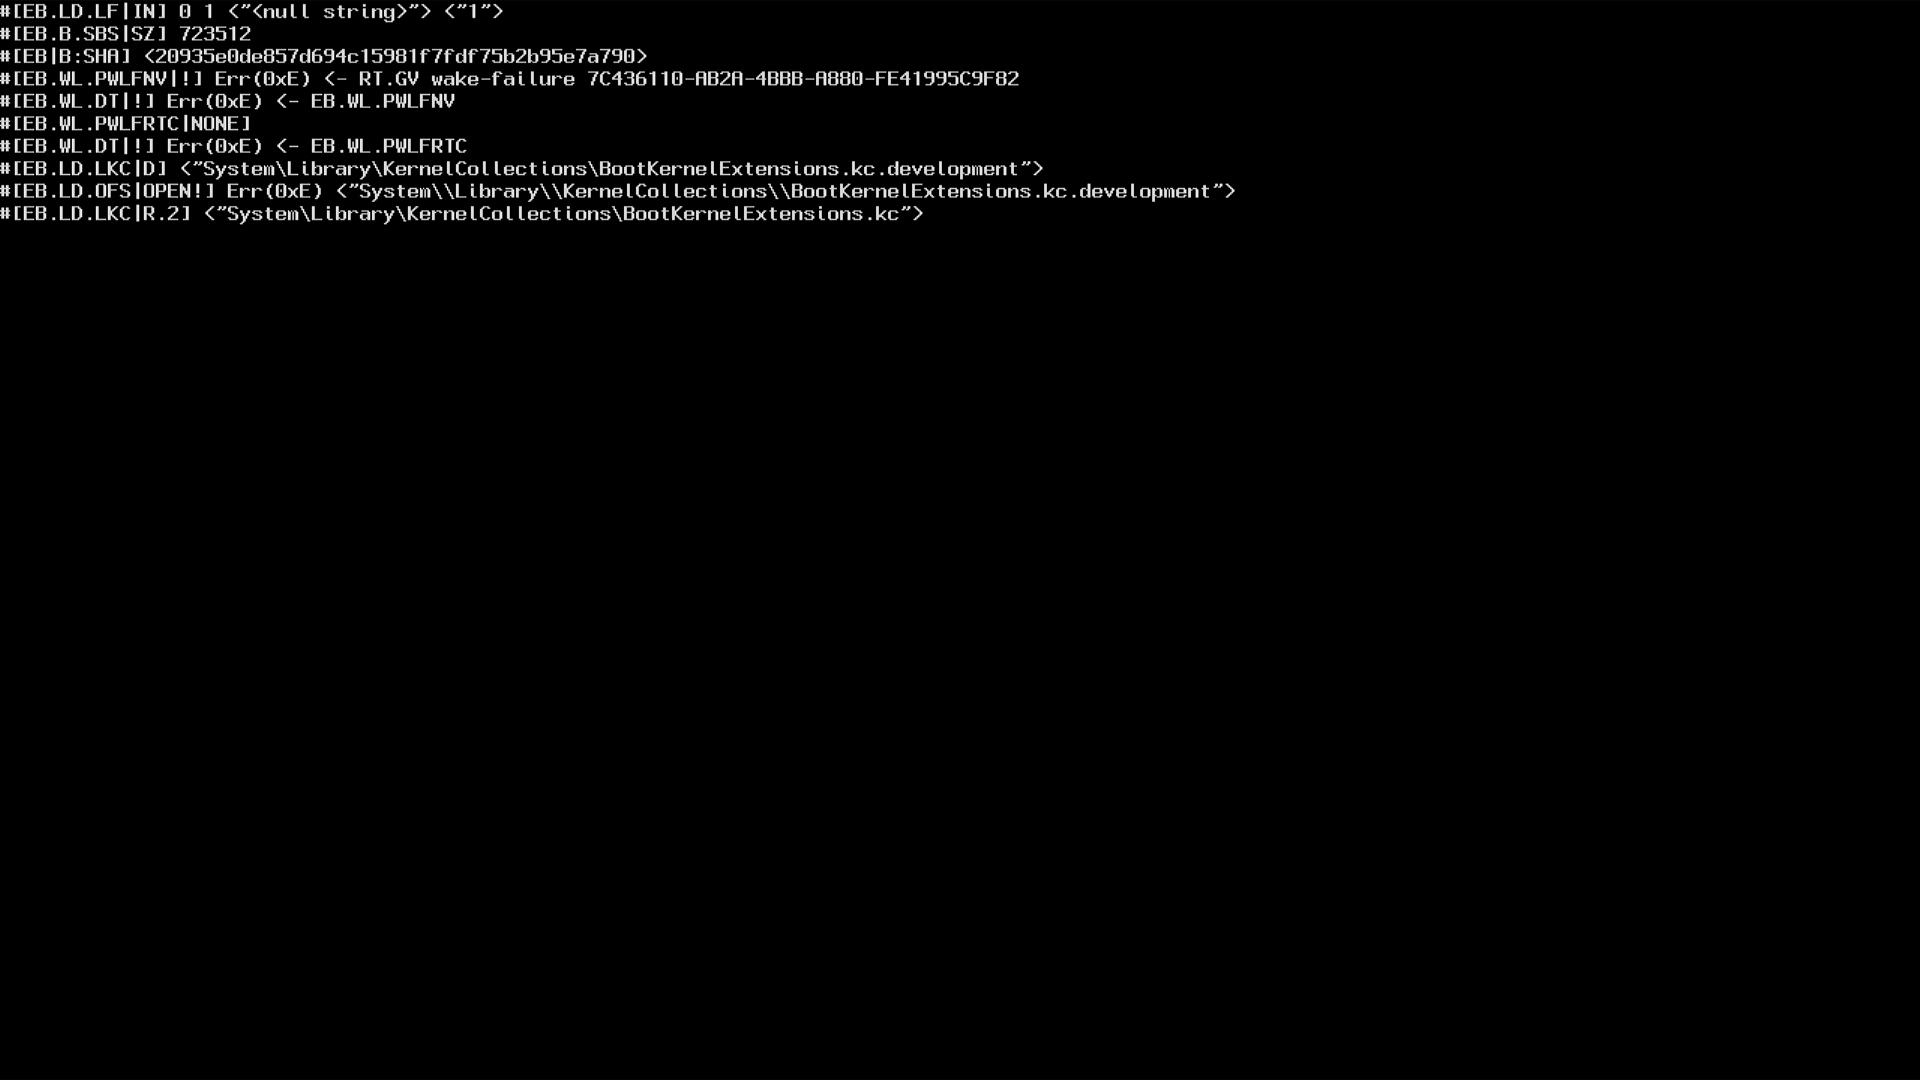
At around 12 minutes remaining the computer restarts into verbose mode.

Which entry to boot after each restart
OpenCore creates a boot entry called OpenCore, and the machine will use it on every restart from now on. Some firmware refuses custom entries - if you have another operating system on this computer, select the USB from the boot menu at every restart instead.
After the first restart, choose macOS Installer in the OpenCore menu.

You get the Apple logo and a time bar, and then another restart.
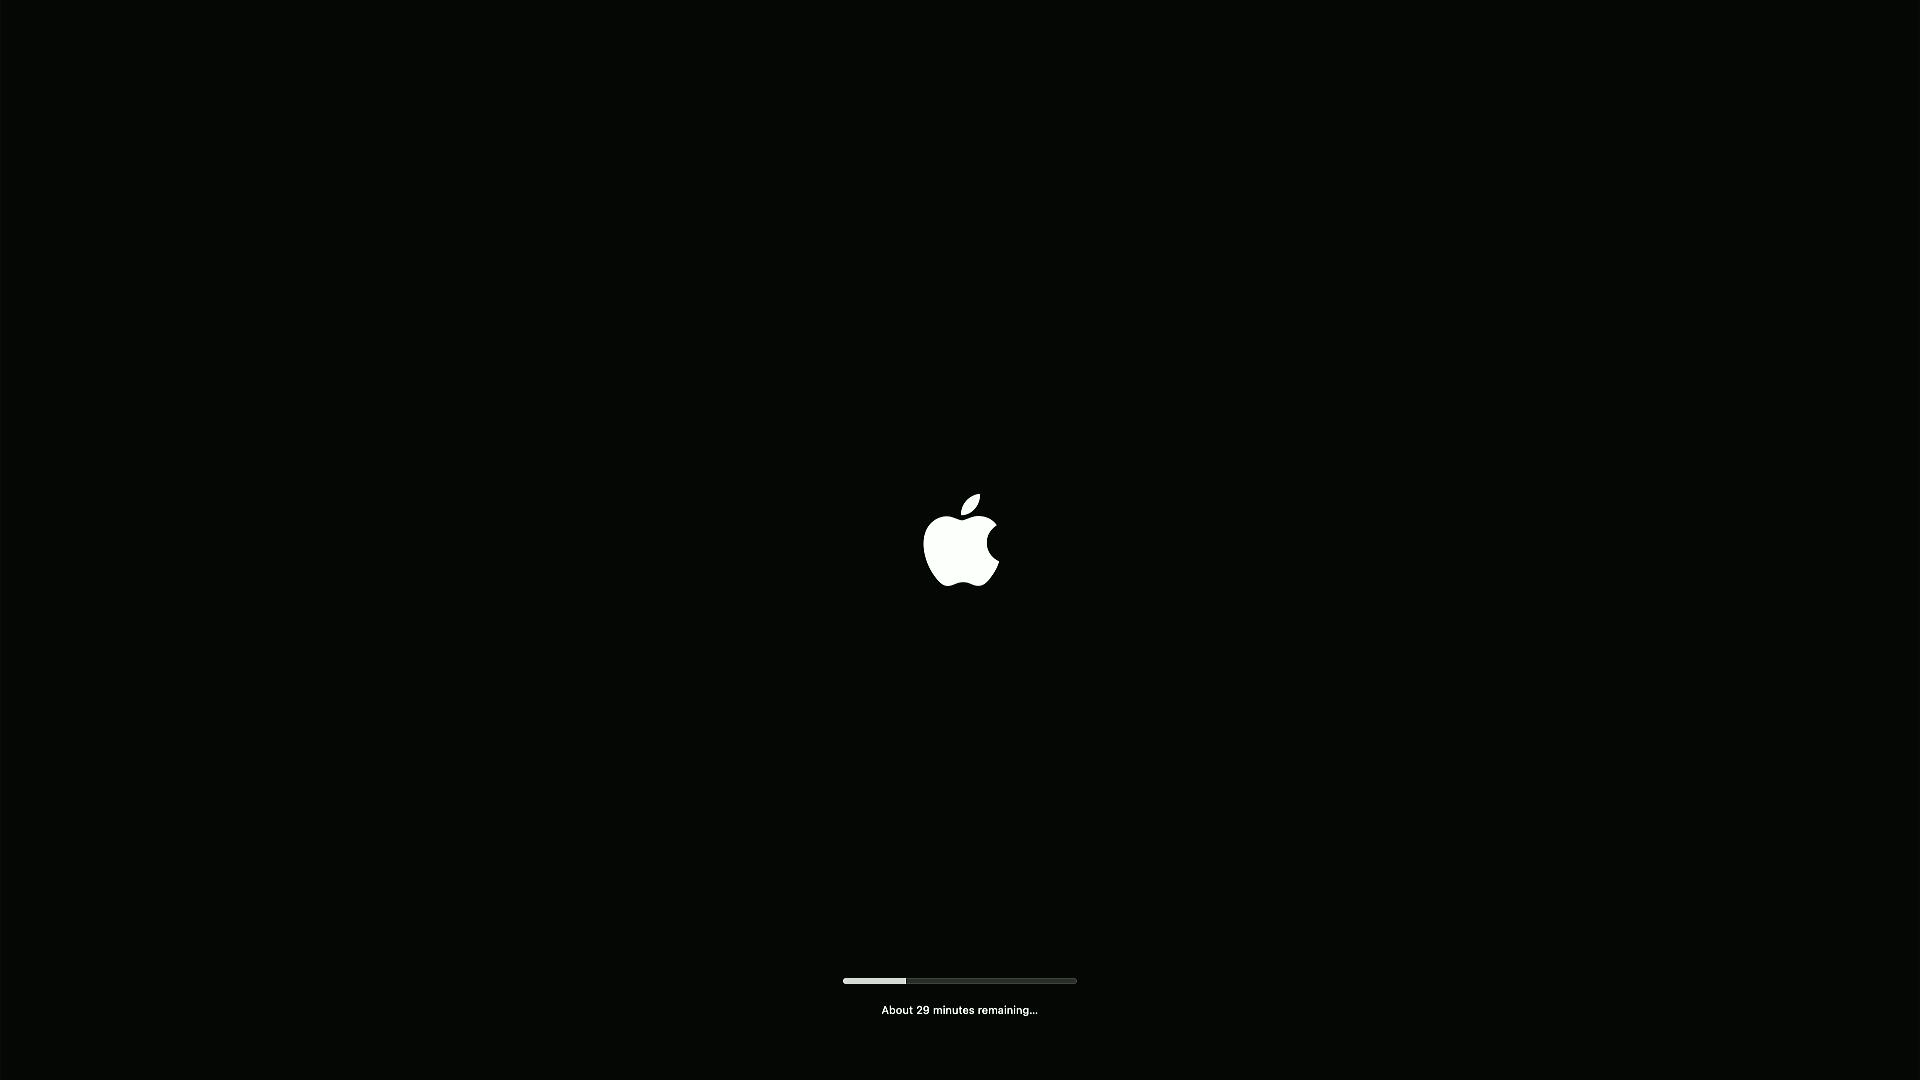

Keep choosing macOS Installer until that option disappears. On the last reboot you will see the name you gave the disk - select that.

Set macOS up
Choose your country.
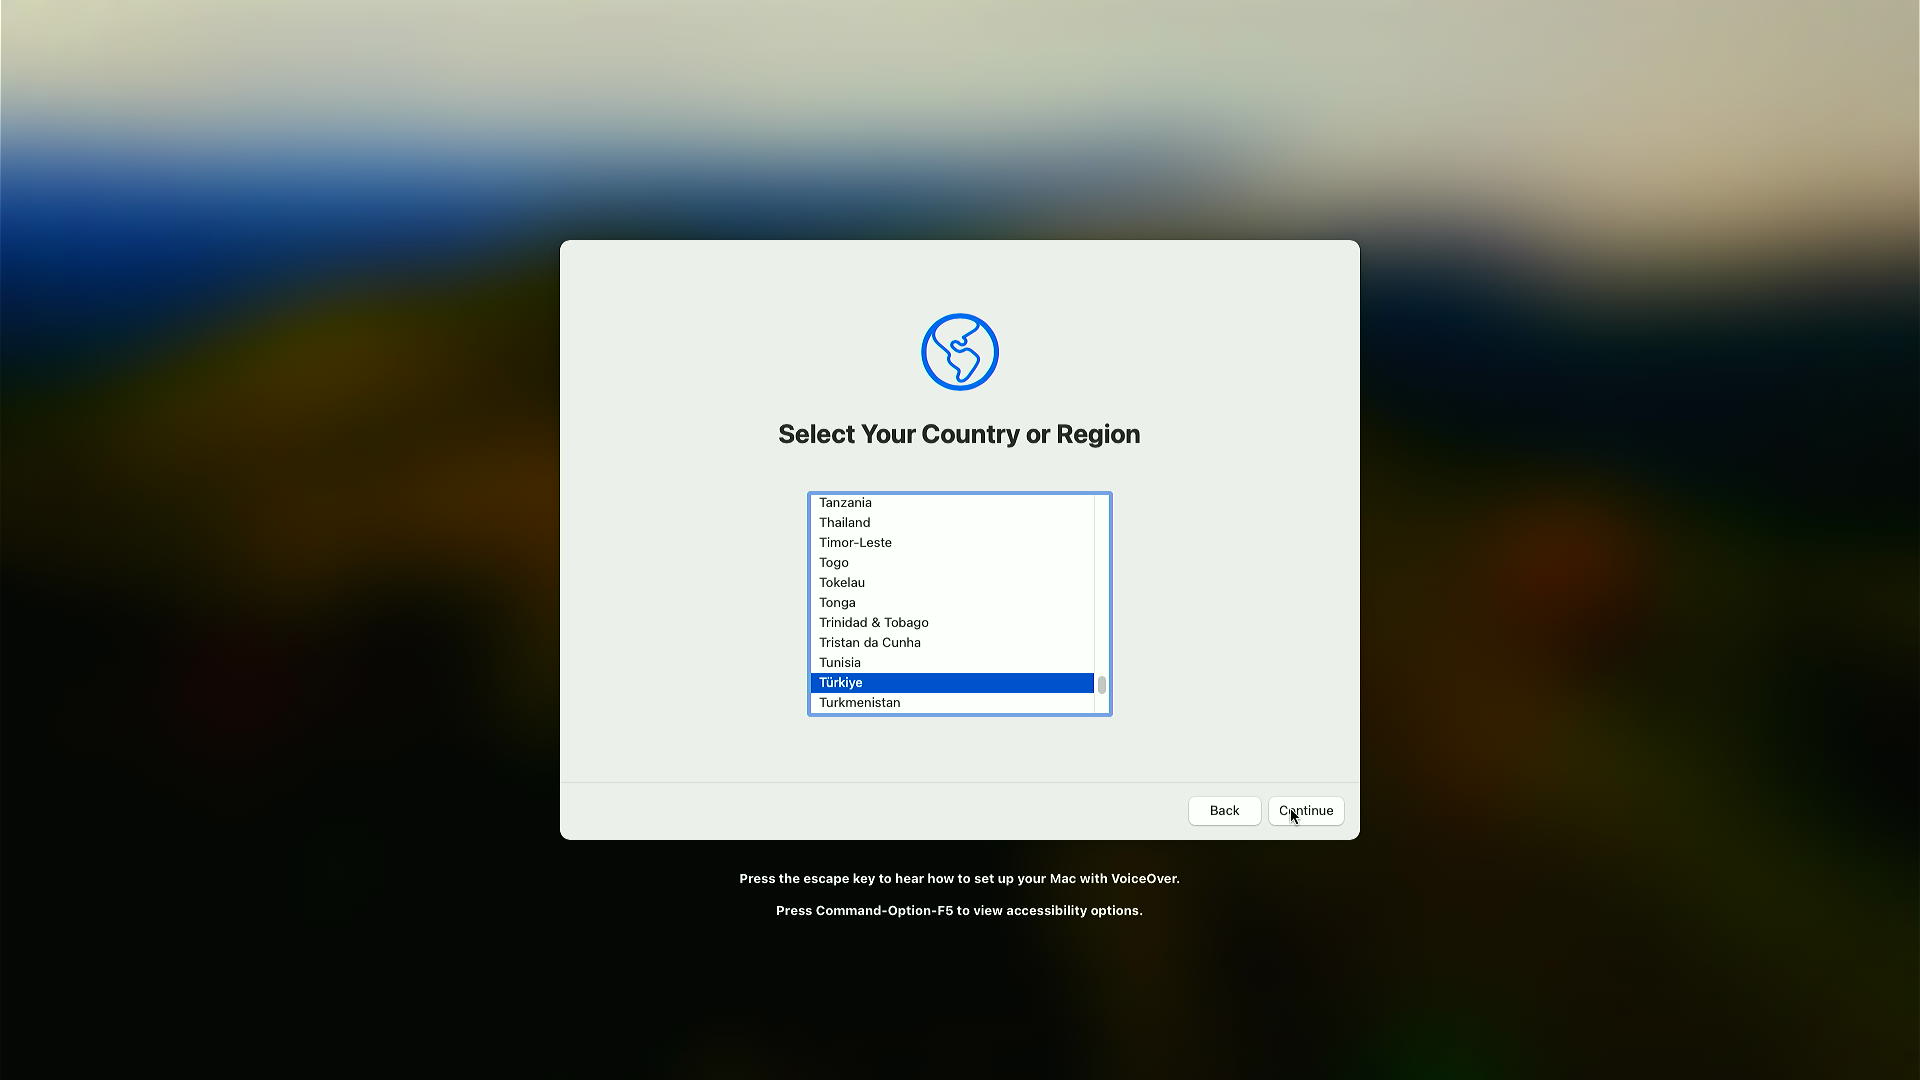
Here the guide clicks Customize Settings, because the machine is used in English while the keyboard and native language are not. If the defaults suit you, click Continue.
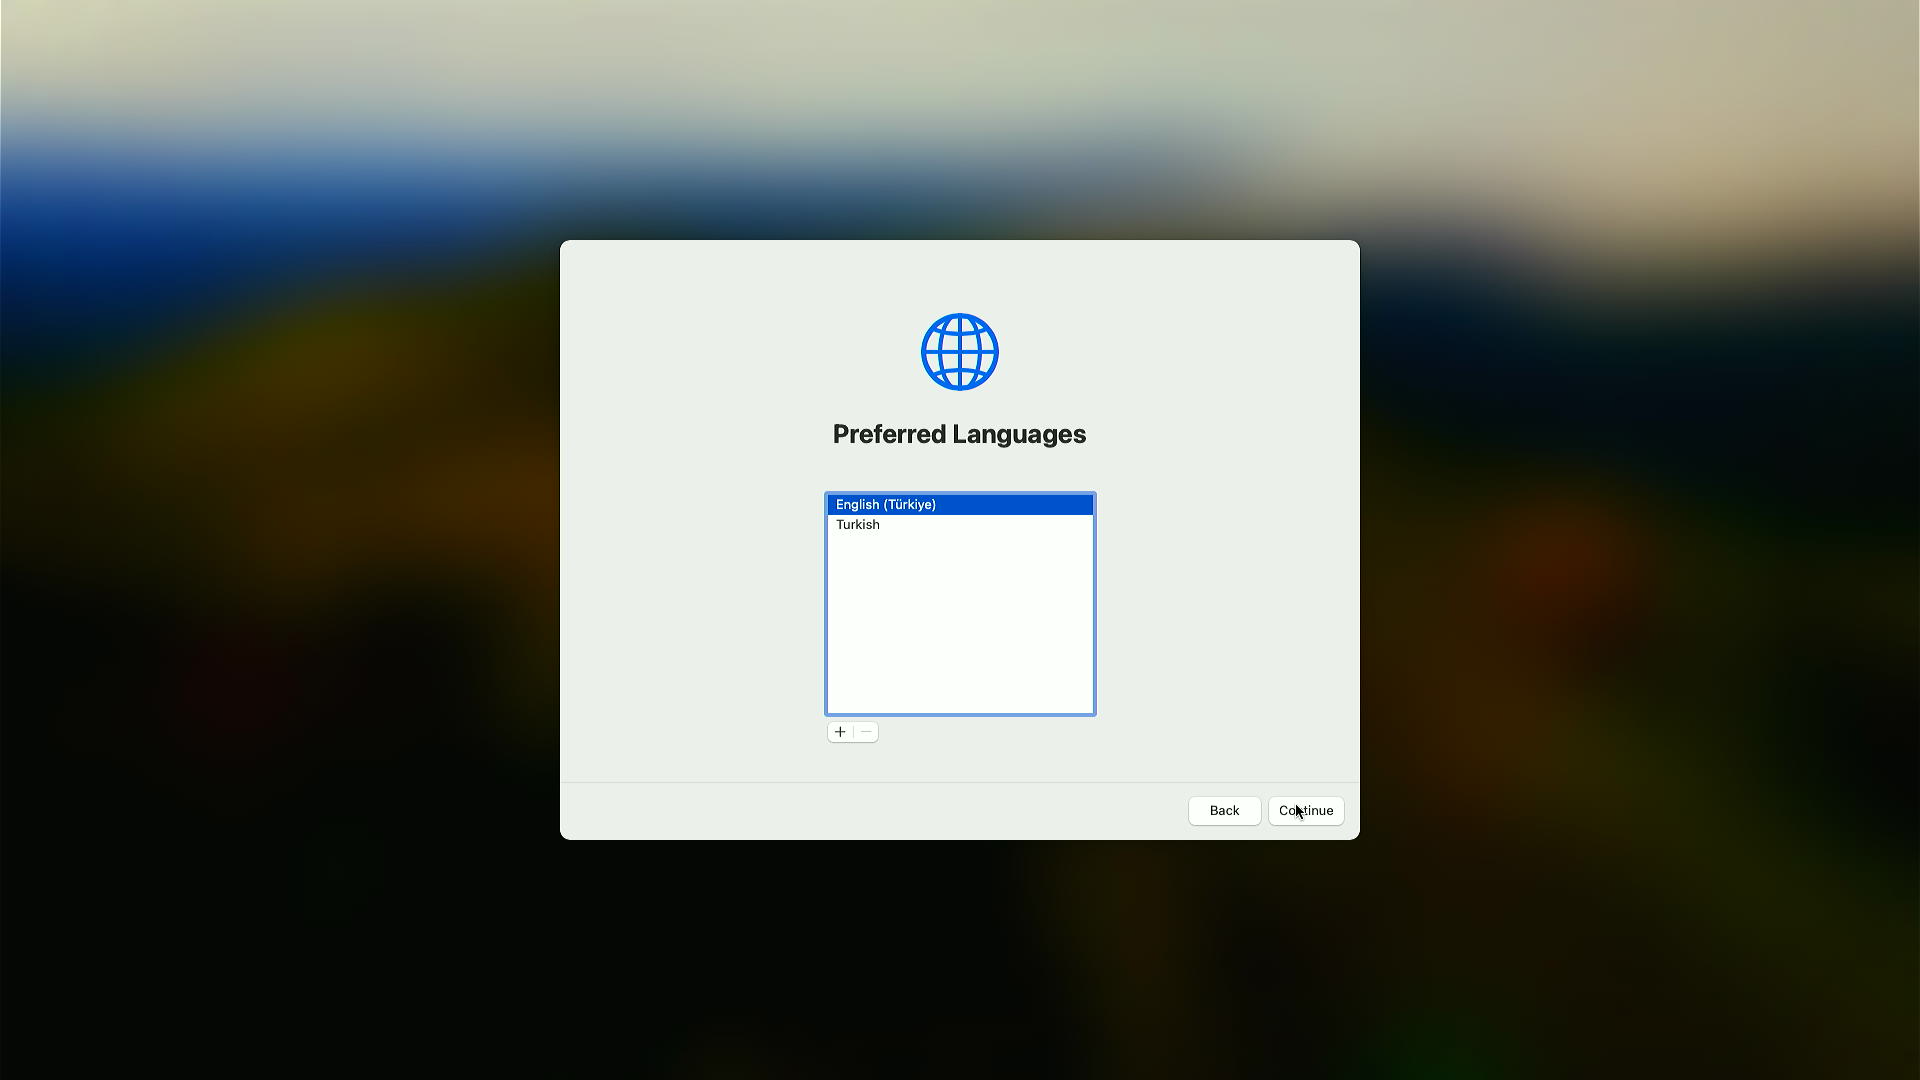

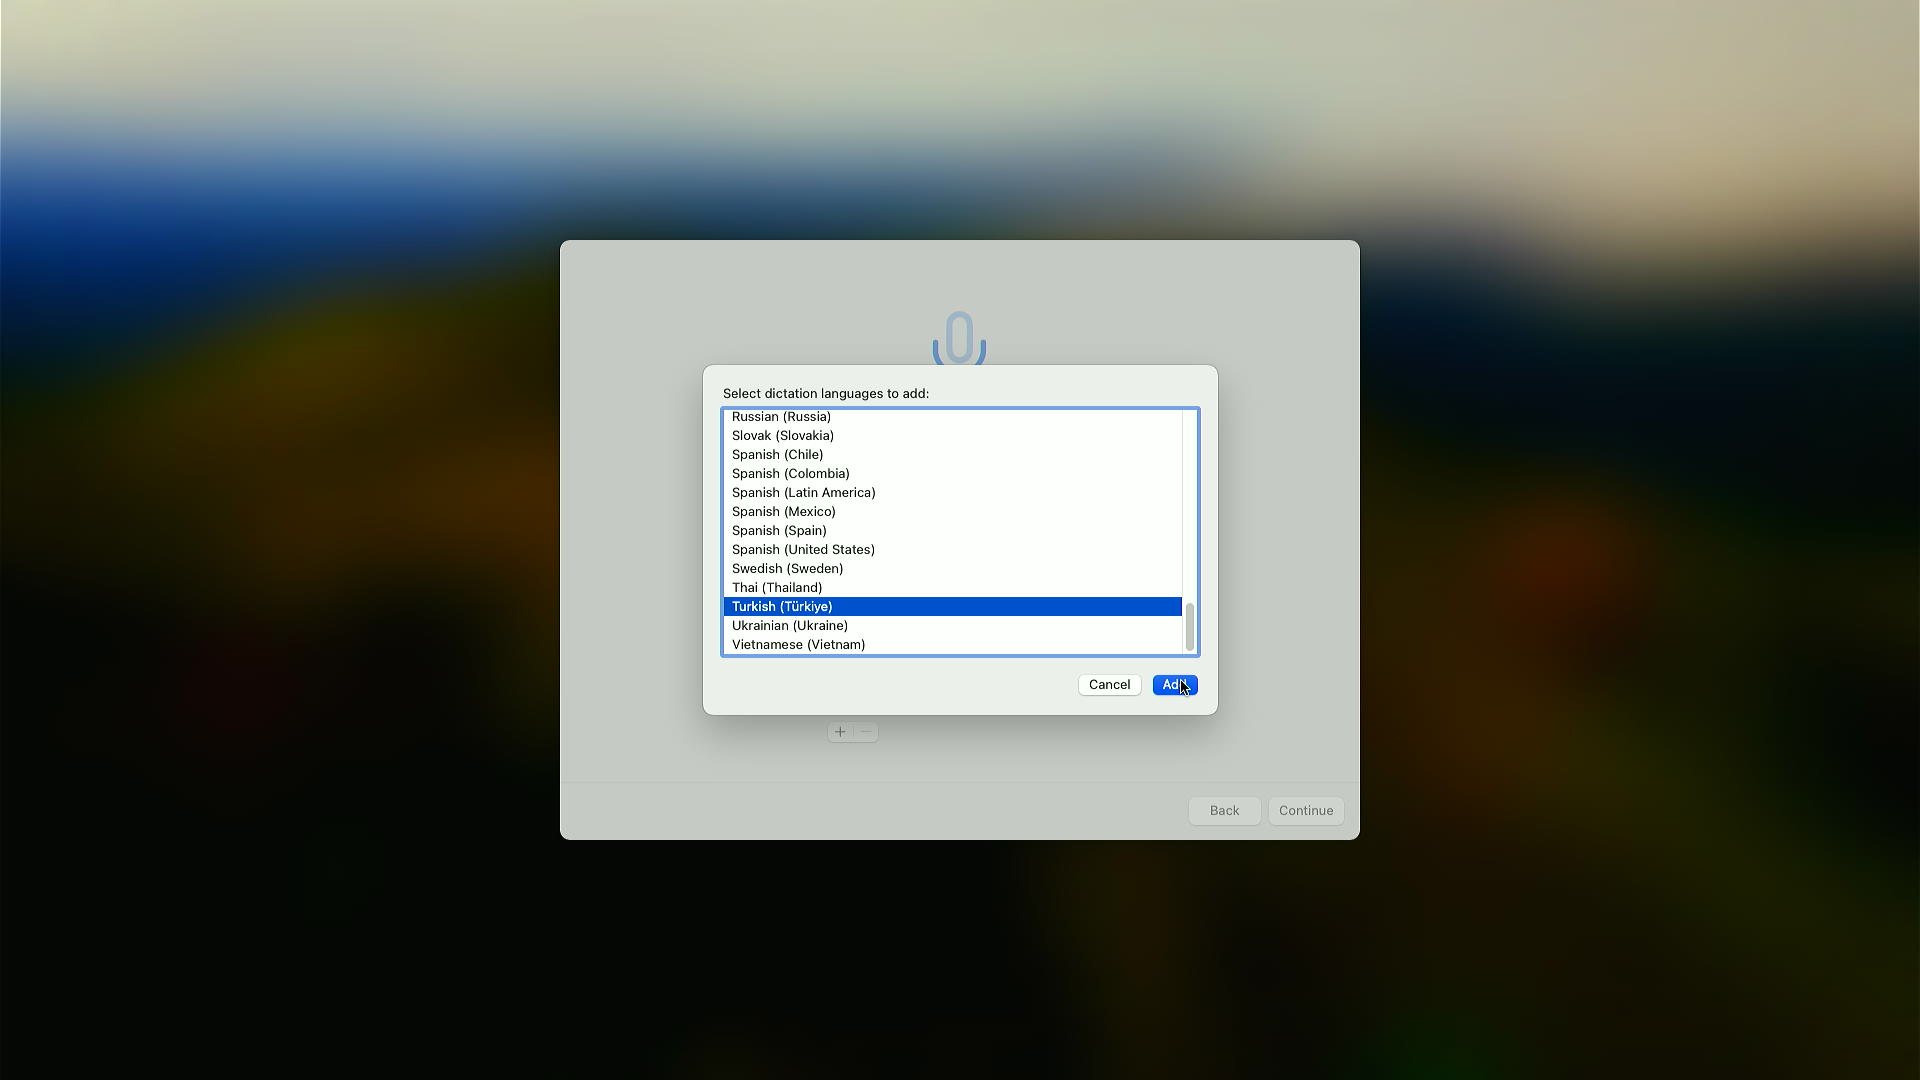
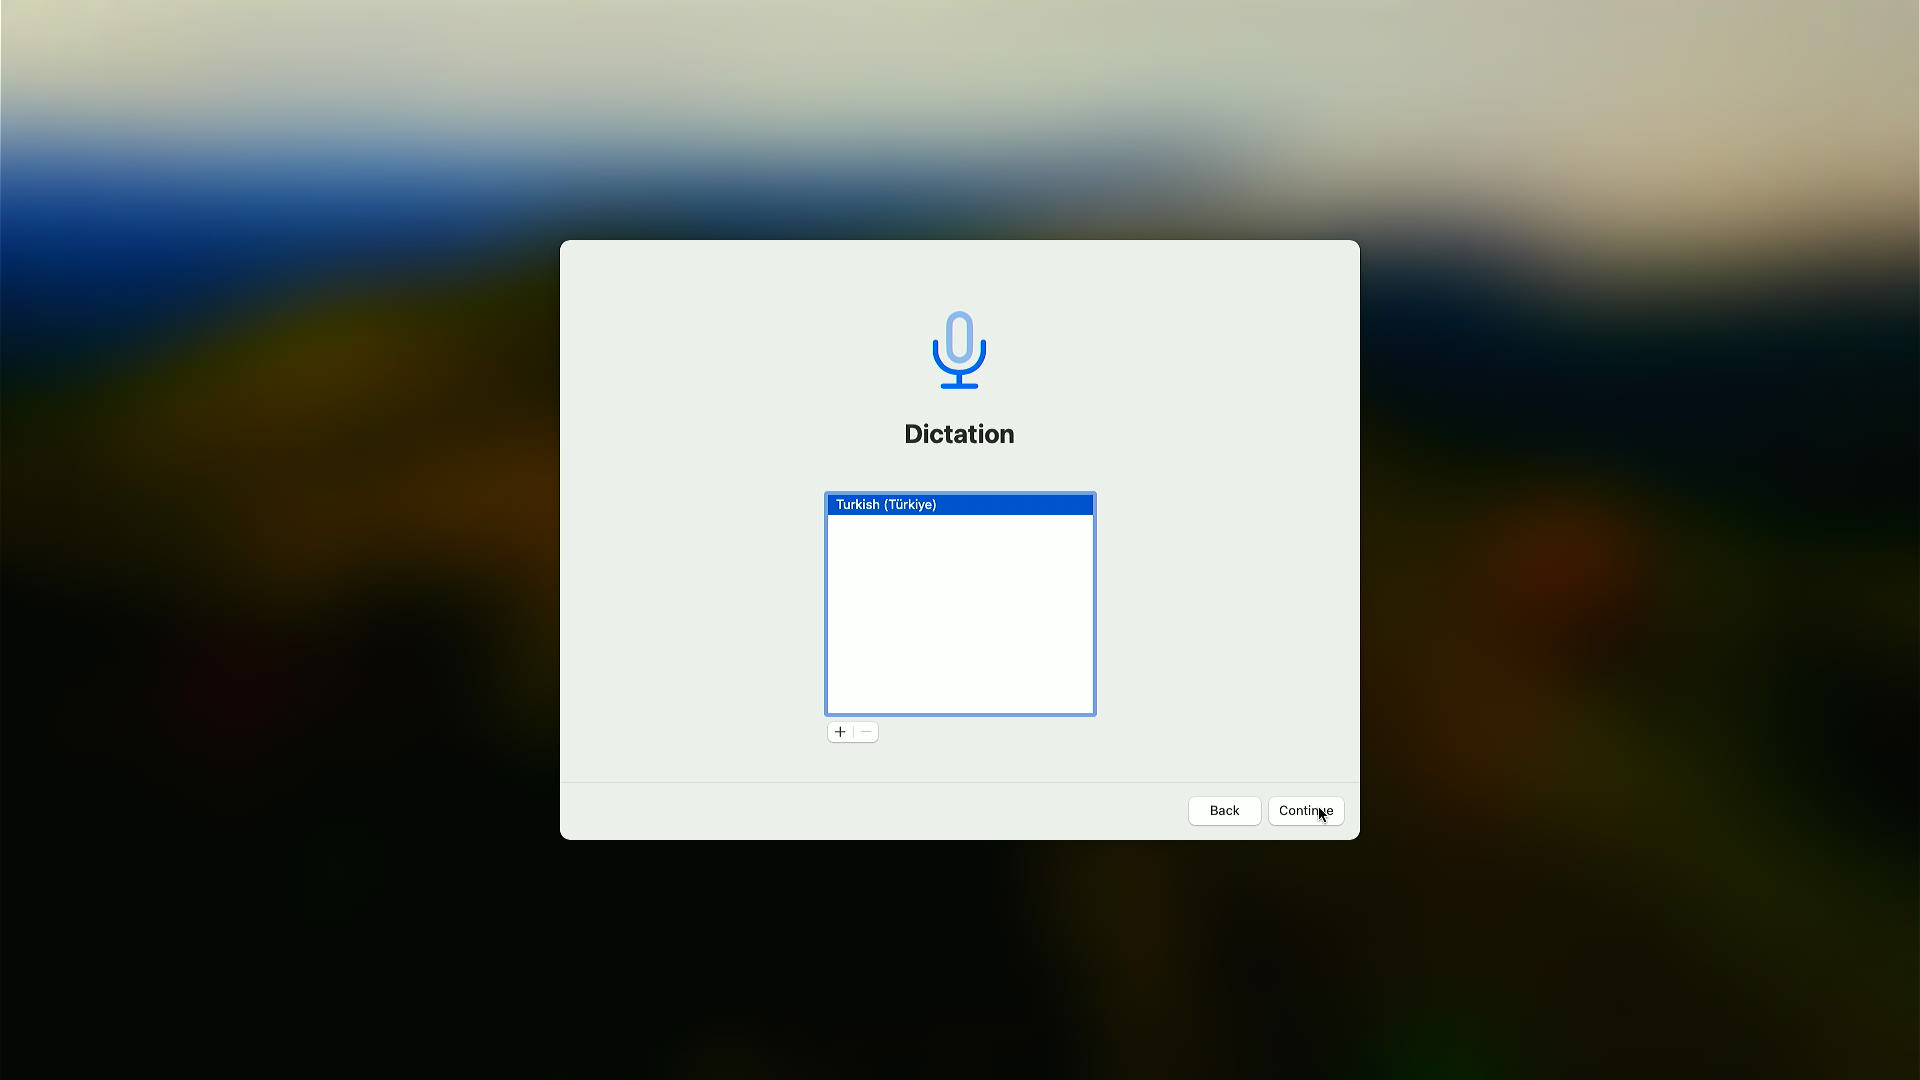
Skip accessibility with Not Now.

Choose My computer does not connect to the internet
Even if you have a working connection. The serial number, MLB and ROM in your config still have to be made your own before this machine talks to Apple - see Post installation.
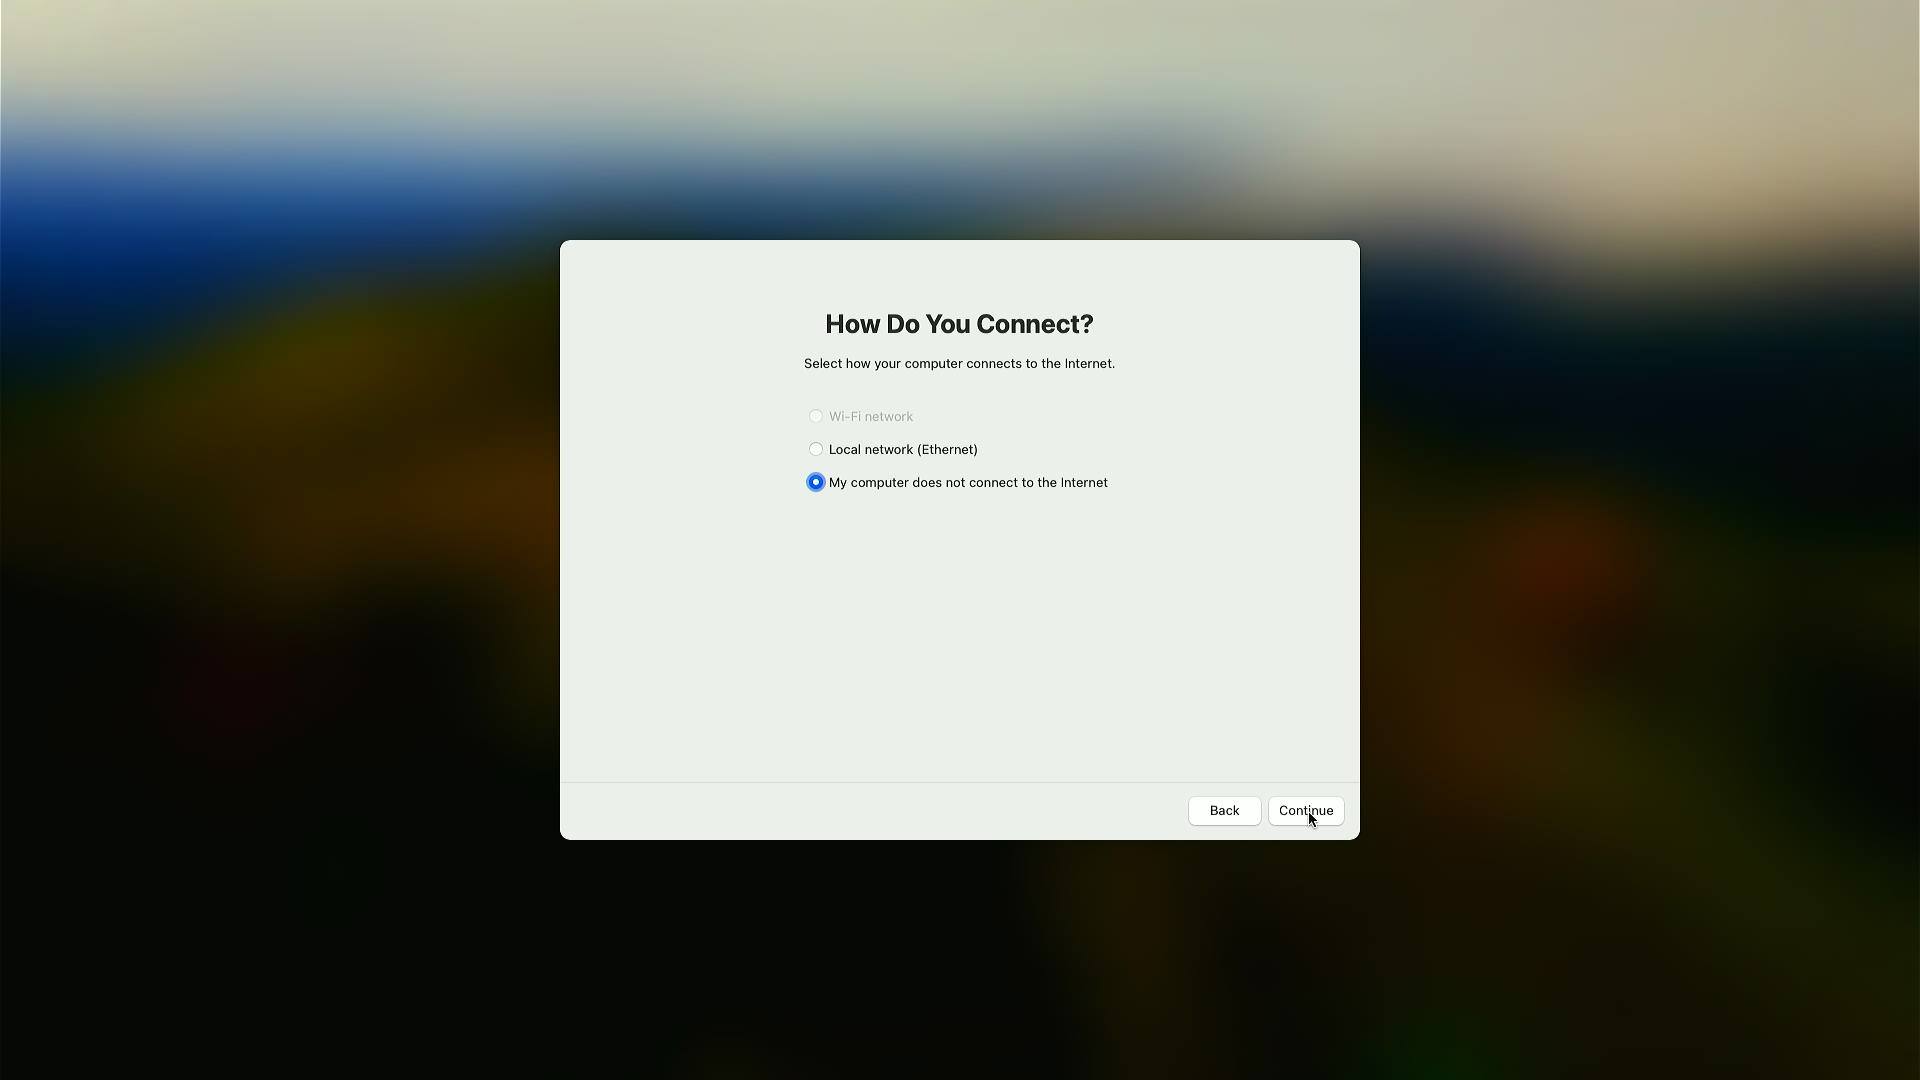

Click Continue.

Migration Assistant can bring data from another machine. Assuming this is a first install, click Not Now.

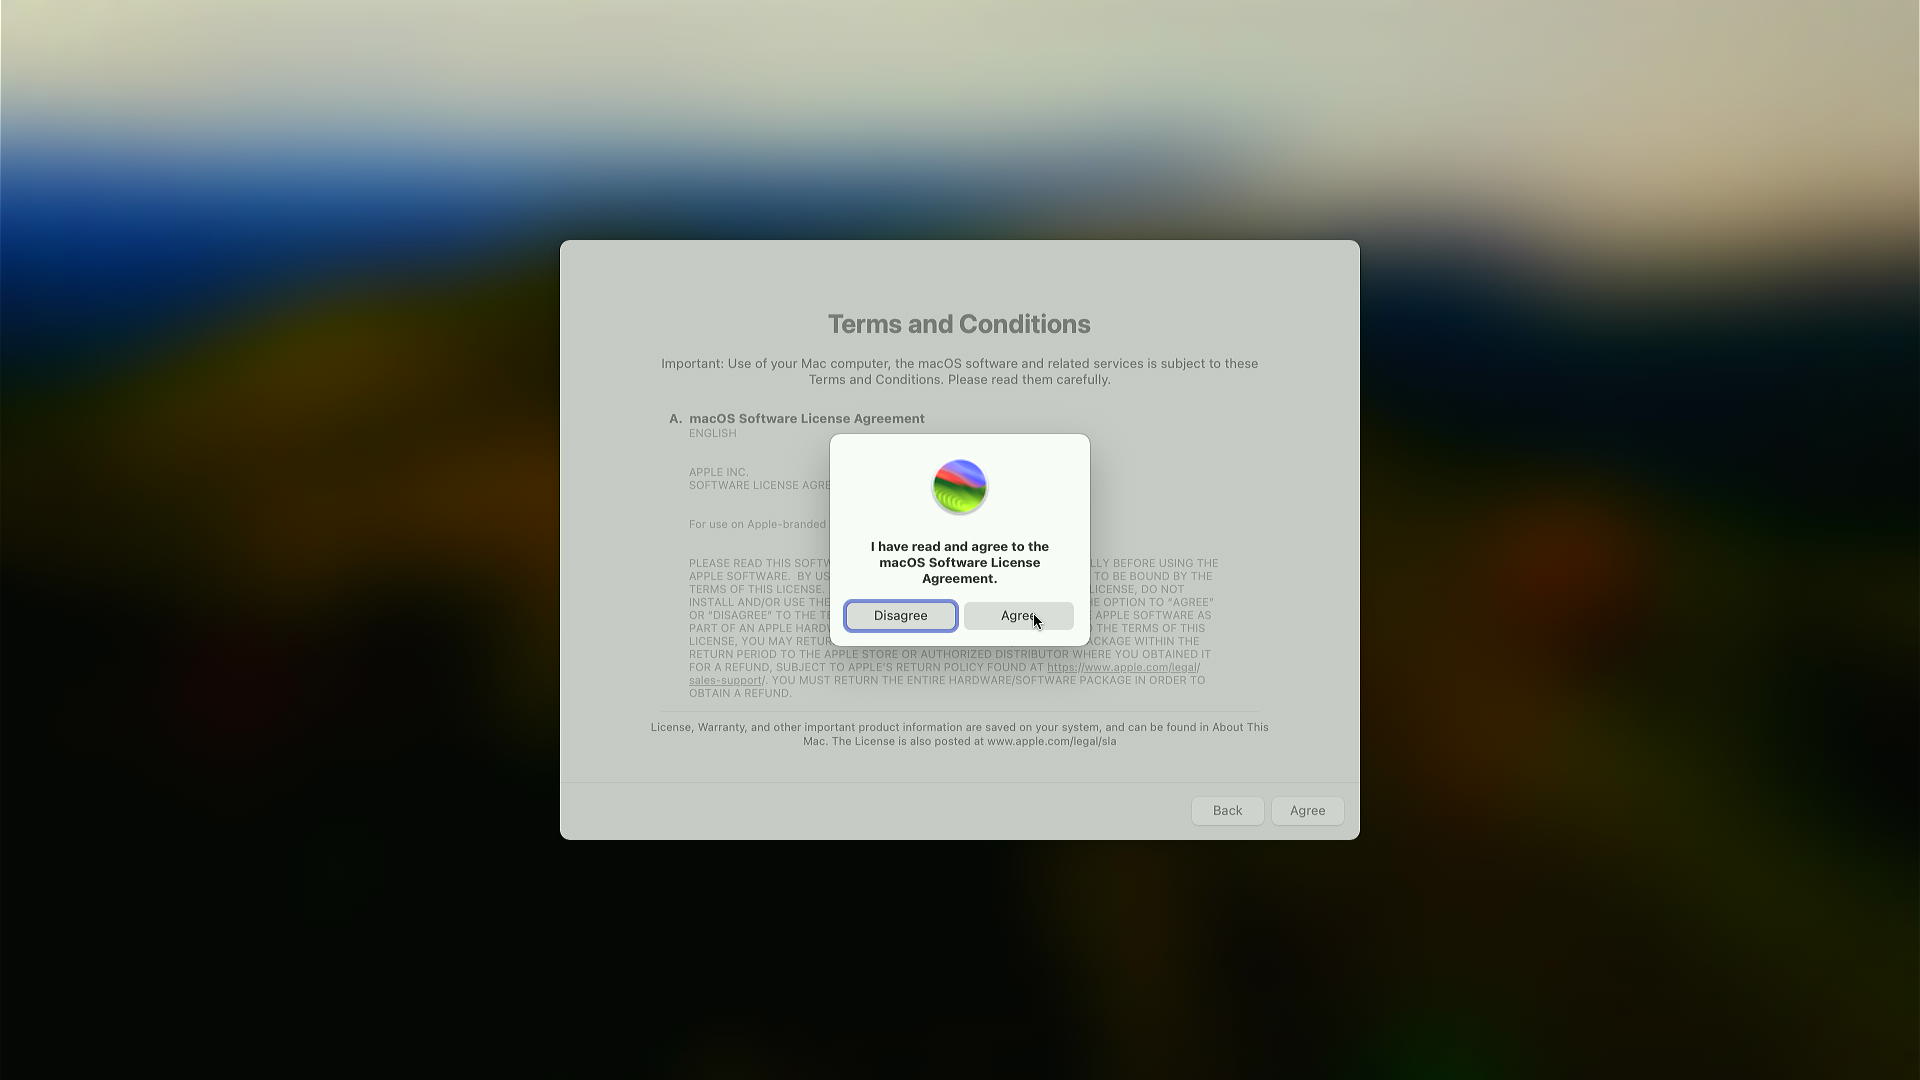
Click Agree, then Agree.

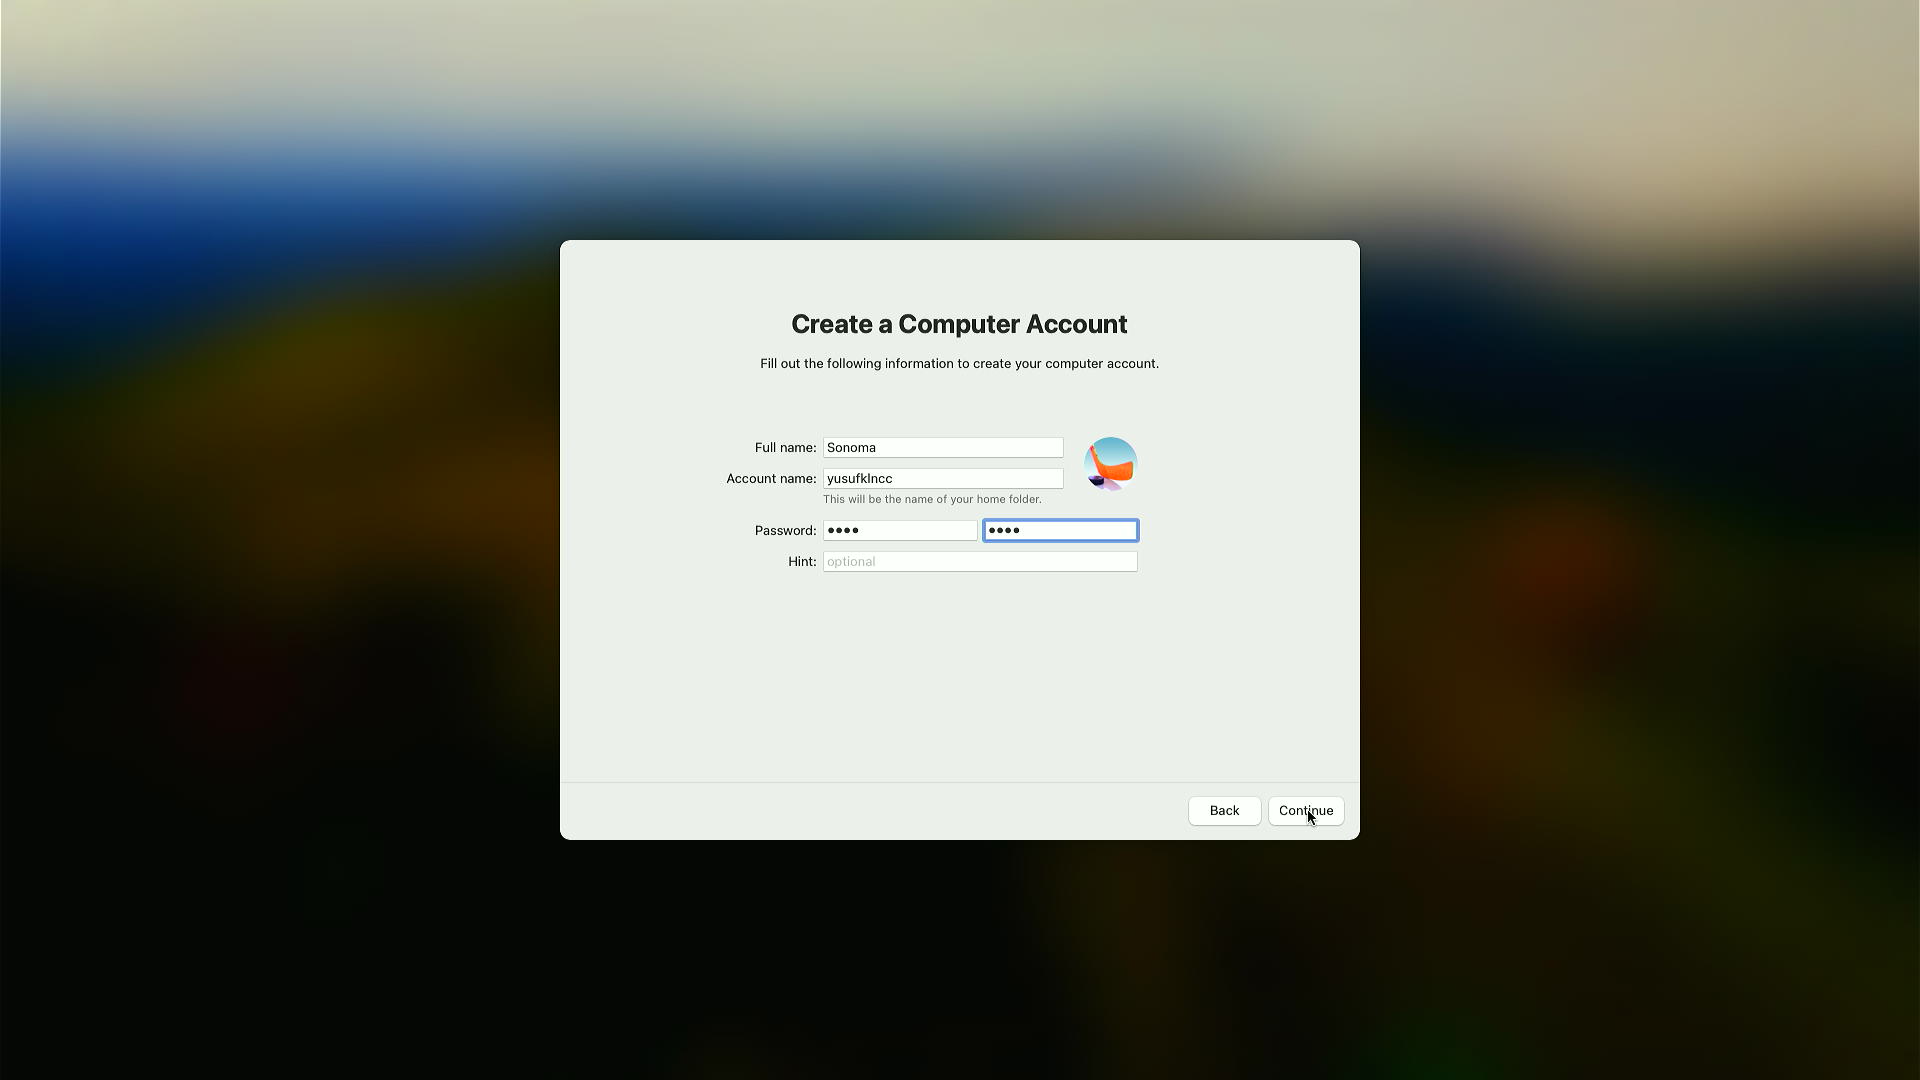
Create an account with a name, username and password.
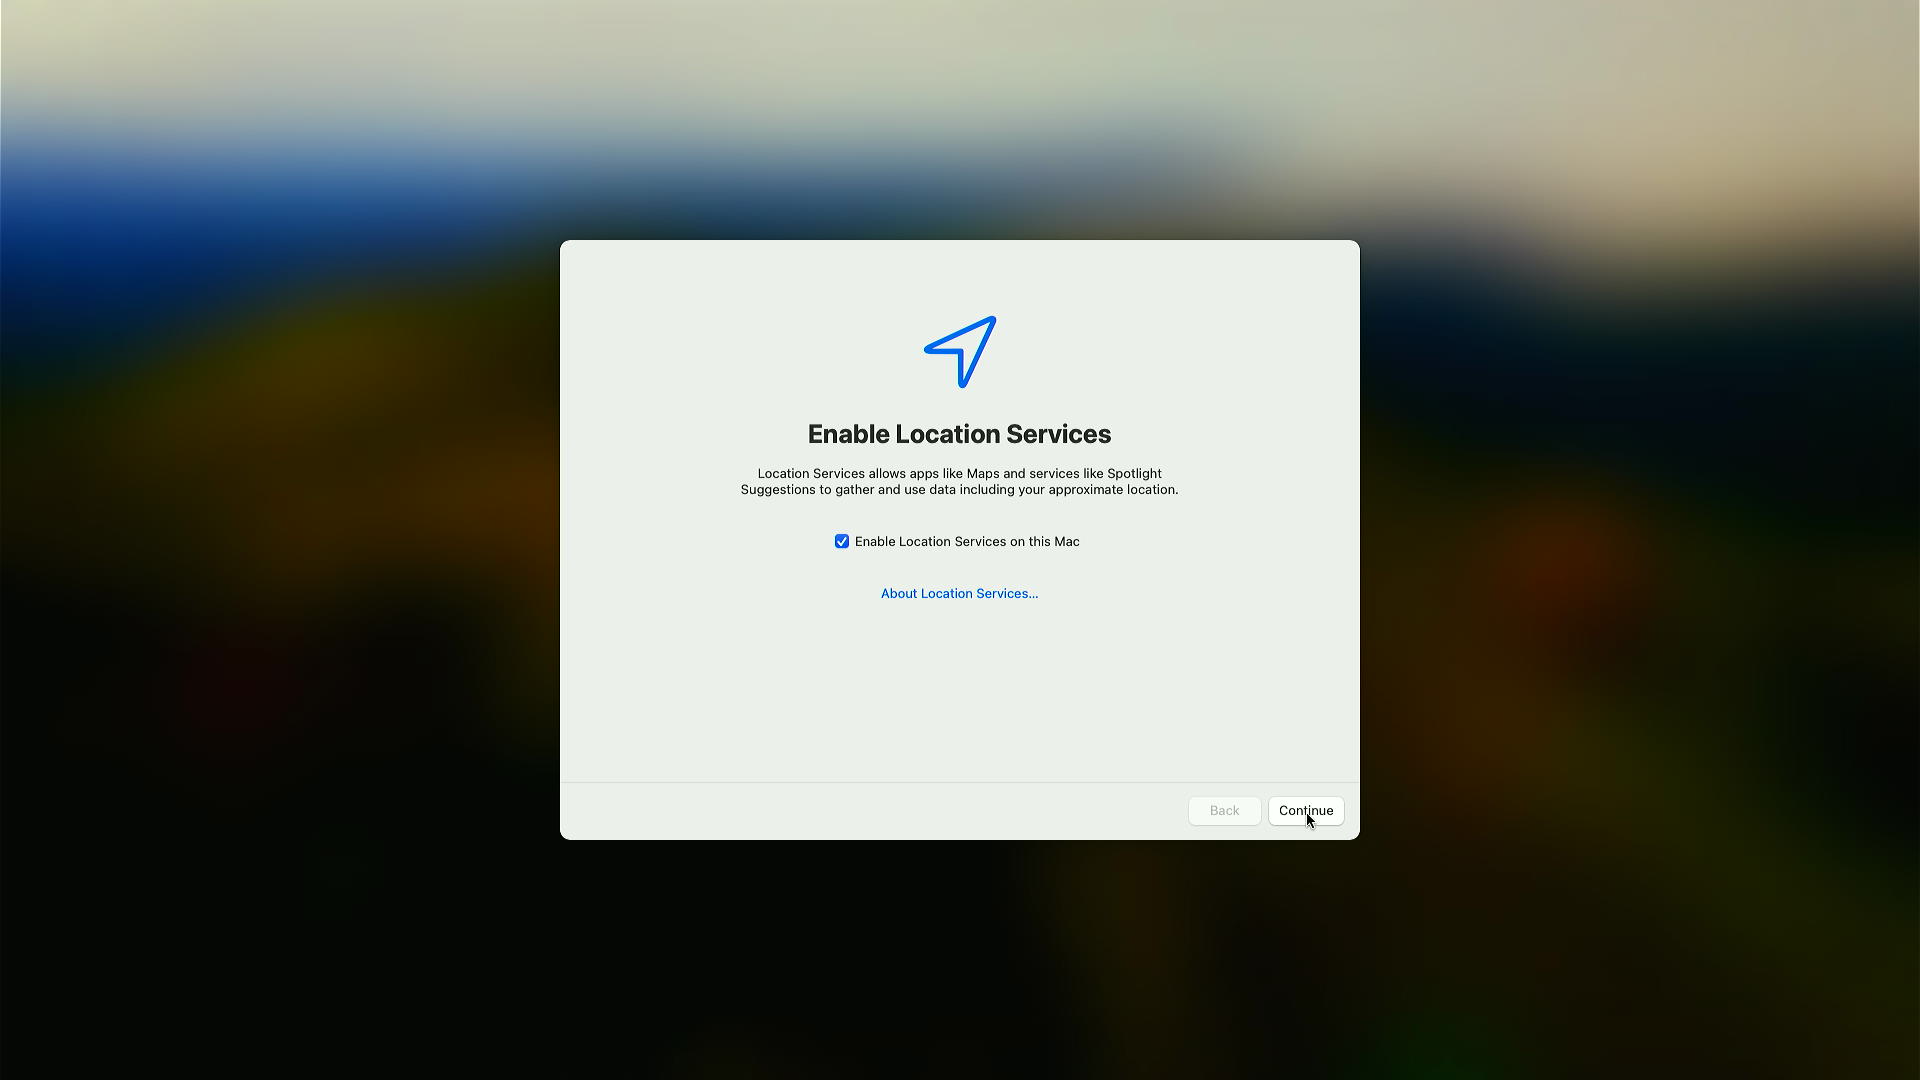
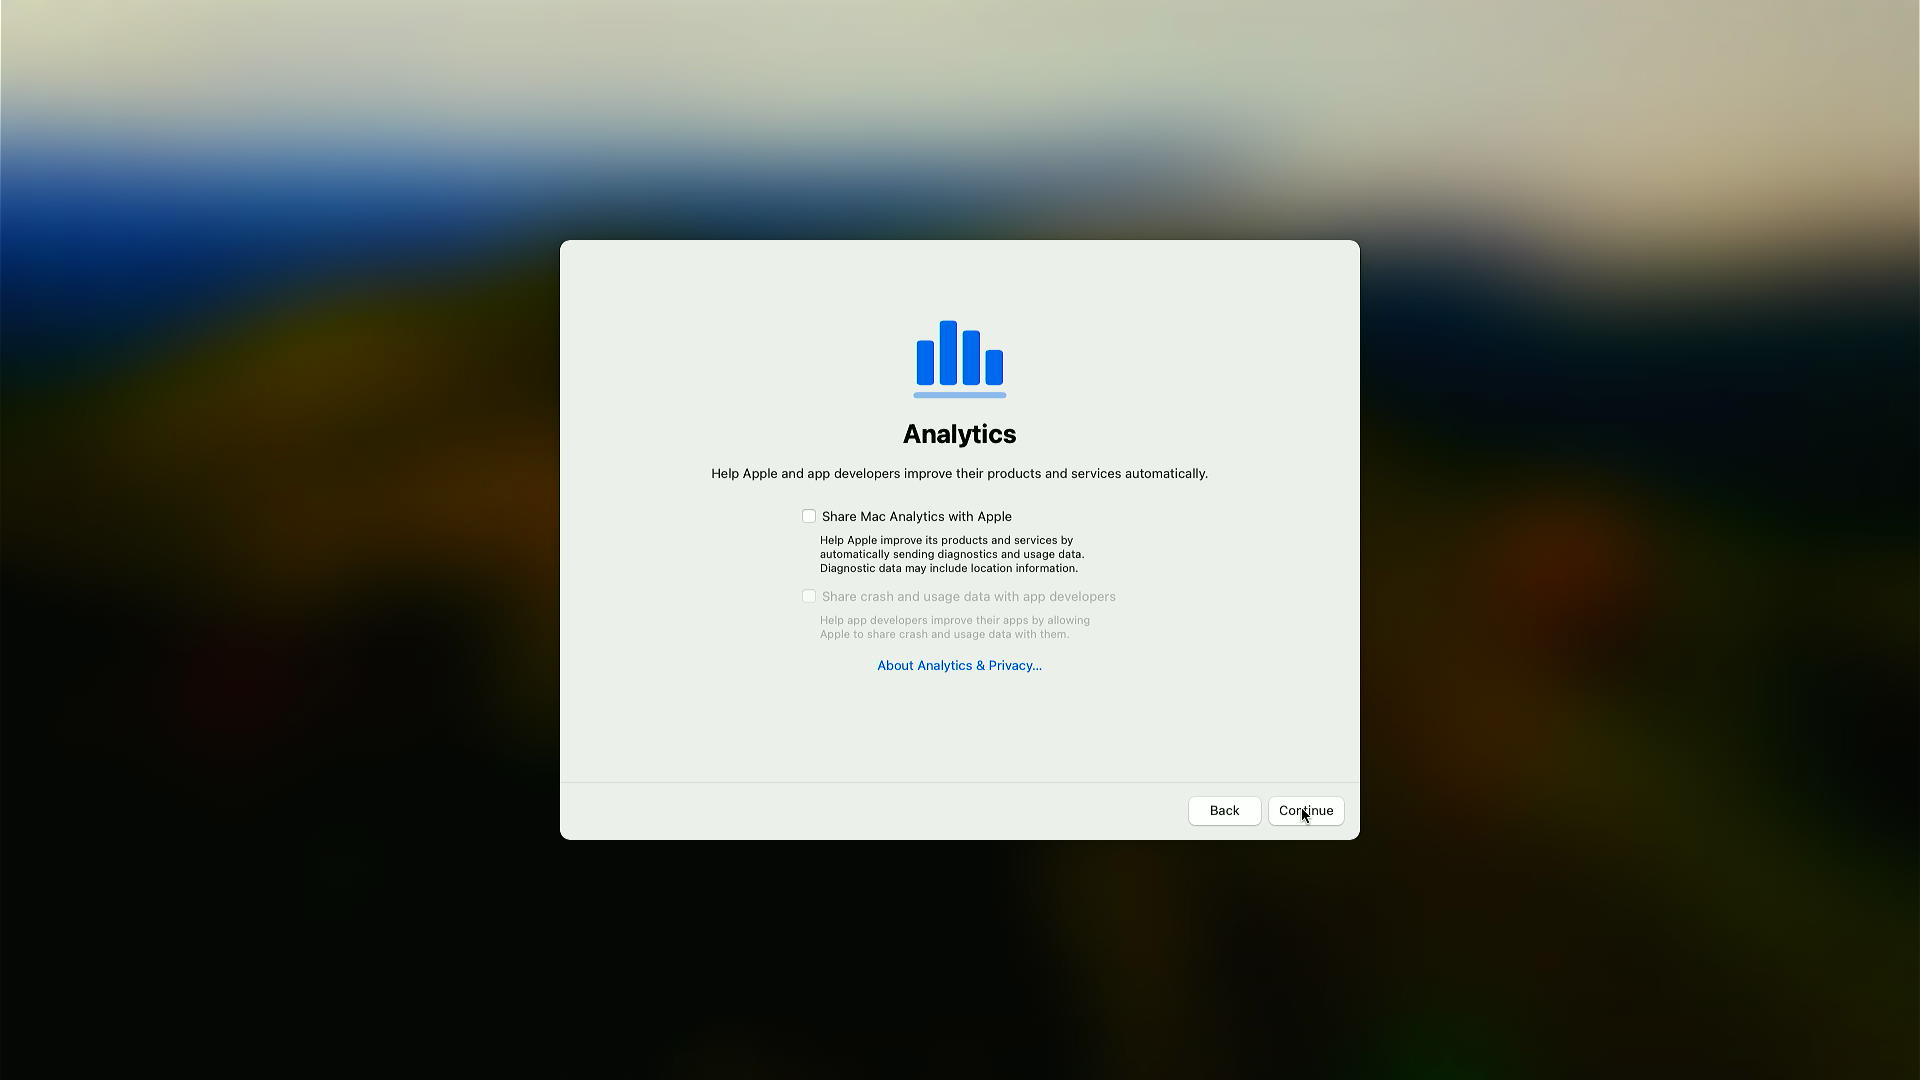
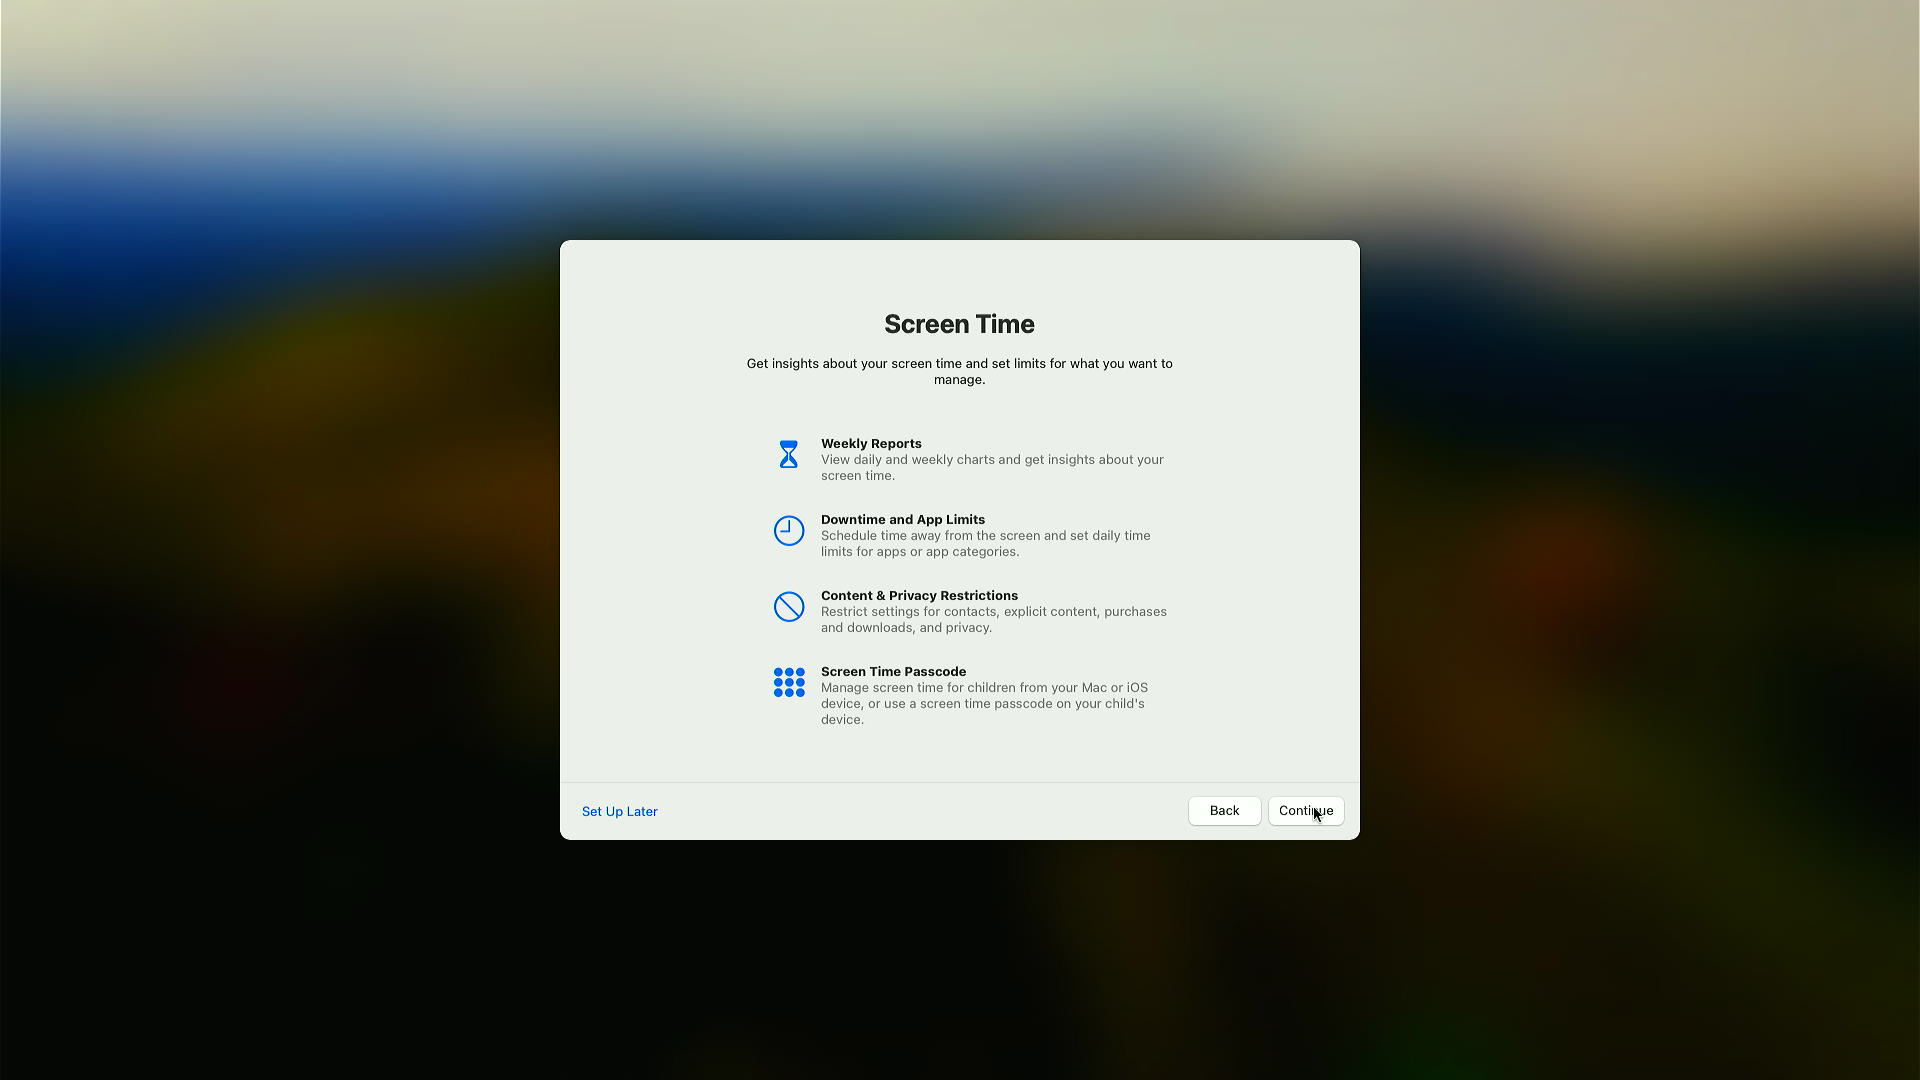
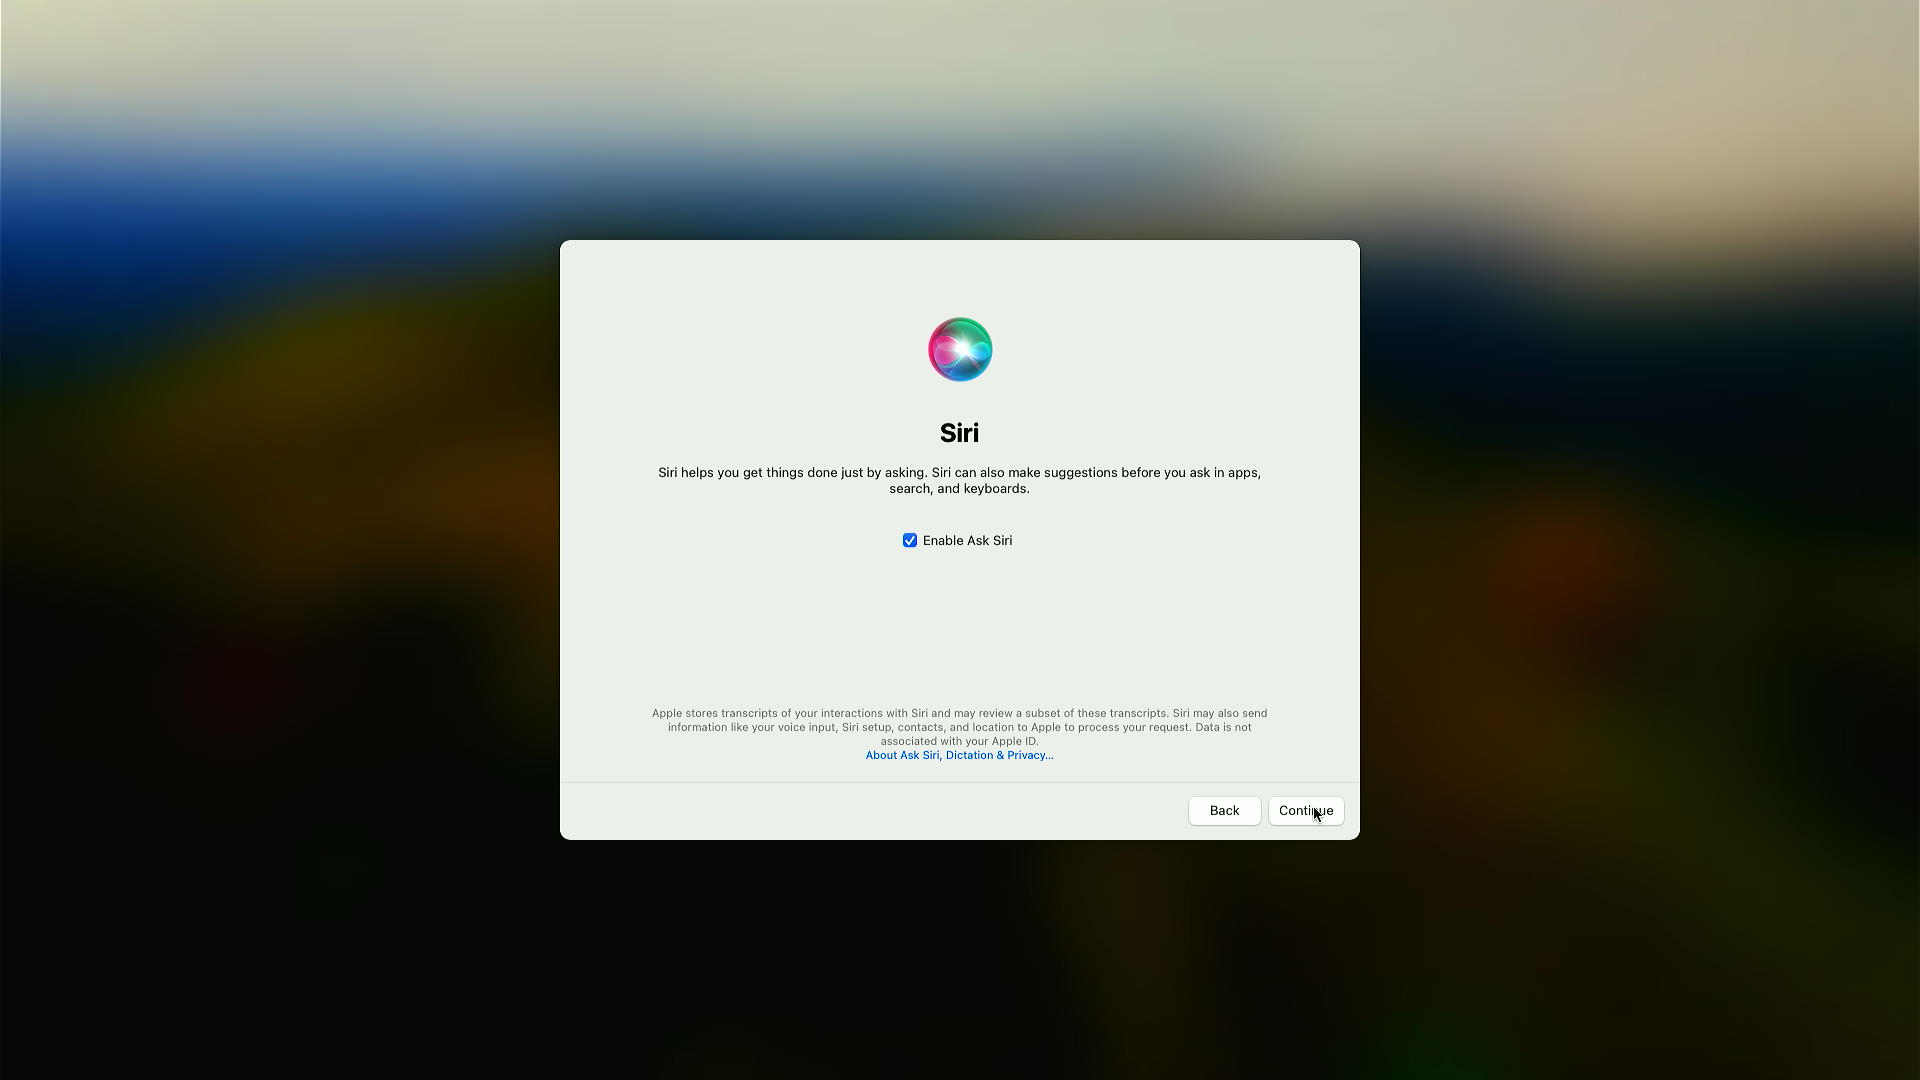
Location Services, analytics, Screen Time and Siri are all yours to choose. The guide turns analytics off.
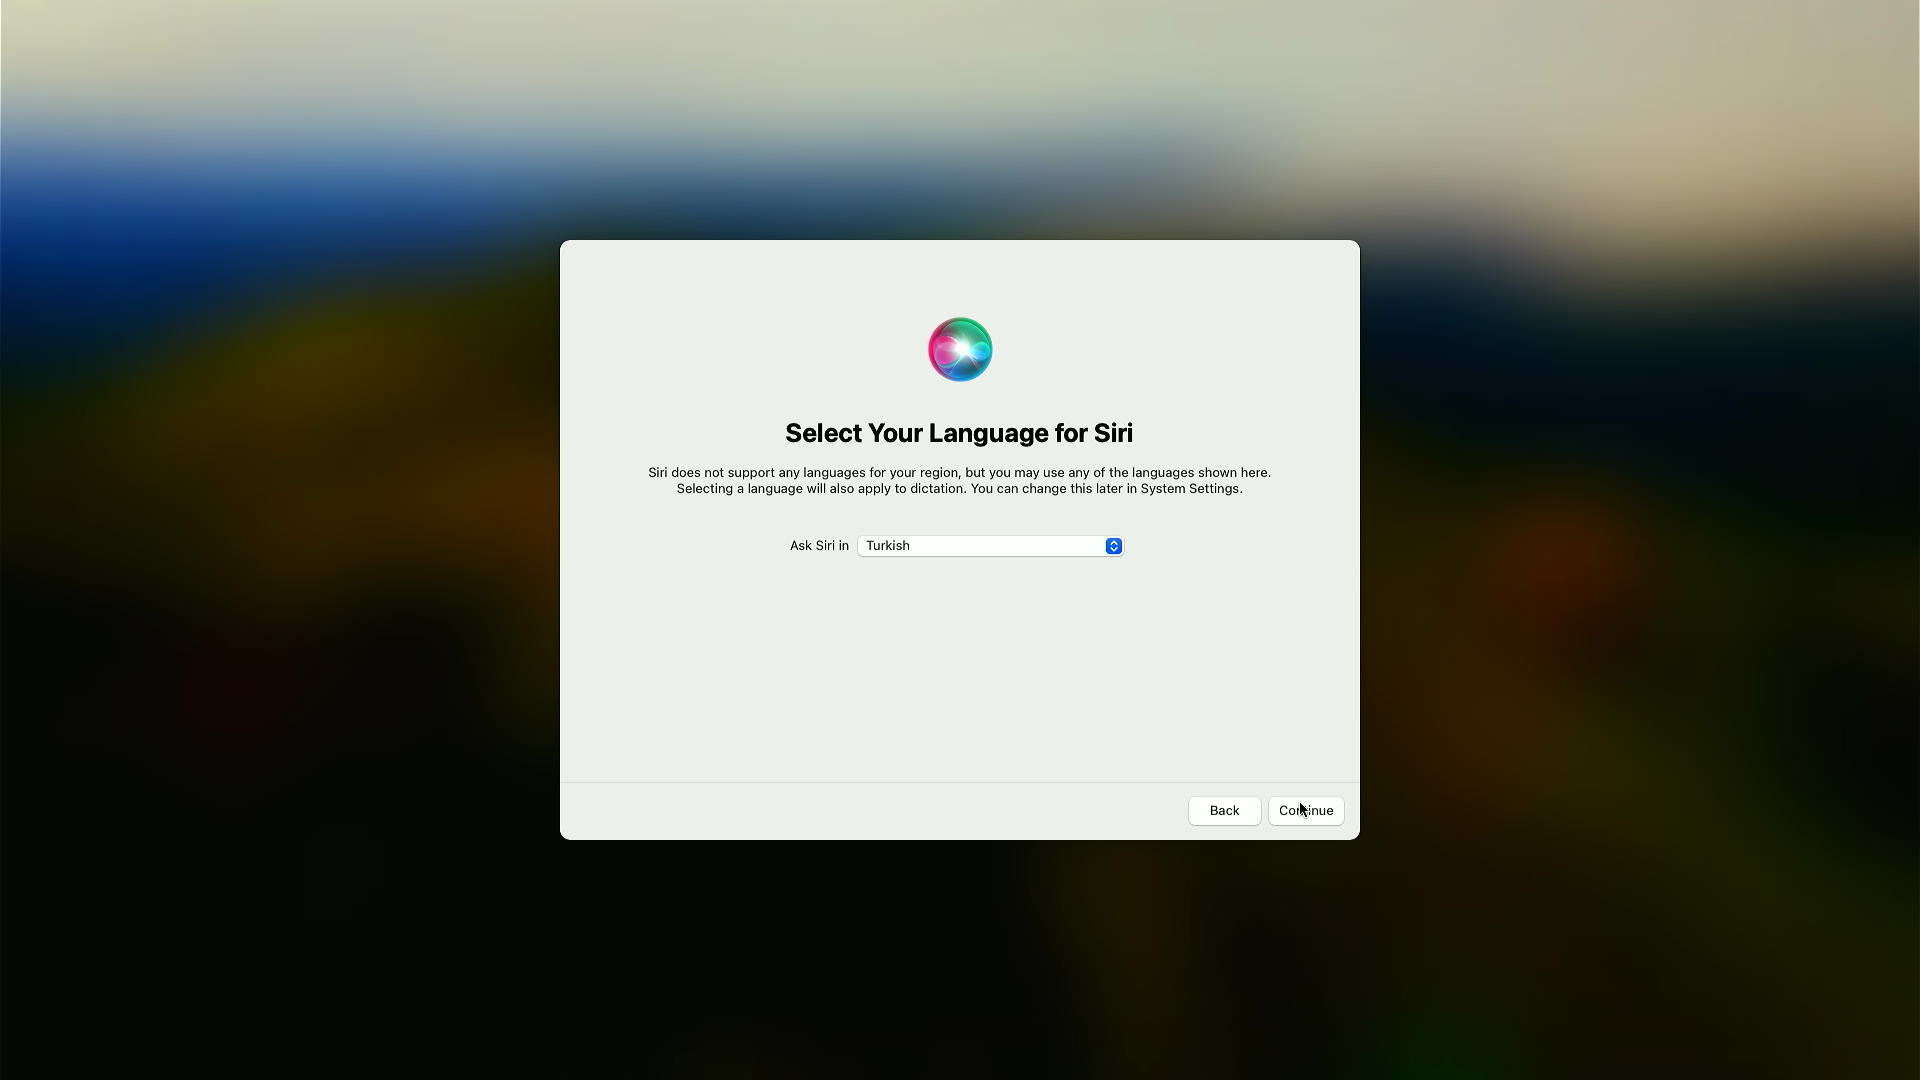
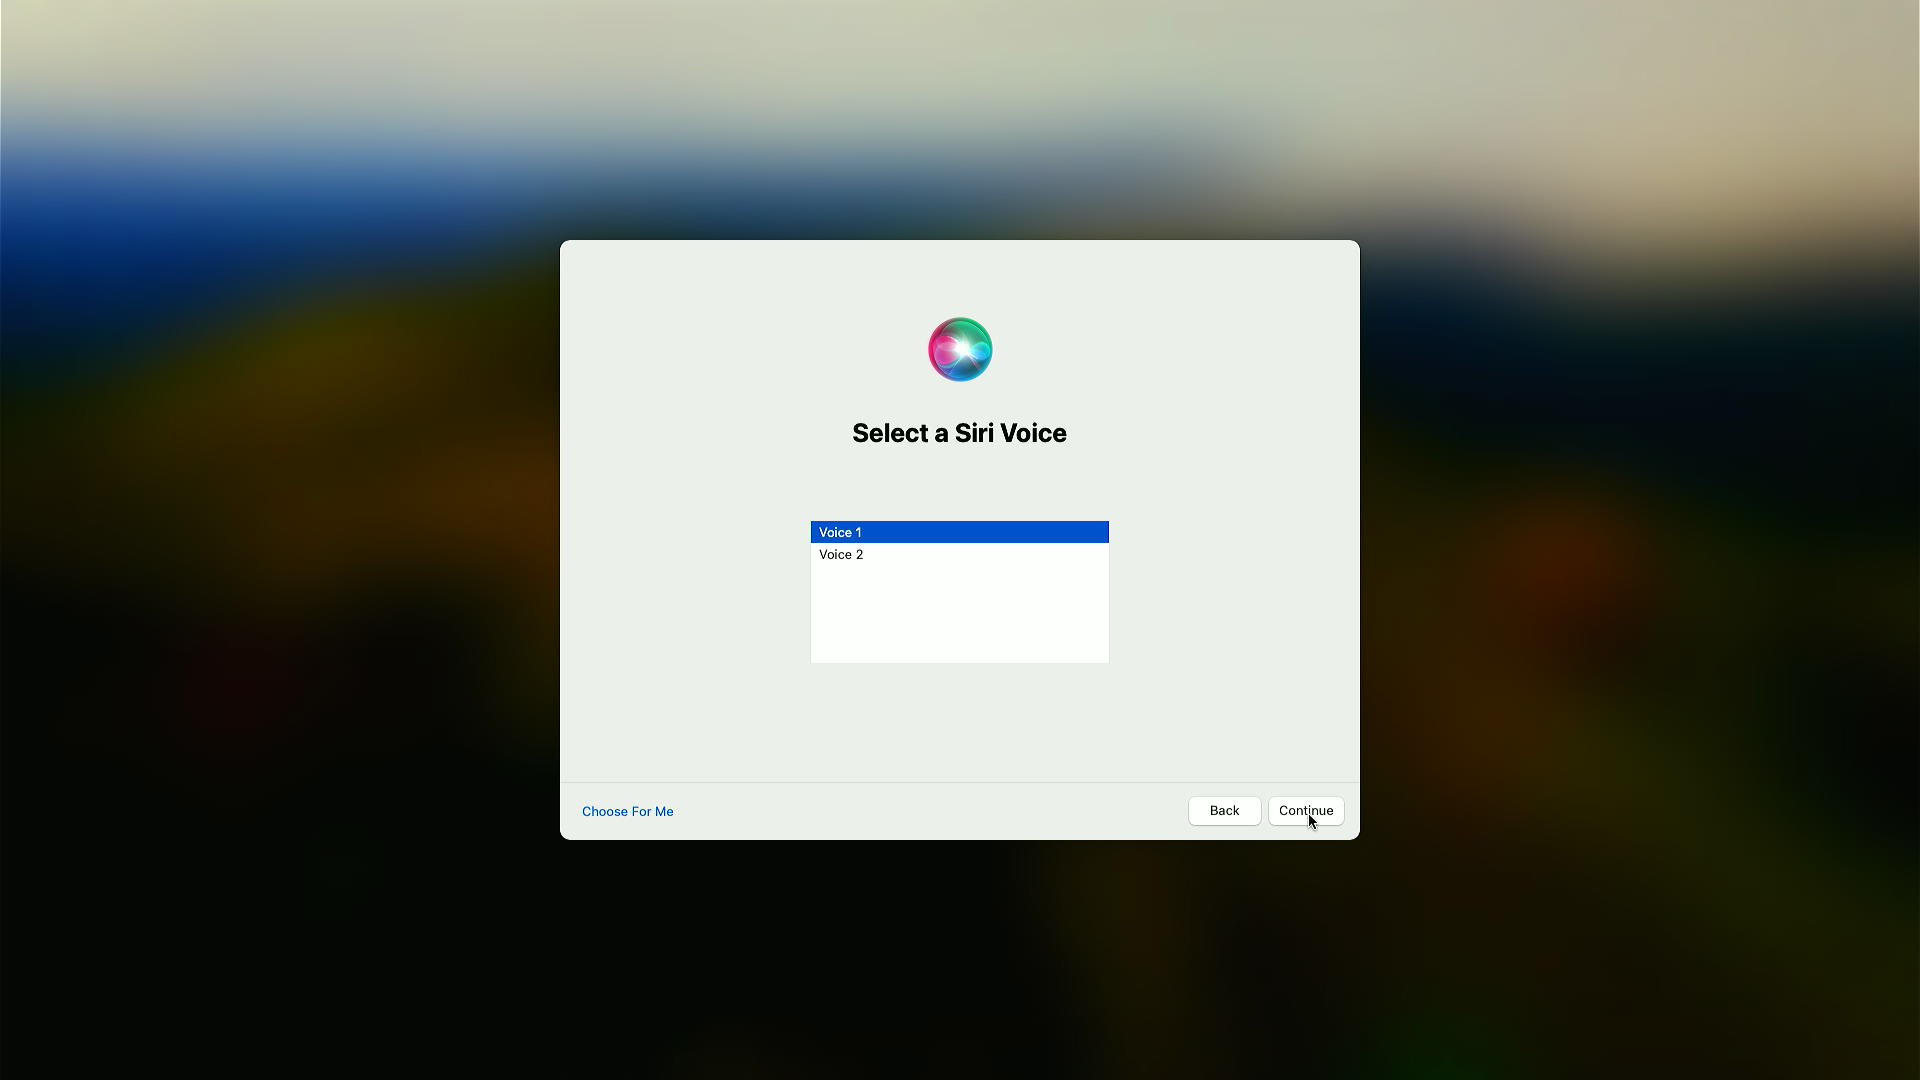
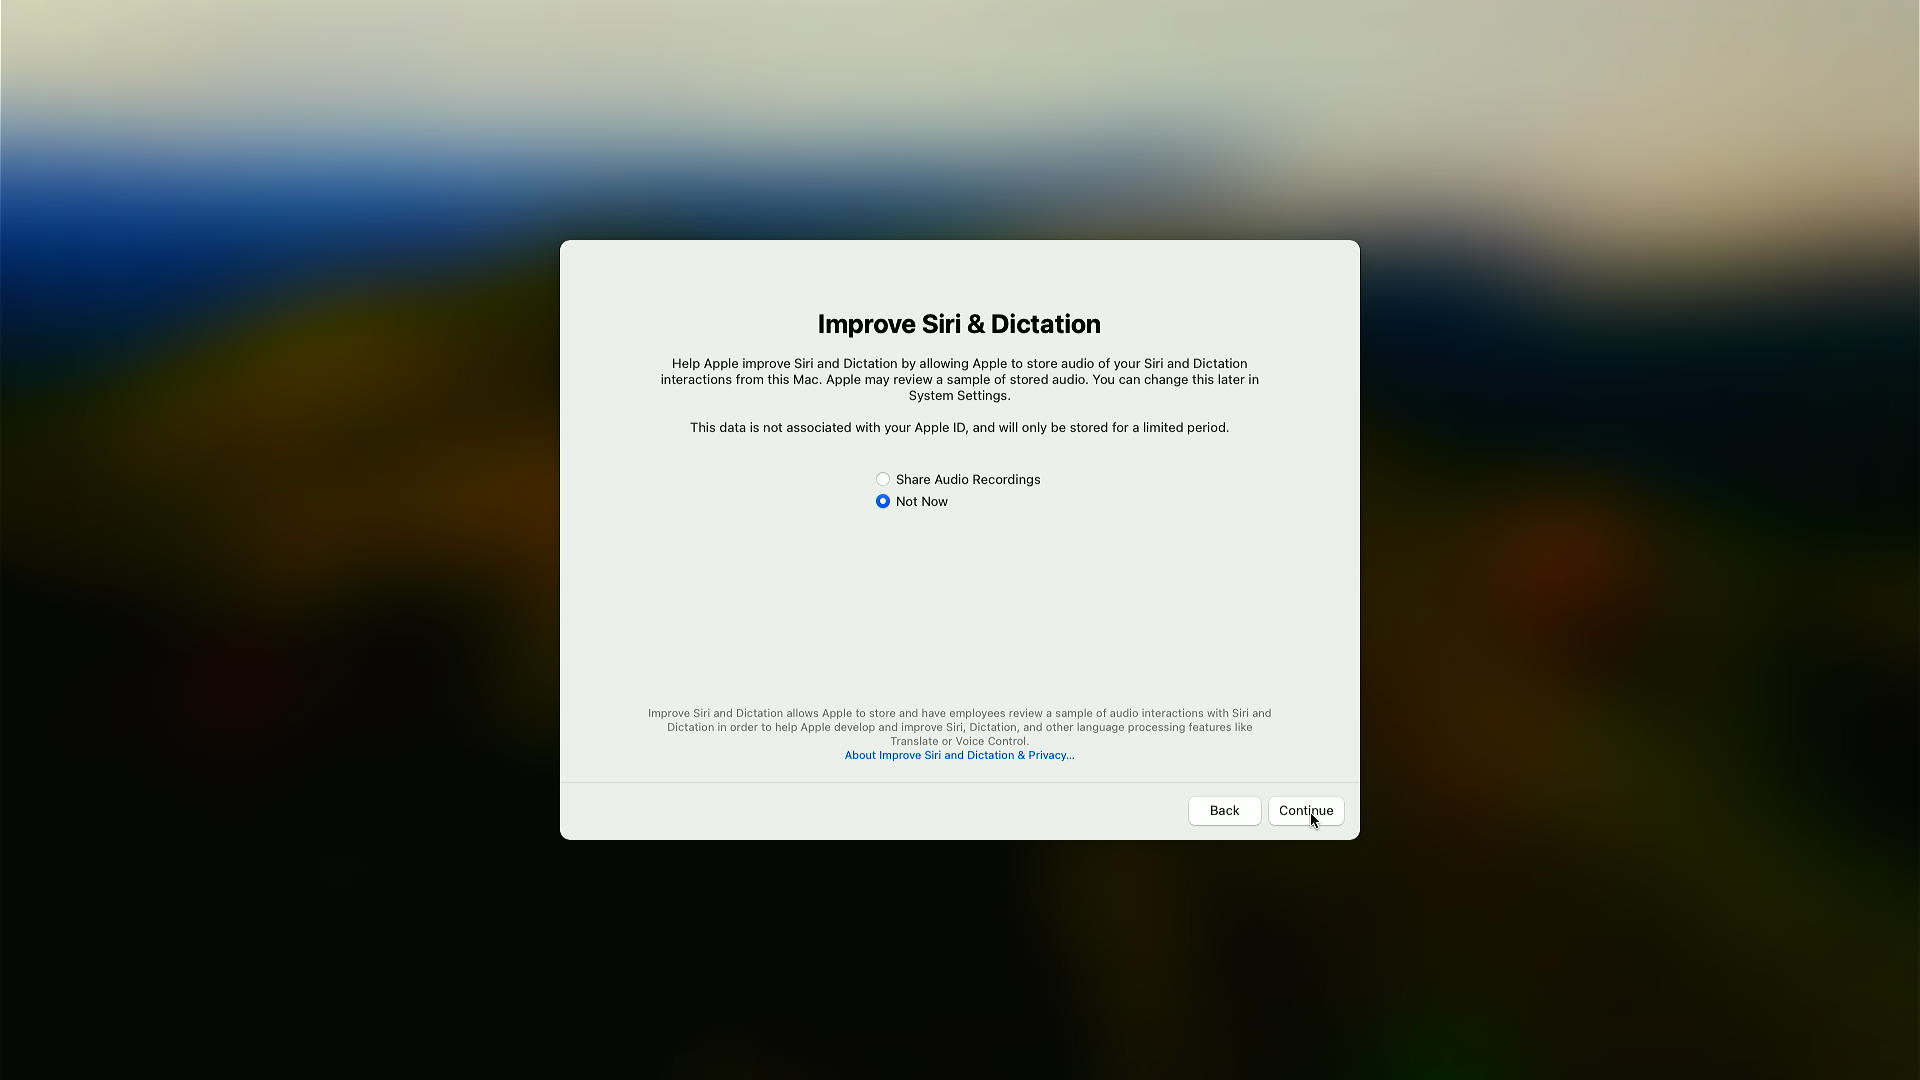
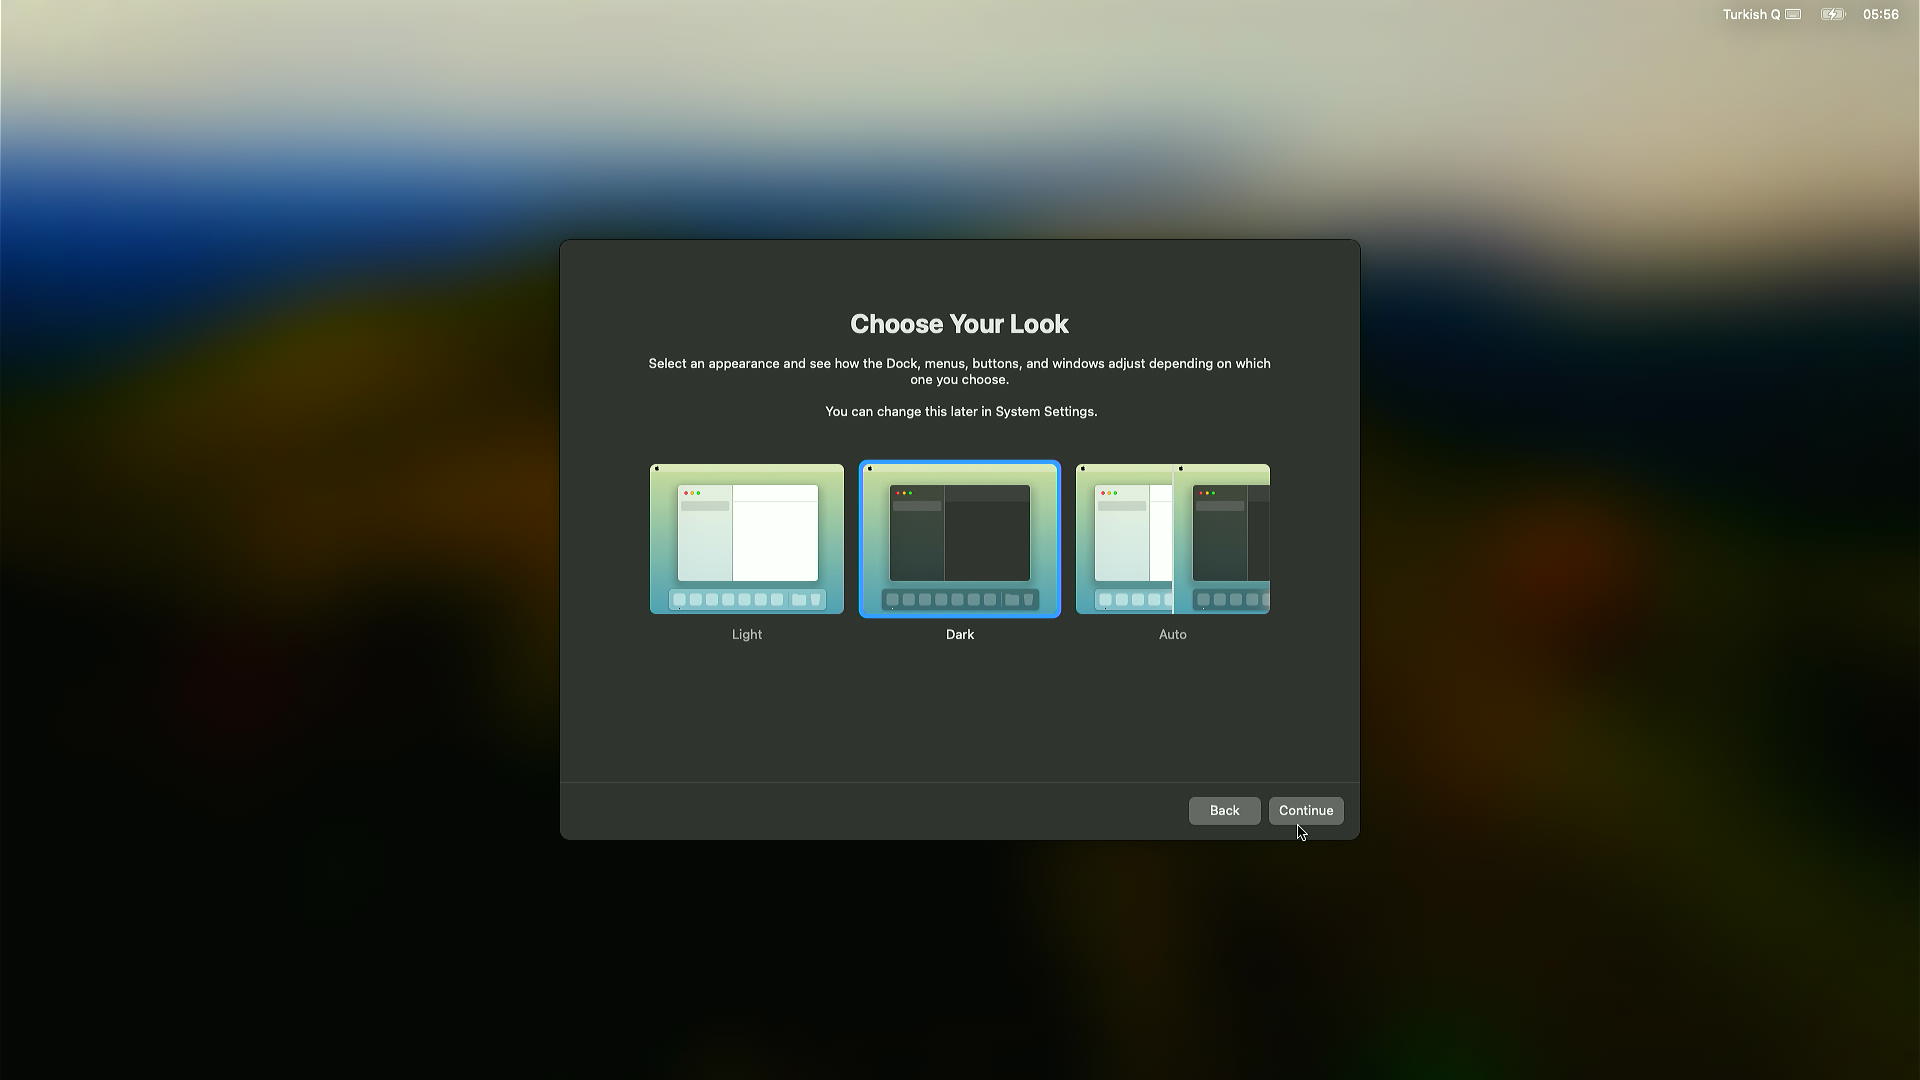
Pick a theme, and the installation is done.
You may get the keyboard setup assistant afterwards. Work through it.
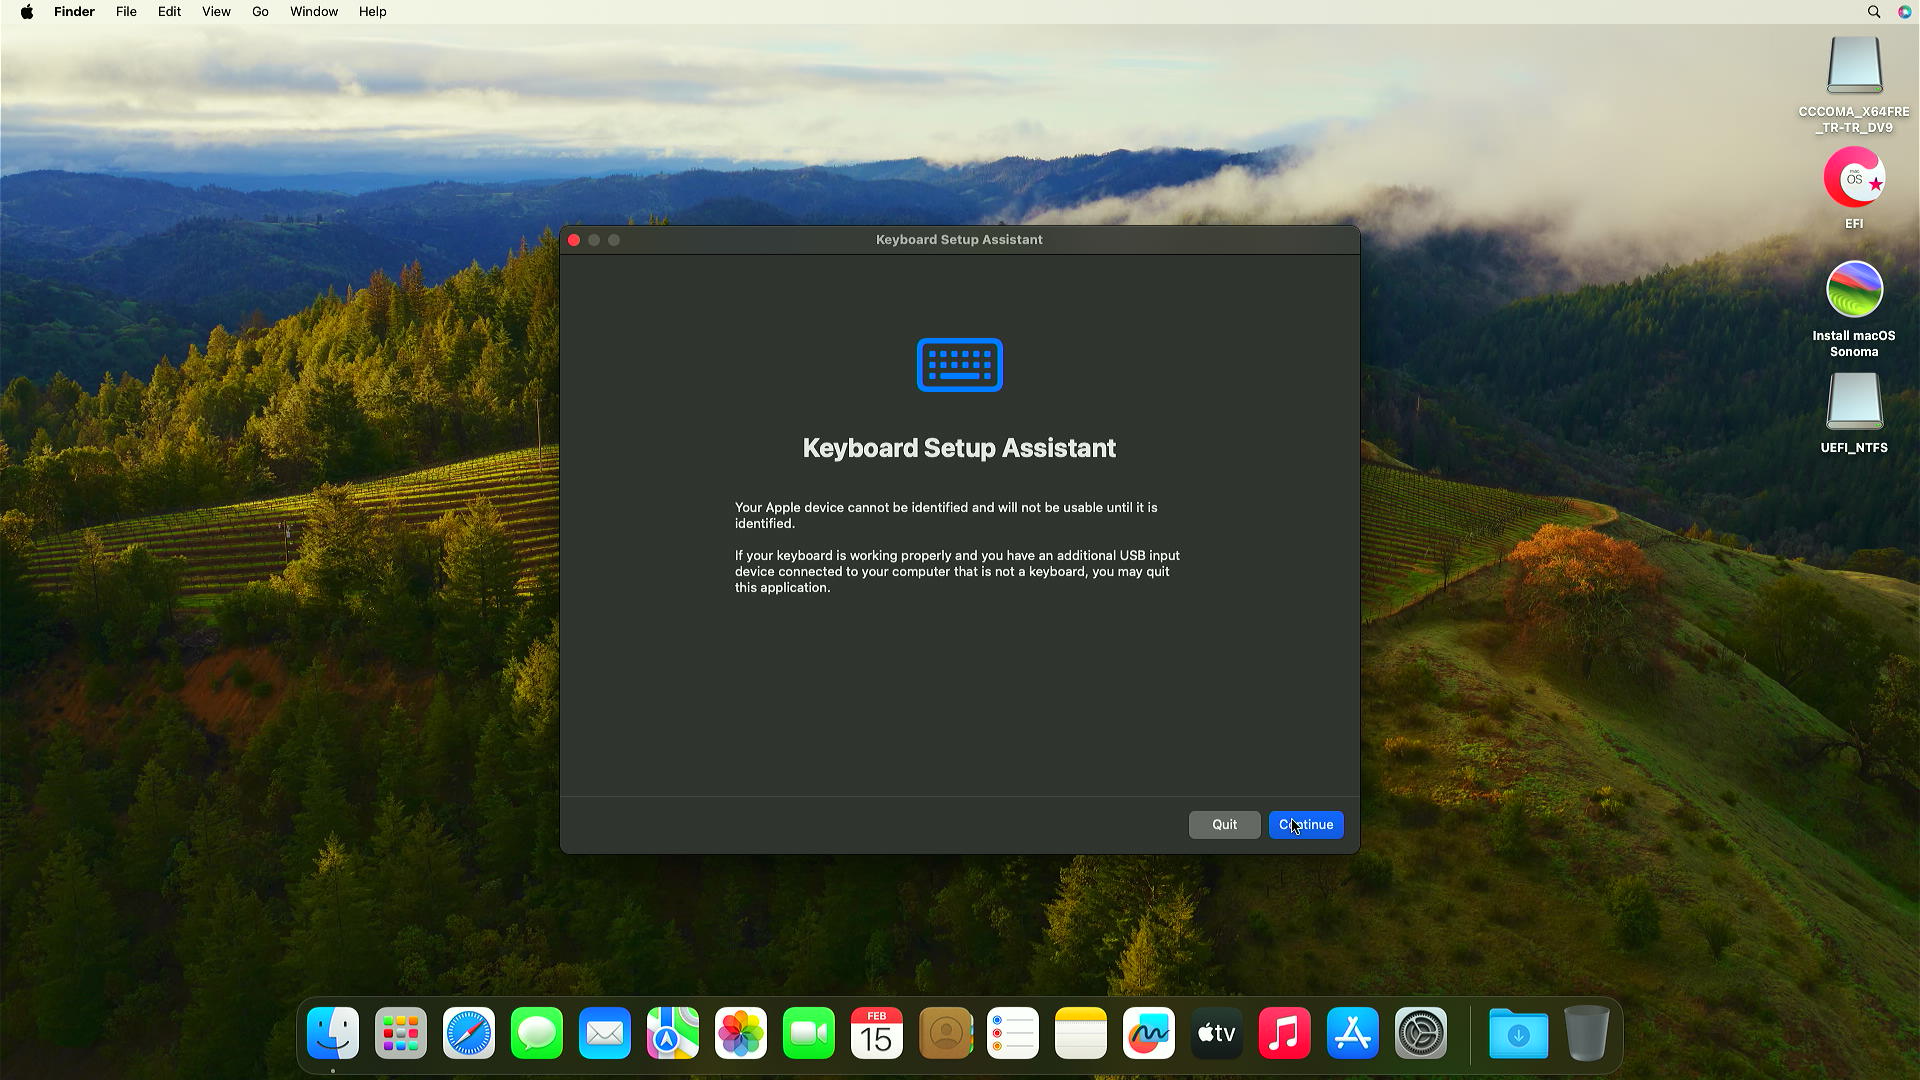
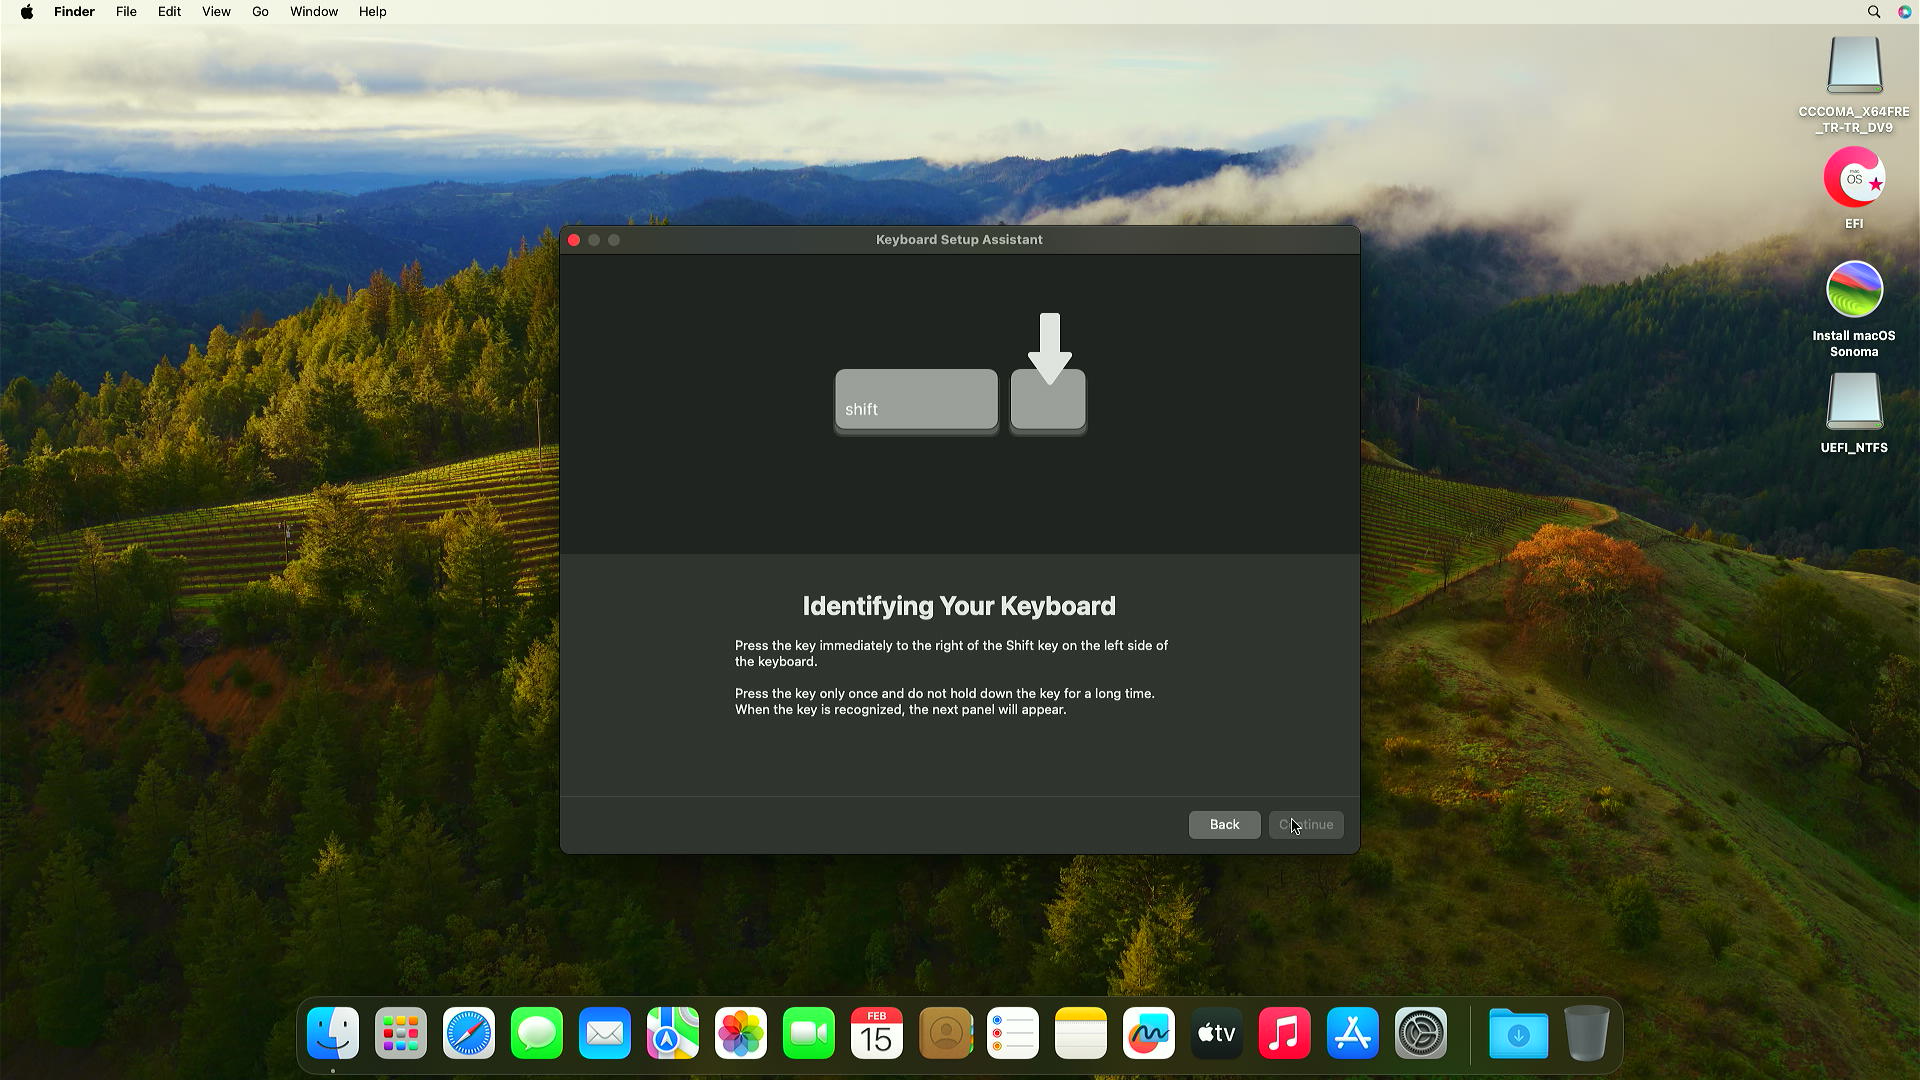
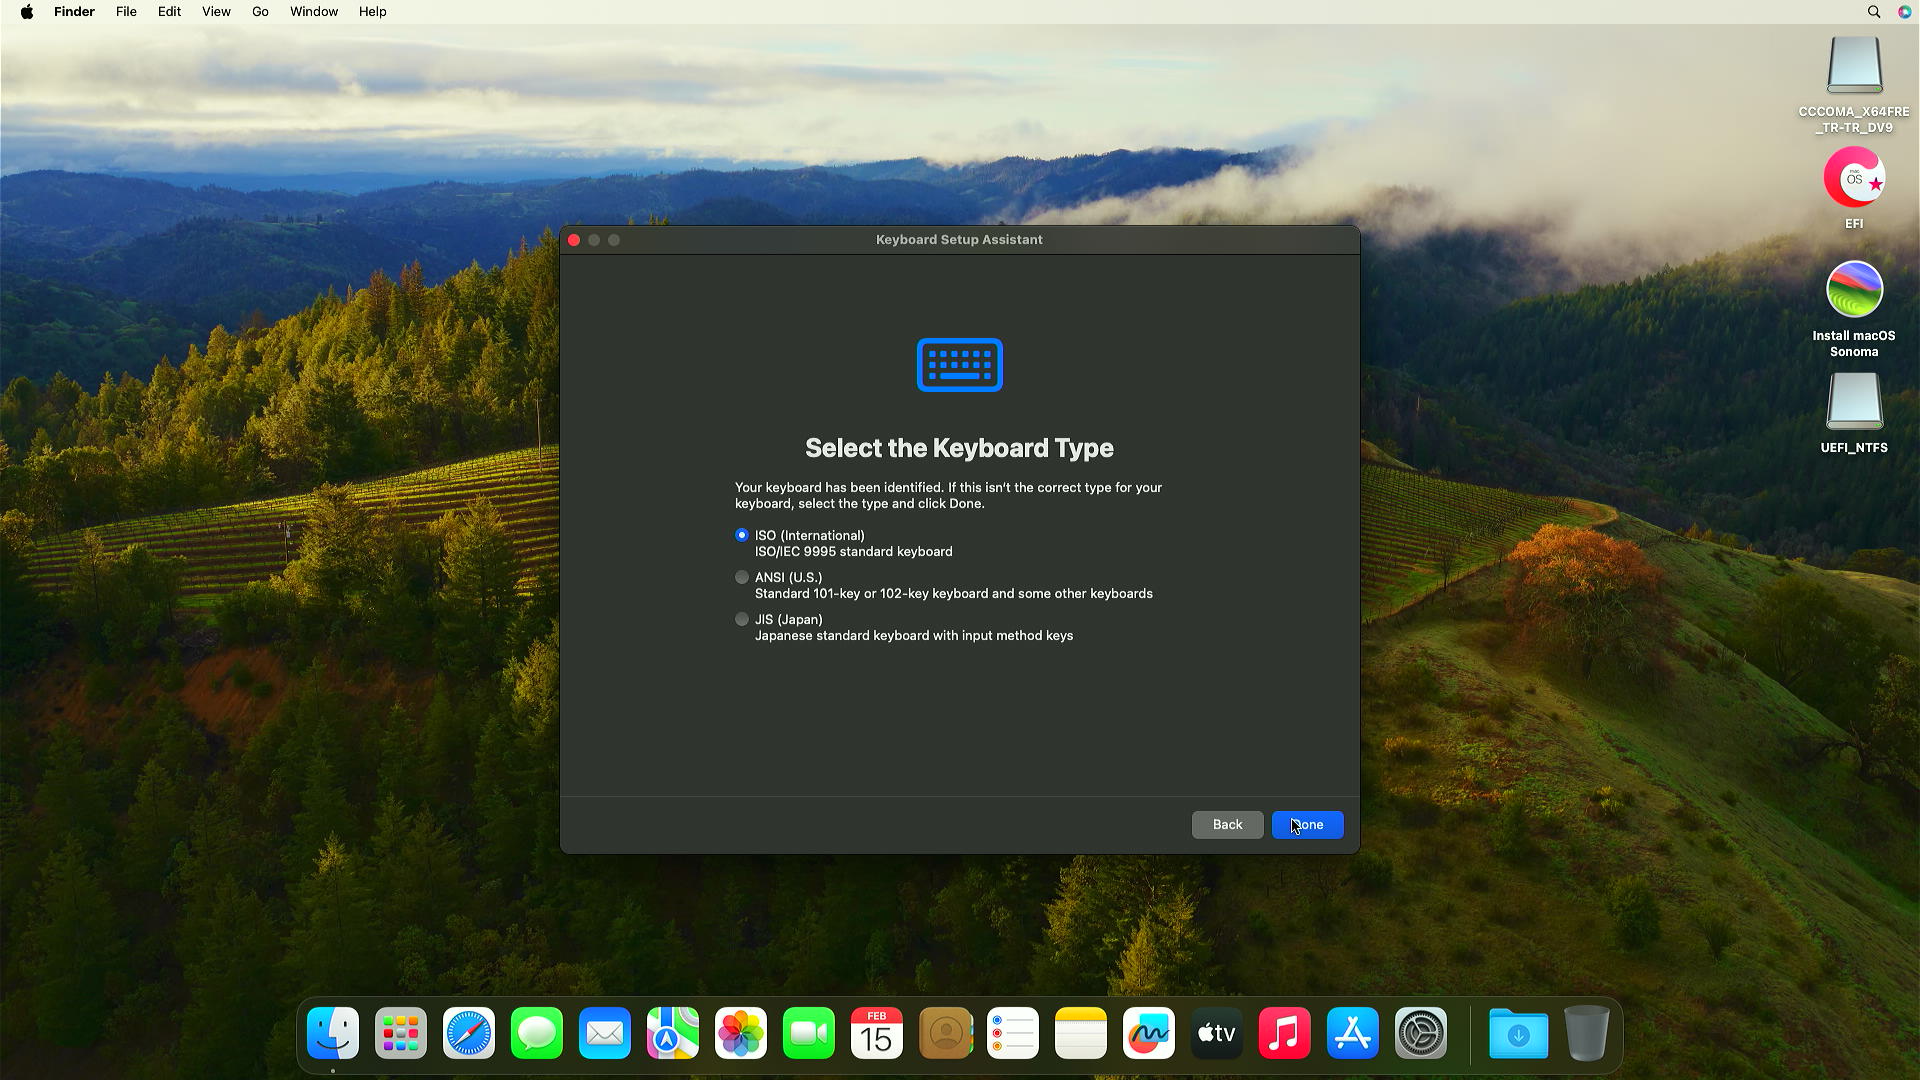
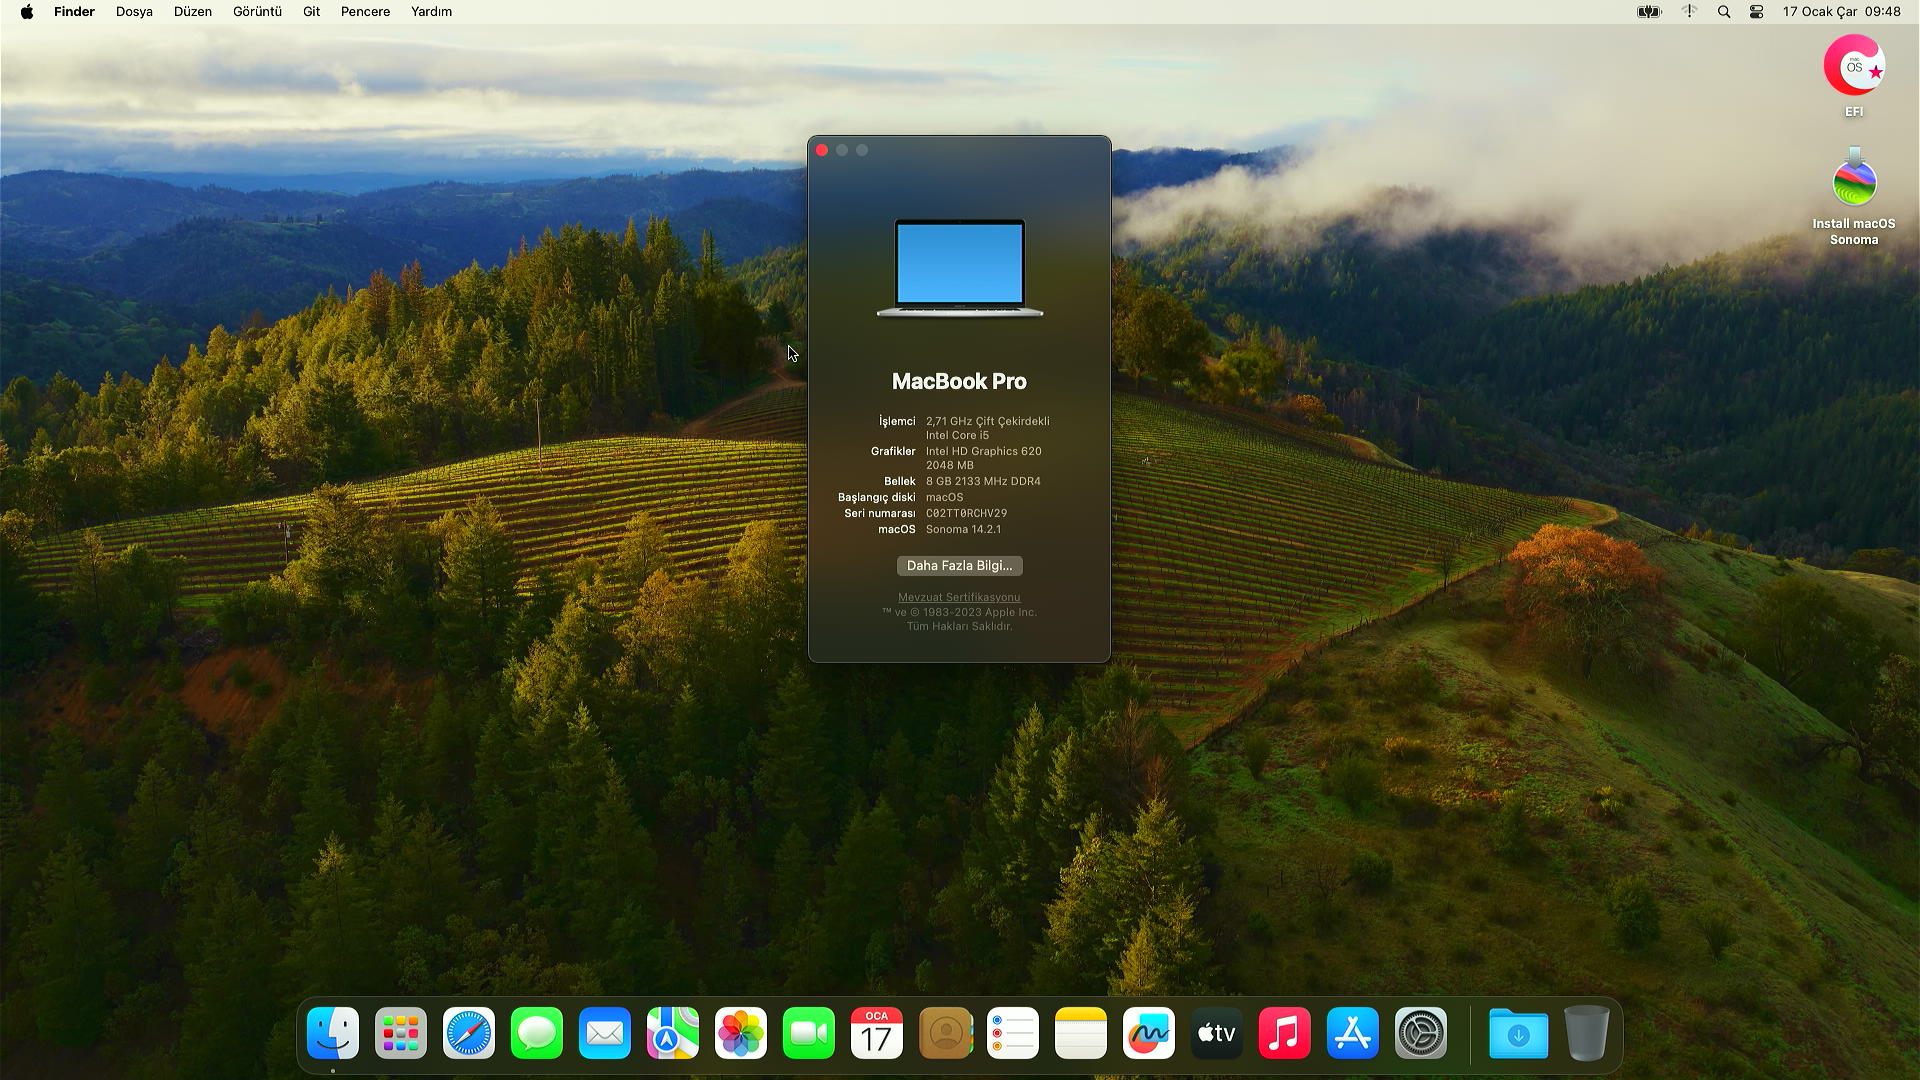
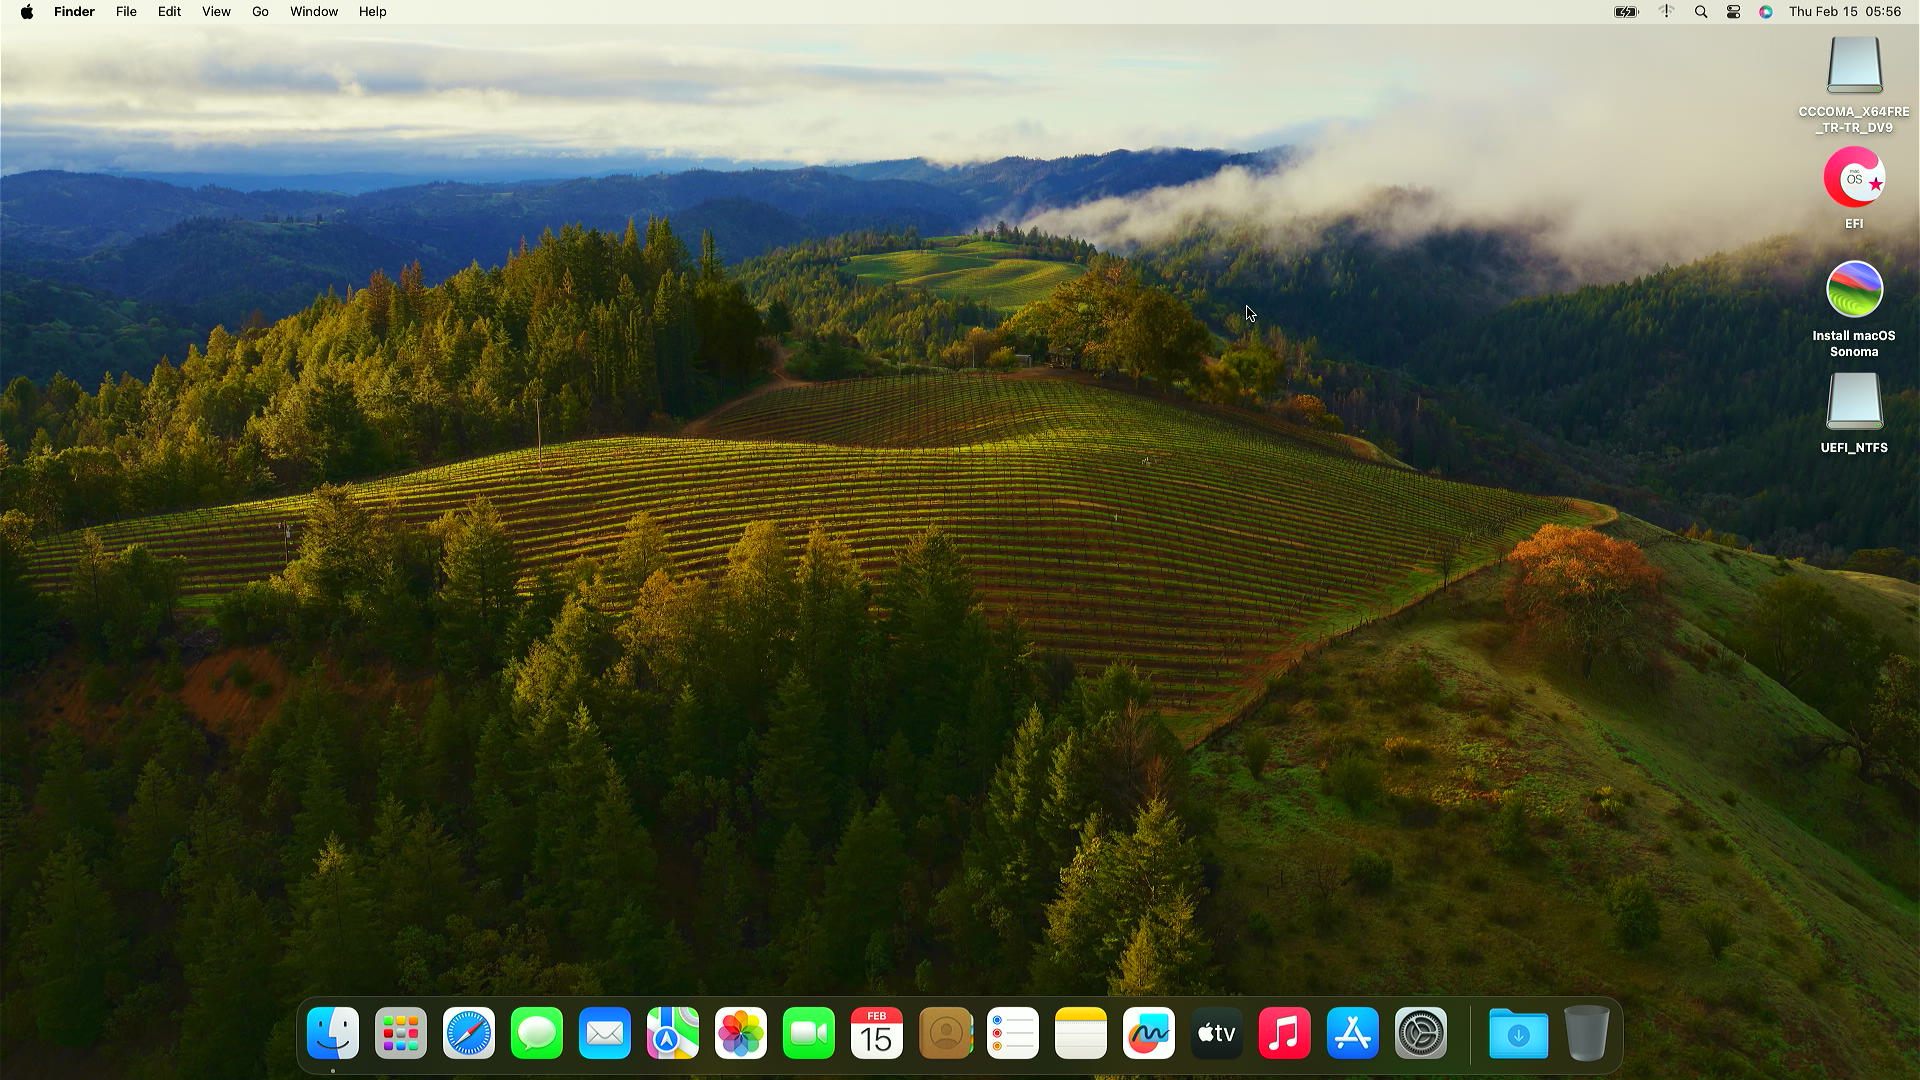
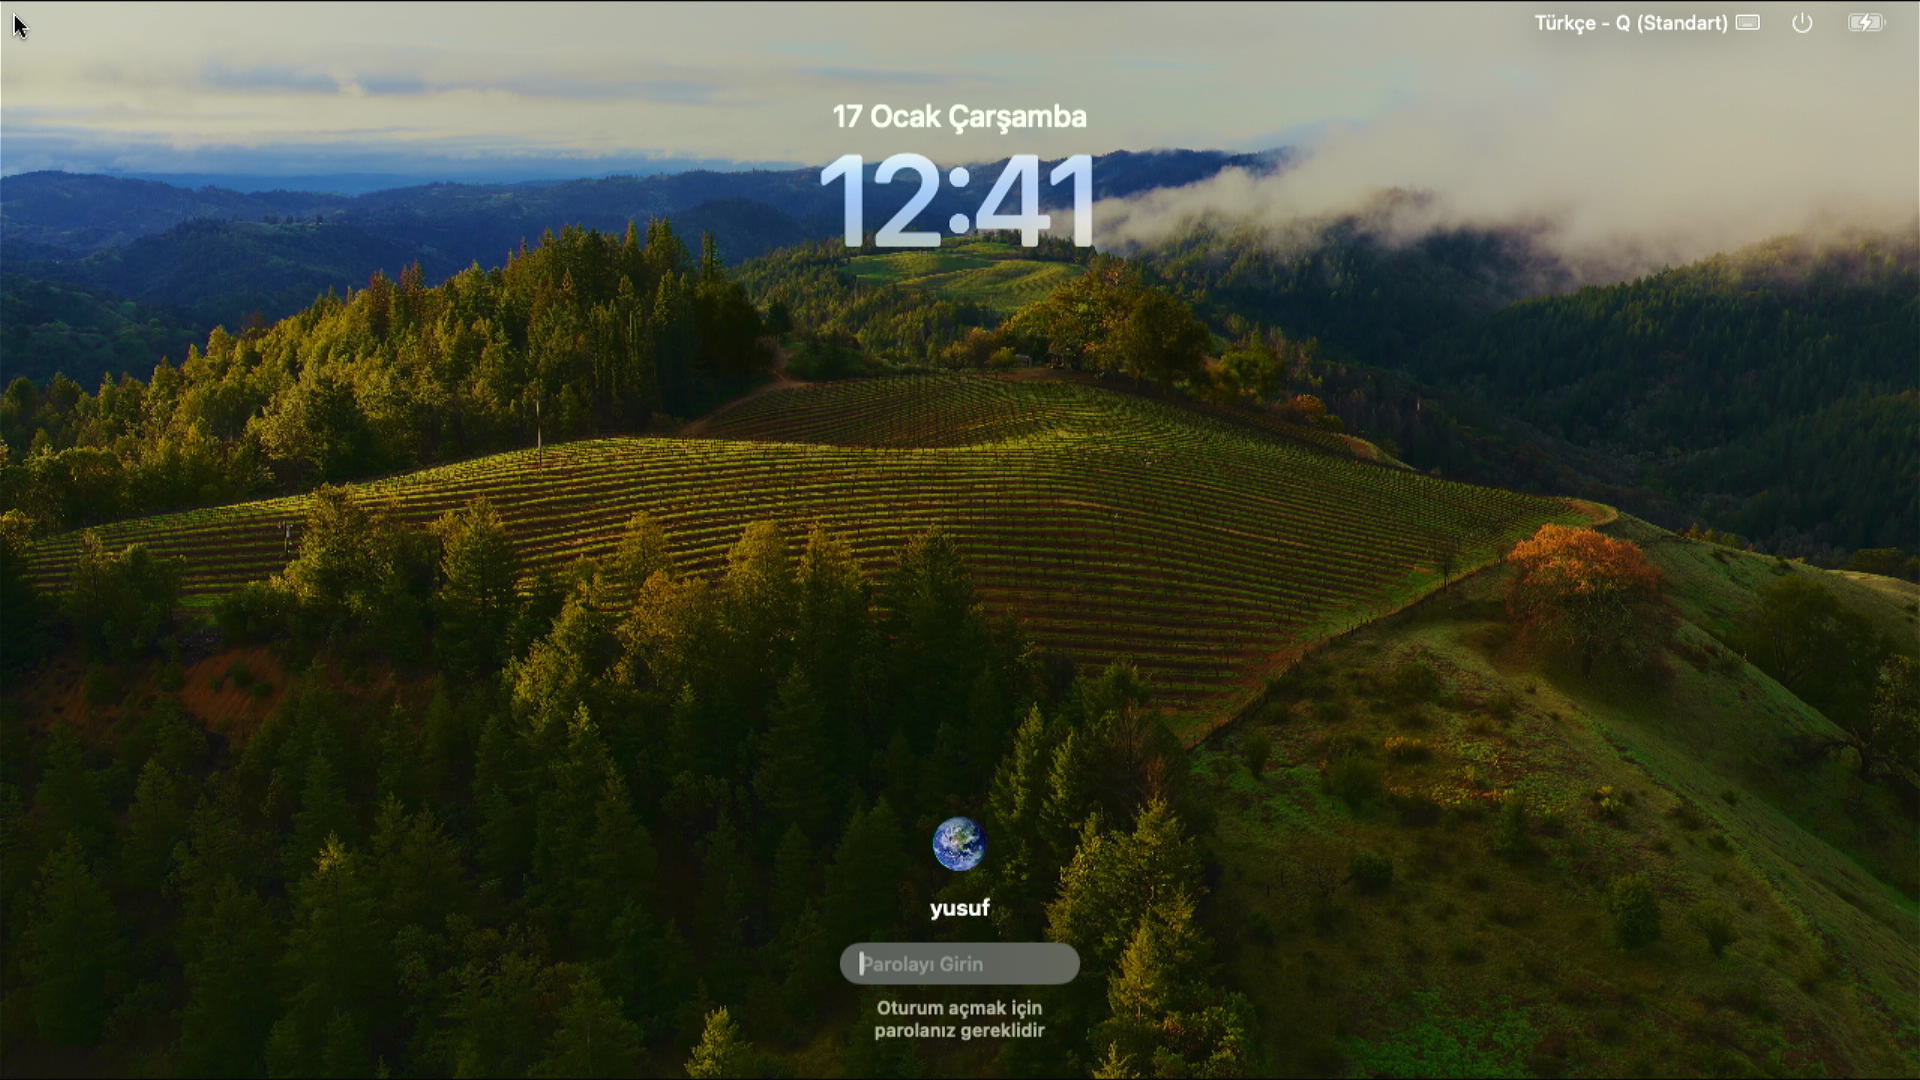
And there is the desktop.
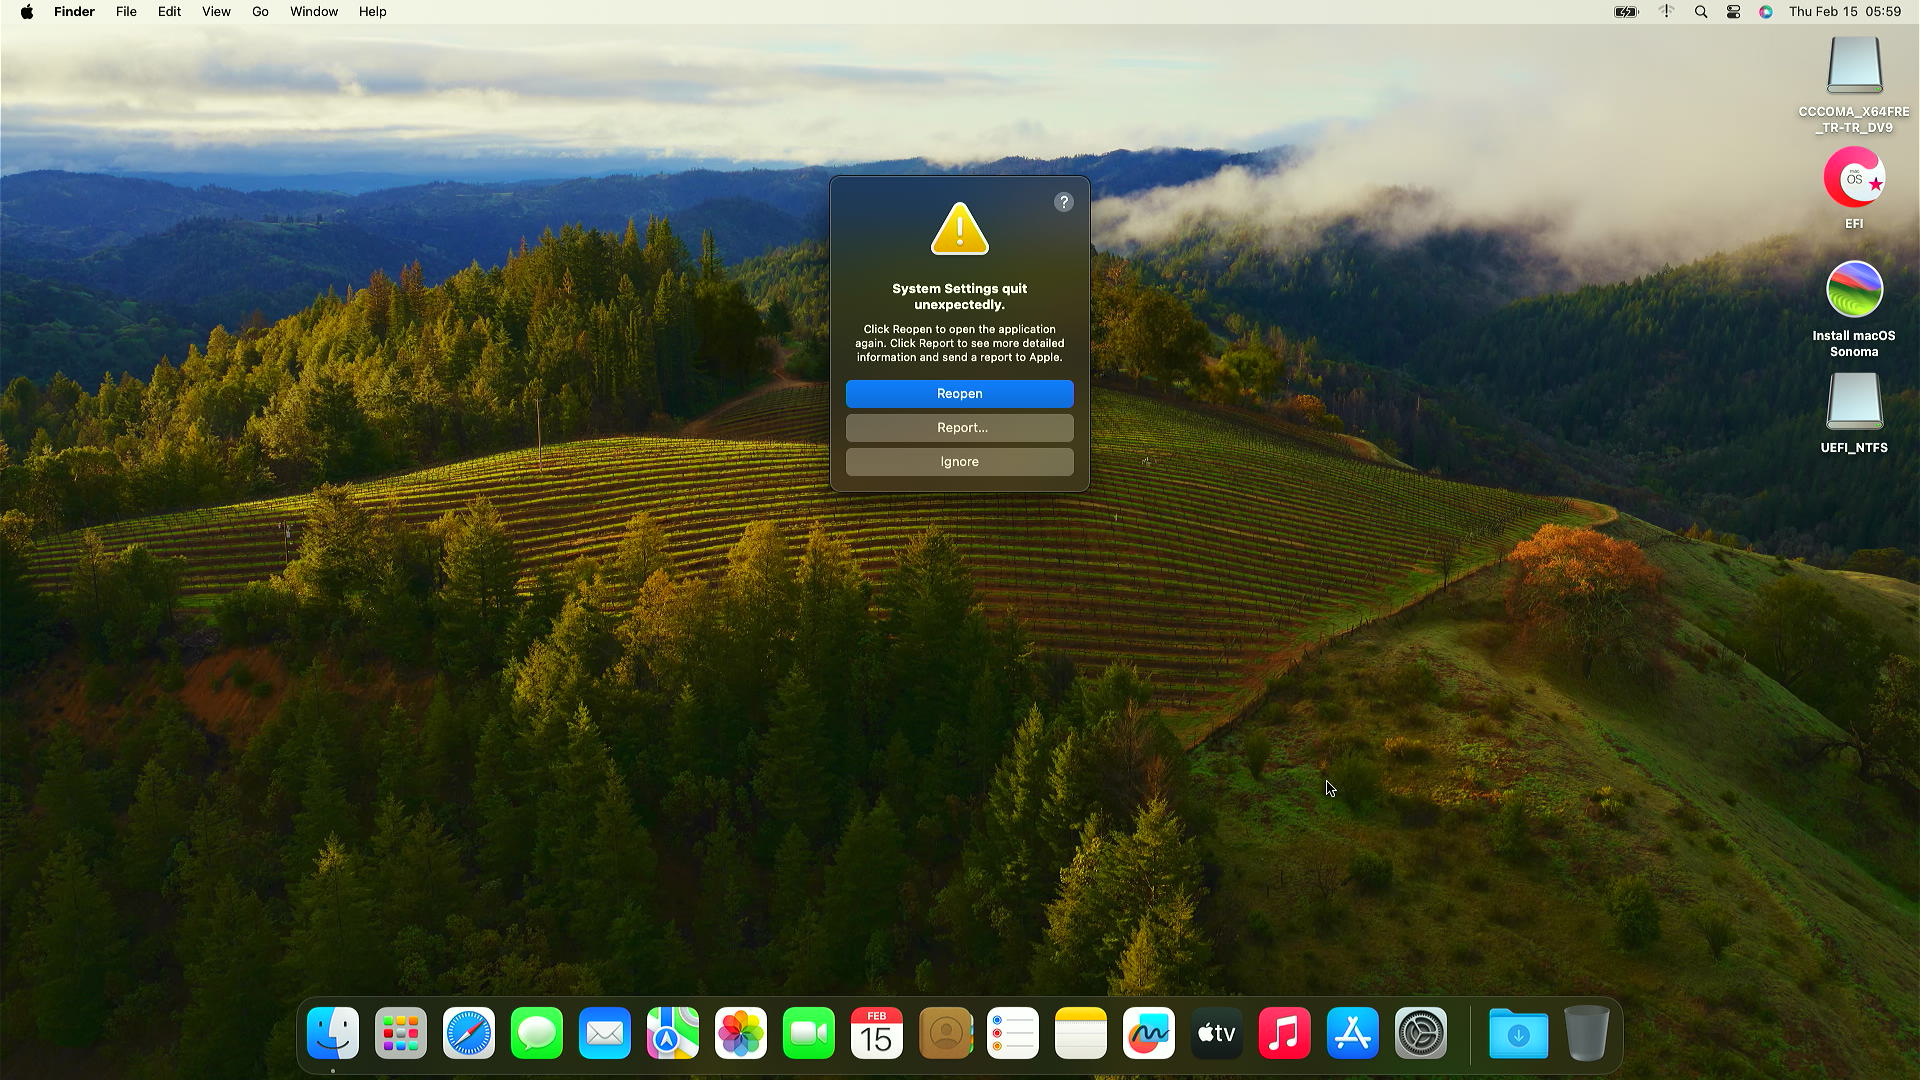
System Settings or About This Mac crashes when opened
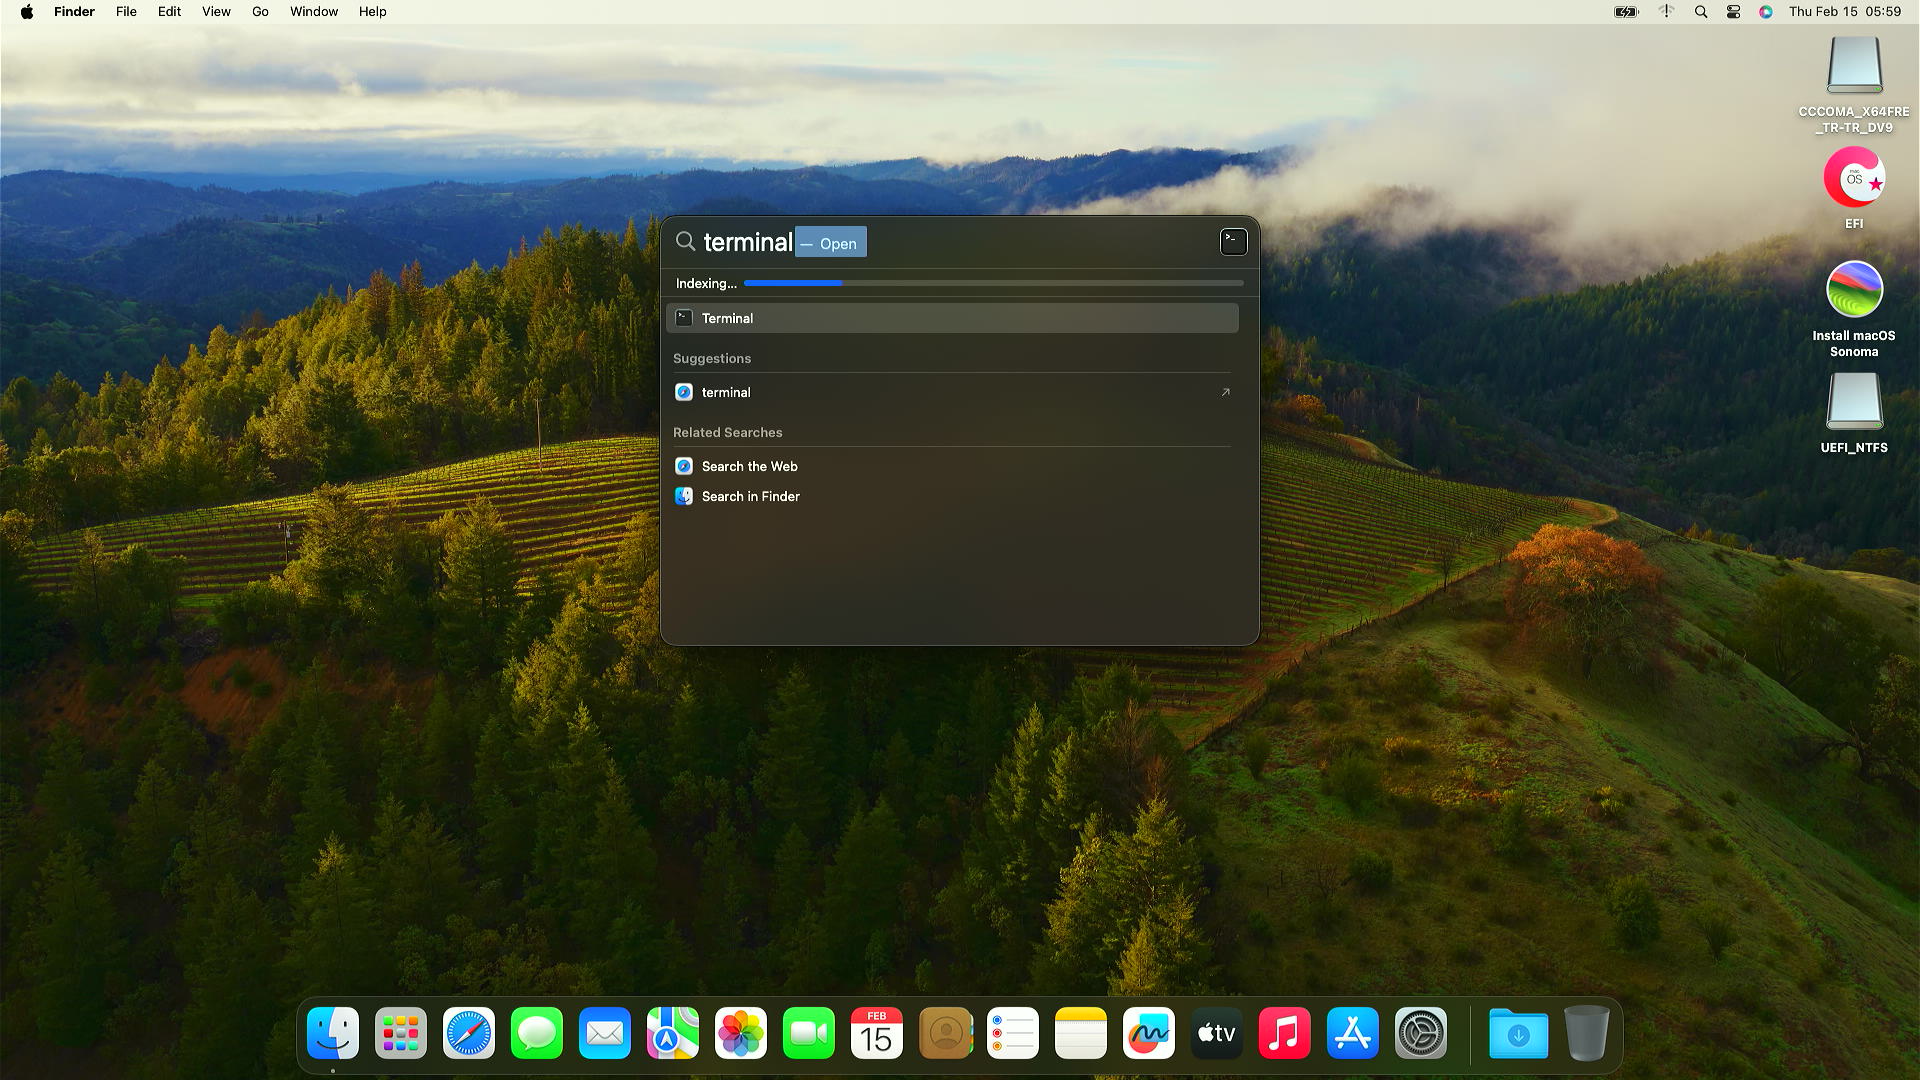
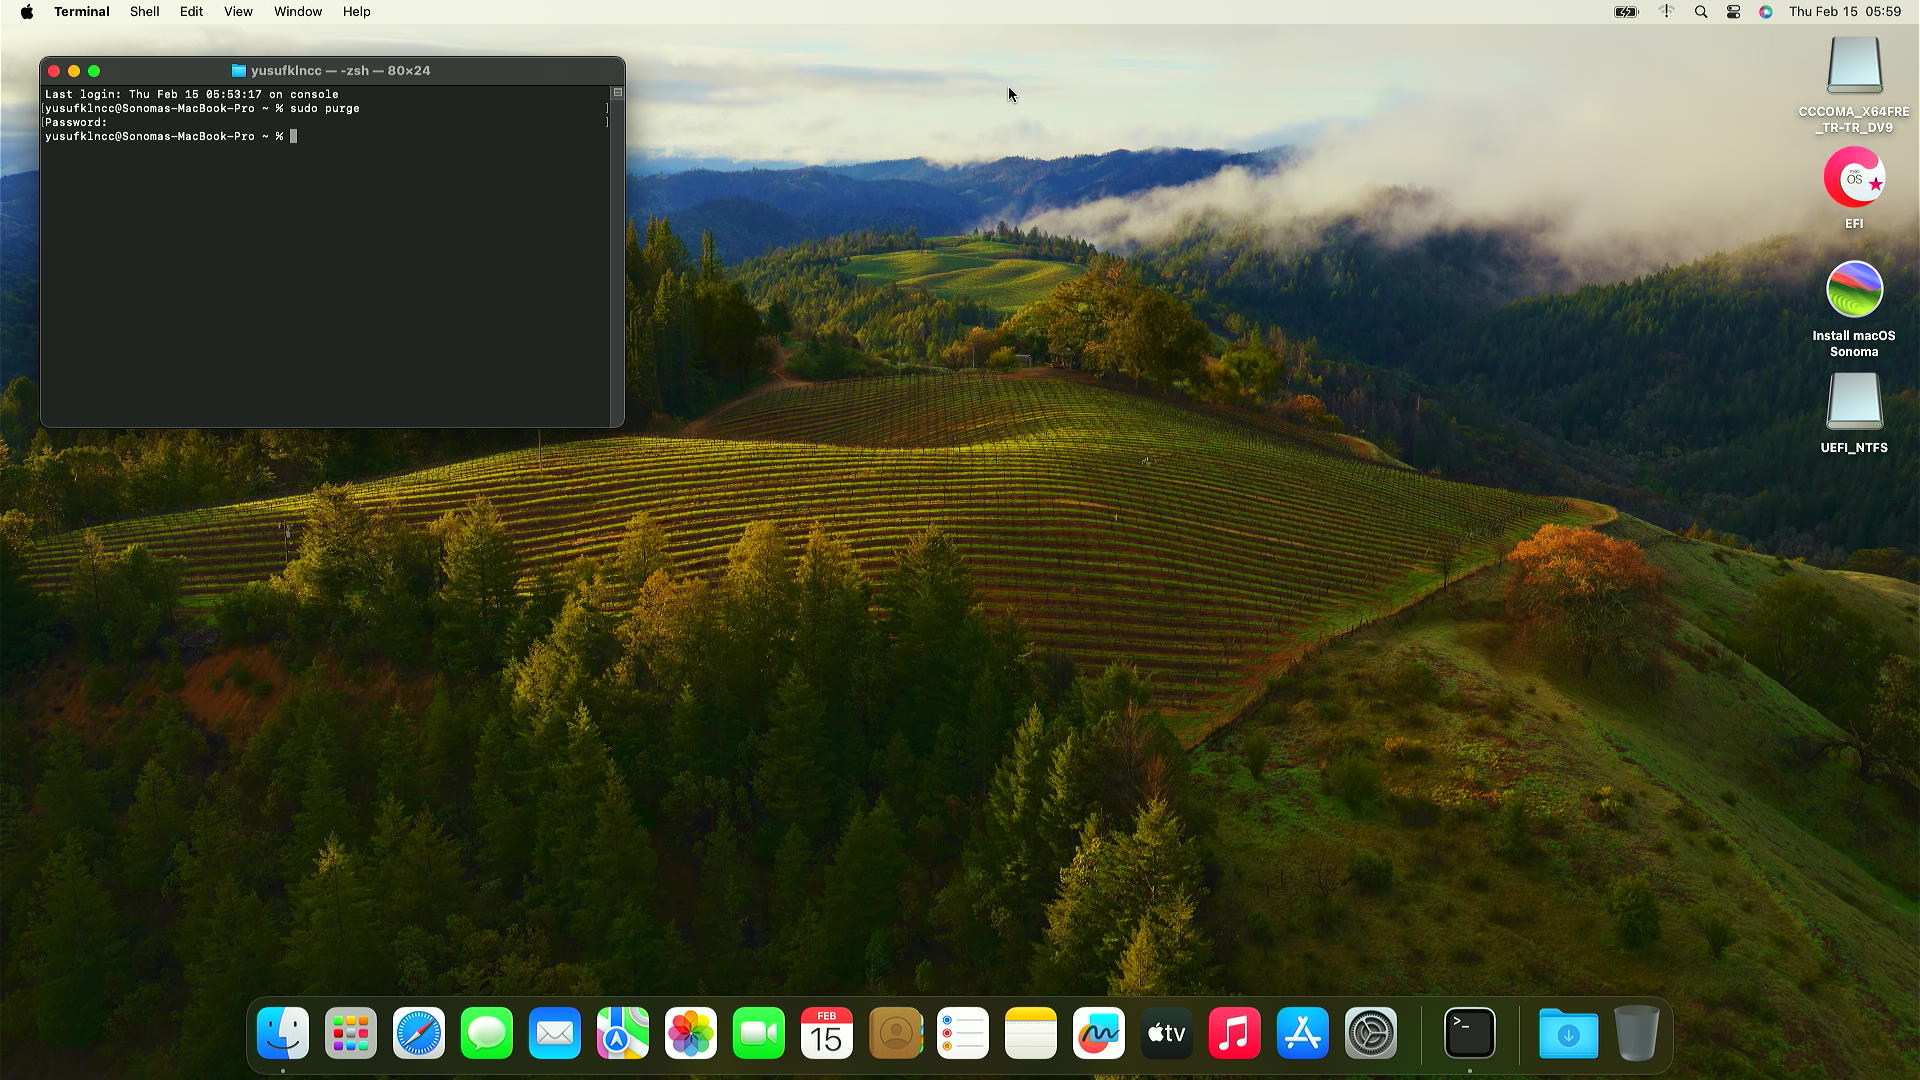
Open Terminal and run sudo purge.